As we all know, slicing software is definitely a must-have for every FDM 3D printer lover. We’ve got various software now surging in such a marketplace for assisting users in slicing models, like Cura, Simplify3D, Repetier-Host, Slic3r, and EasyPrint. The slicing software, also named as slicer, converts the 3D model into a G-CODE file that will provide the 3D printer with all the necessary instructions for printing.
In this article, I would love to make a detailed introduction to the EasyPrint slicing software developed by Geeetech R&D Department. With the newly updated version of the functions, EasyPrint Lite now allows users to print models with multiple colors. For the color matching process, detailed steps are as follows (Take A10M and A10T as examples):
Geeetech A10M 3D Printer (Dual Extruder)
1. Select the Device of Your Machine
Get access to the software and then click the “Machine” Button on the upper left corner and select the “Add New Machine” function.
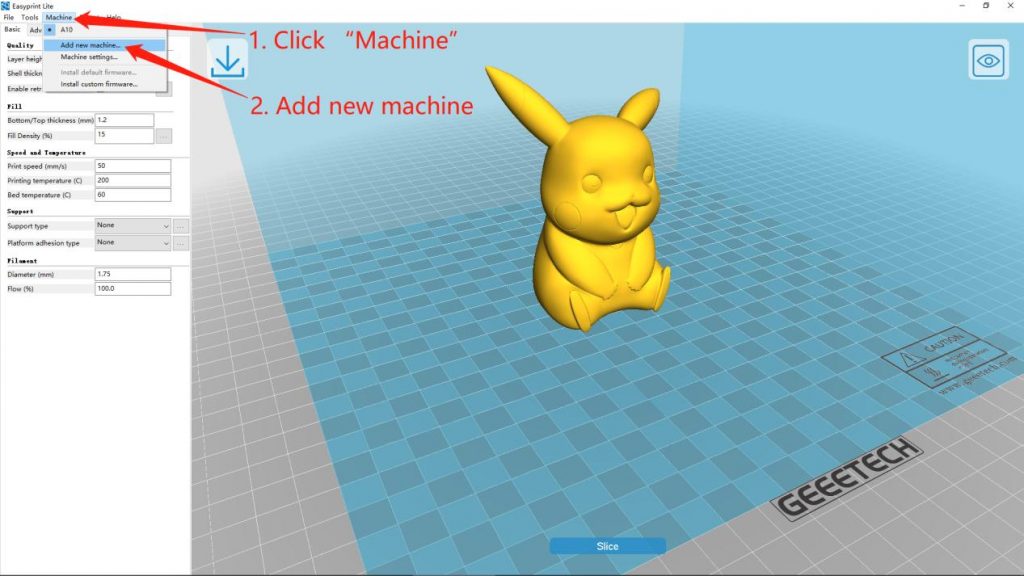
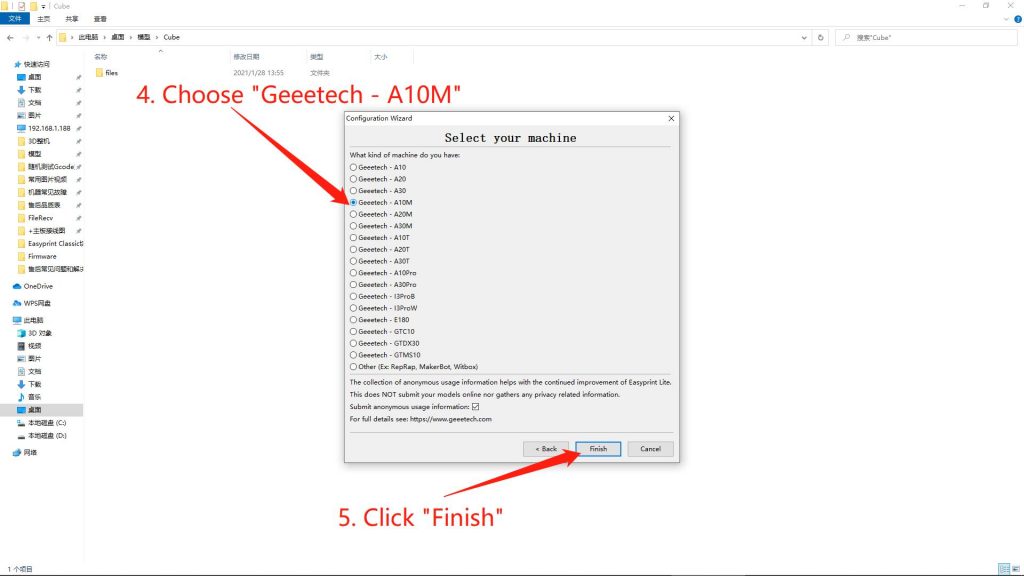
2. Add New Machine with Dual Extruder (A10M/A20M/A30M)
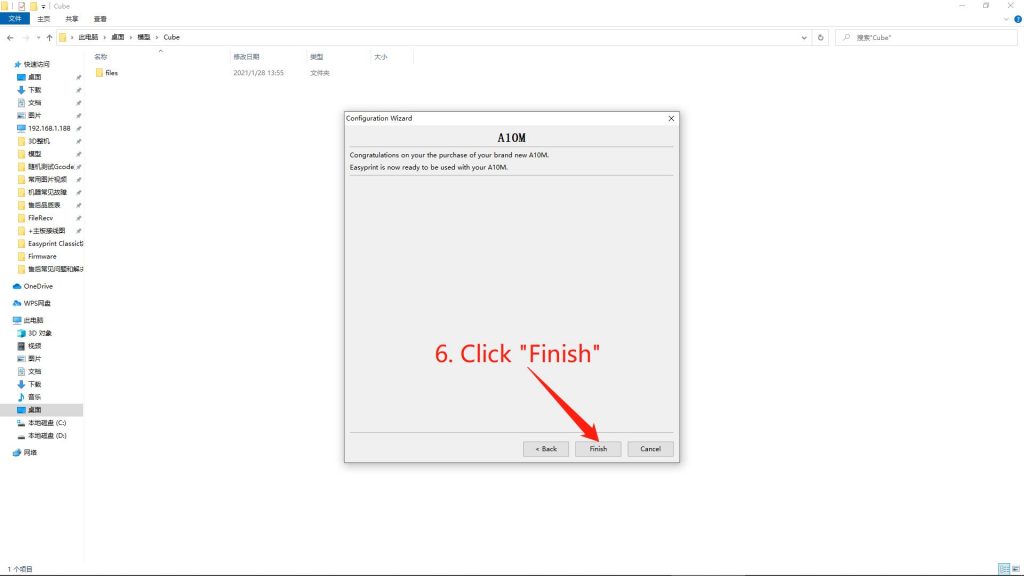
Choose the printer that you’ve got, and then click “Finish” to enter the operating interface.
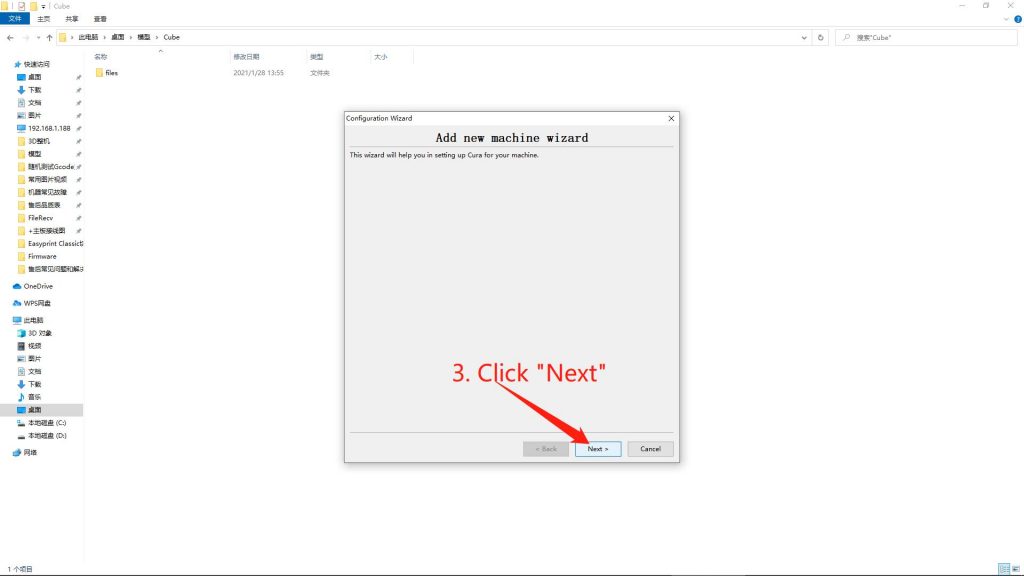
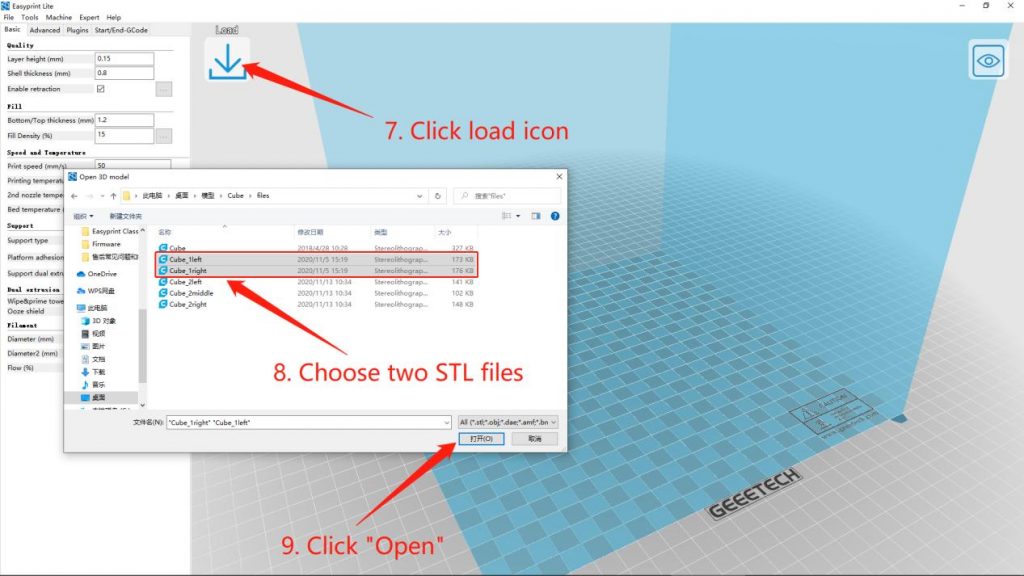
3. Upload the STL Files
In this step, you have to click the “LOAD” icon select two STL files, and upload them into the software.
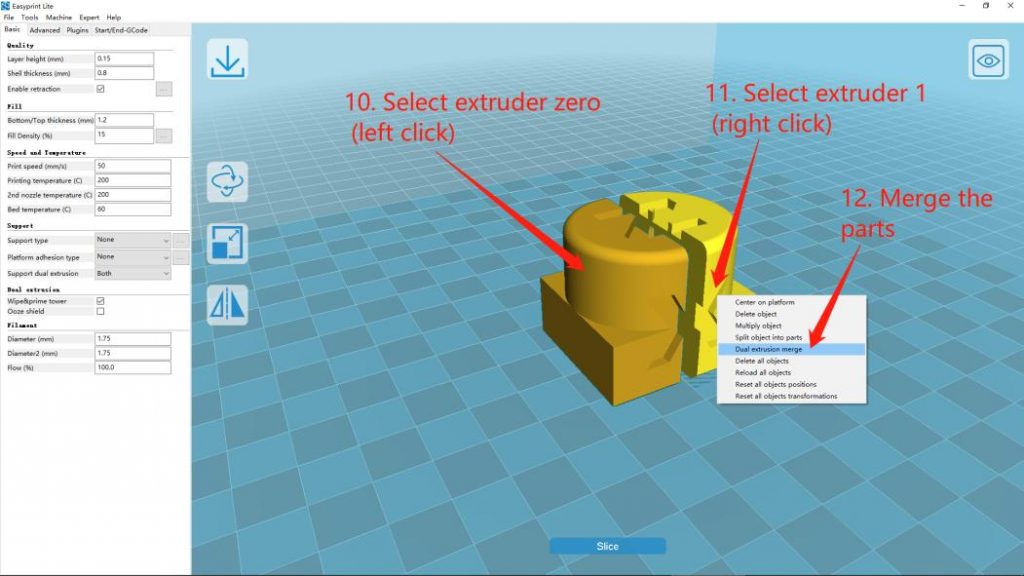
4. Select the Corresponding Extruder to Each Model That You’ve Uploaded and Commence Merging Them
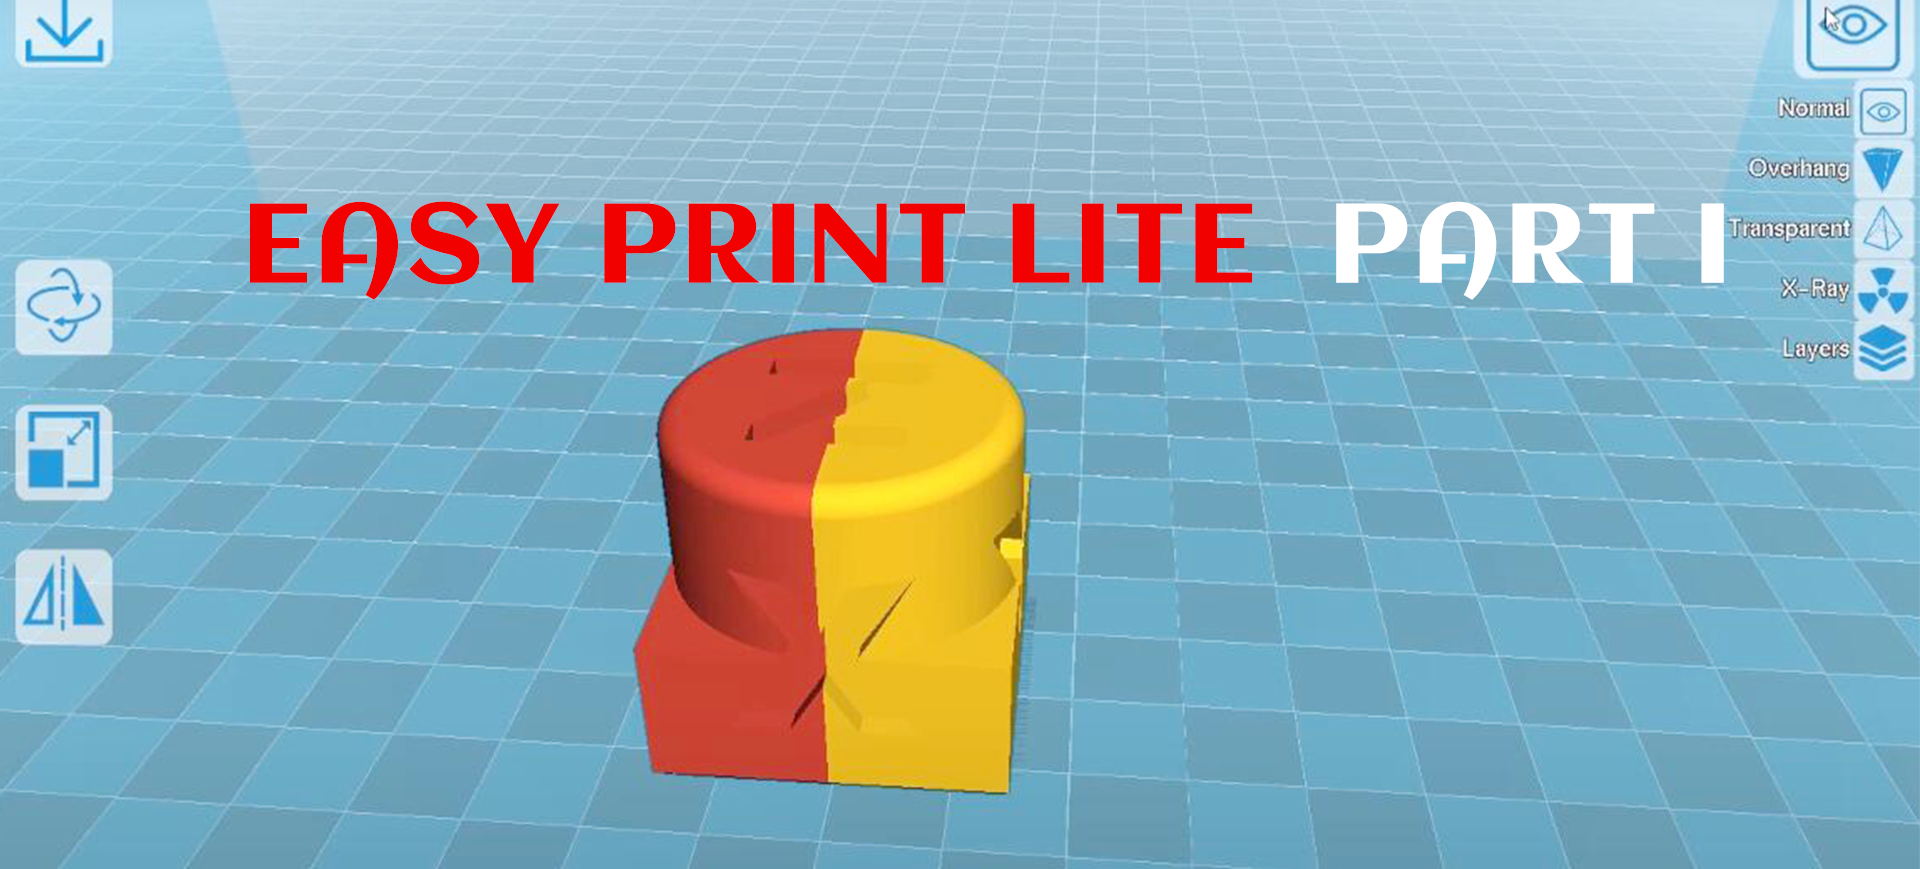
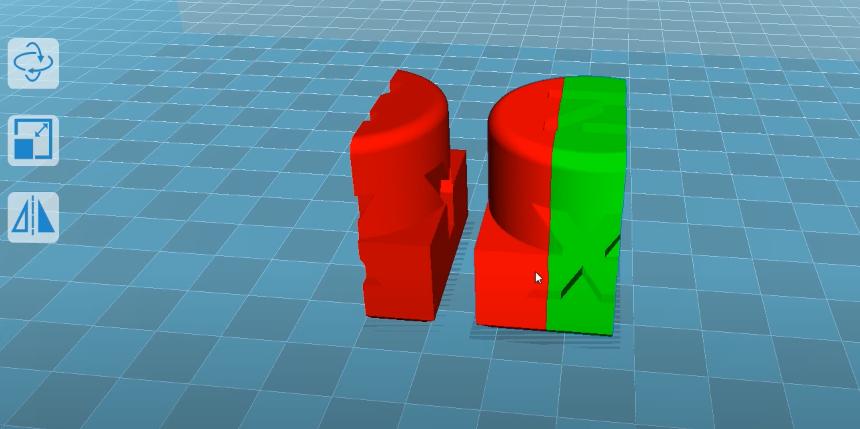
Tap on one of the models by clicking the left button of your mouse, it will automatically select the chosen model as a default selection of EXTRUDER 0 while this part of the model will respond to the E0 Extruder. In the following step, tap on the other model by clicking the right button of your mouse, and click the selection “Dual Extrusion Merge”, and the chosen part will be selected to respond to the E1 Extruder.
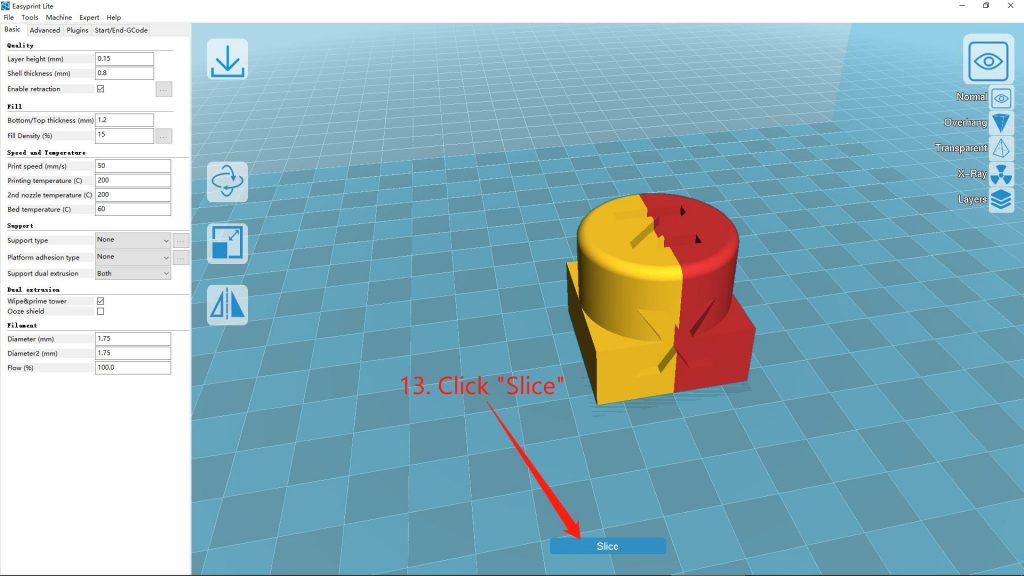
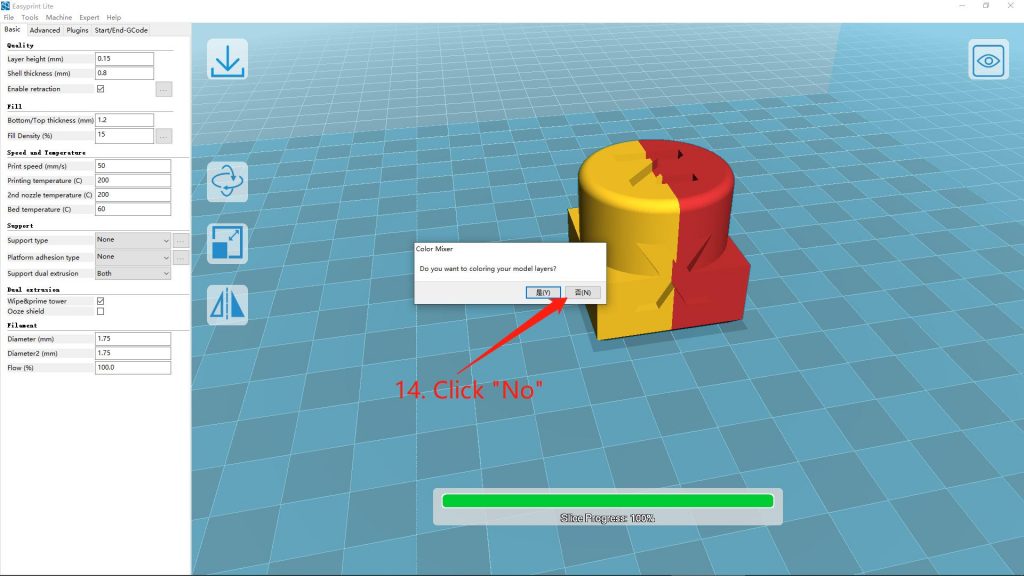
As two of the models are combined into an integrated one with separate colors, click the “Slice” icon, and then choose “No” for not coloring your model.
5. Preview the Entire Model
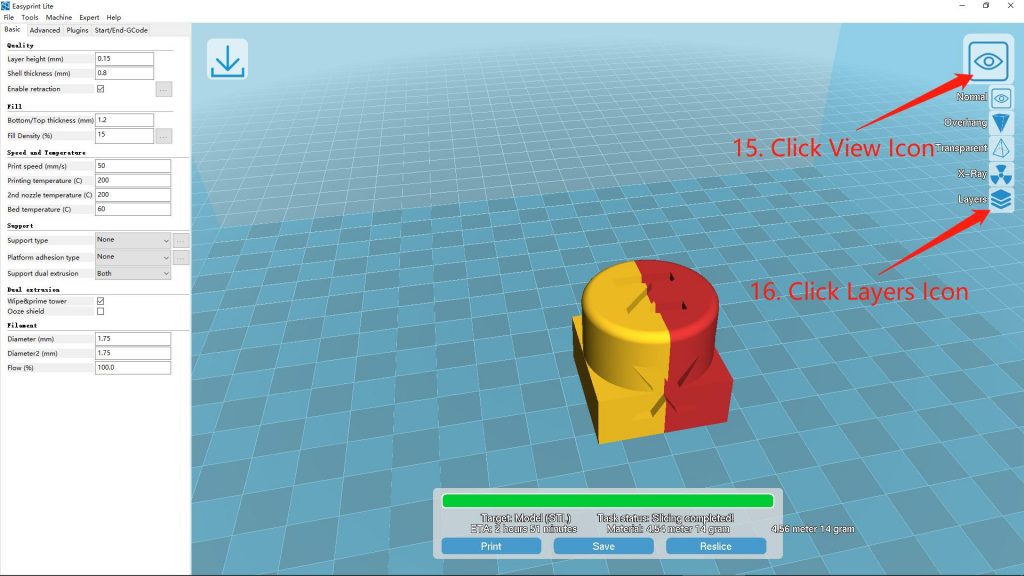
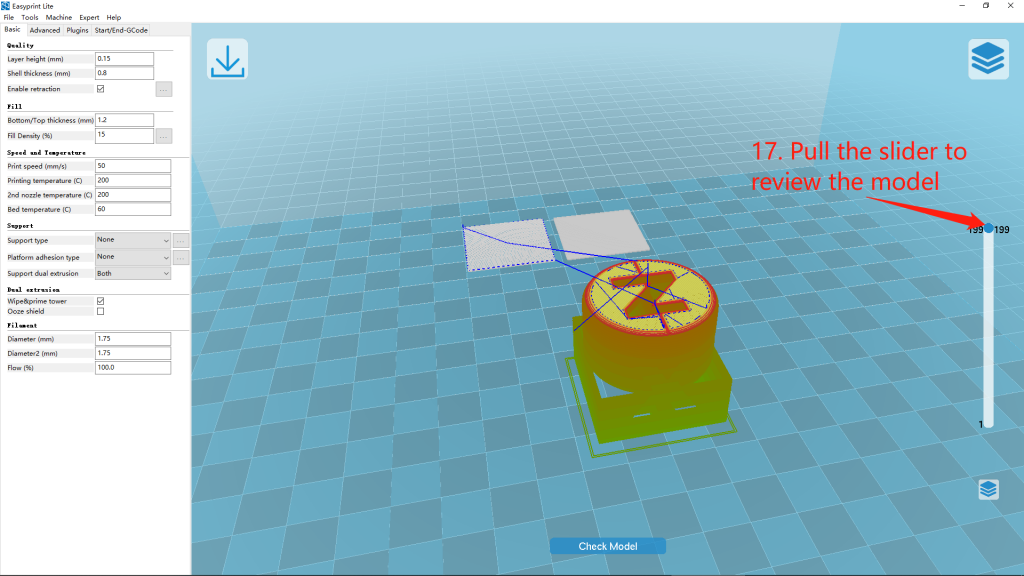
By clicking the View Icon which is displayed right in the upper right corner of the interface, you will see several icons shown in its subordinate list, and then click the “Layers” icon right at the bottom of it. In the following steps, you are allowed to slide the slider to review and check every single layer for clear scrutiny.
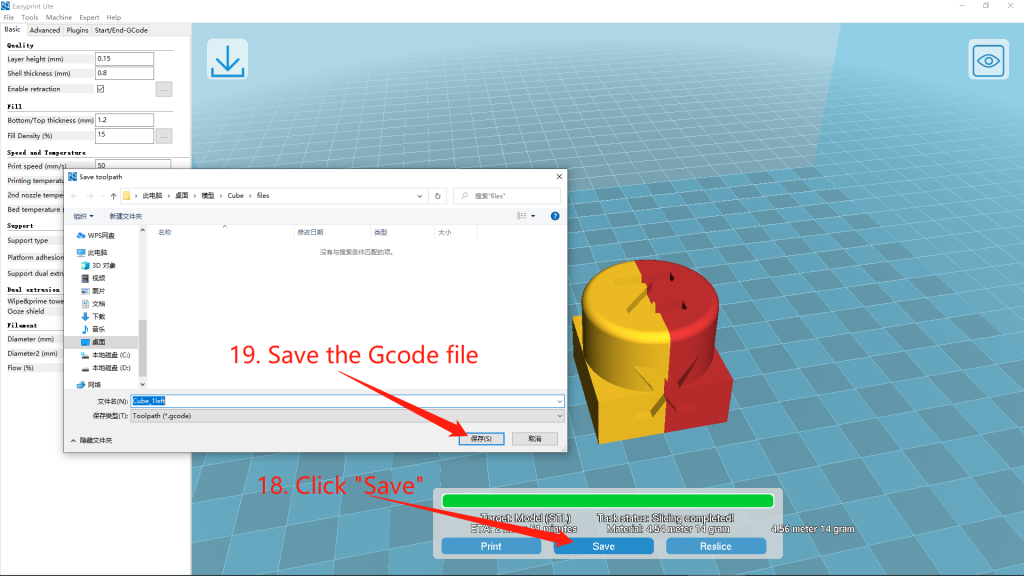
6. Save the File As a Gcode File
Geeetech A10T 3D Printer (Triple Extruder)
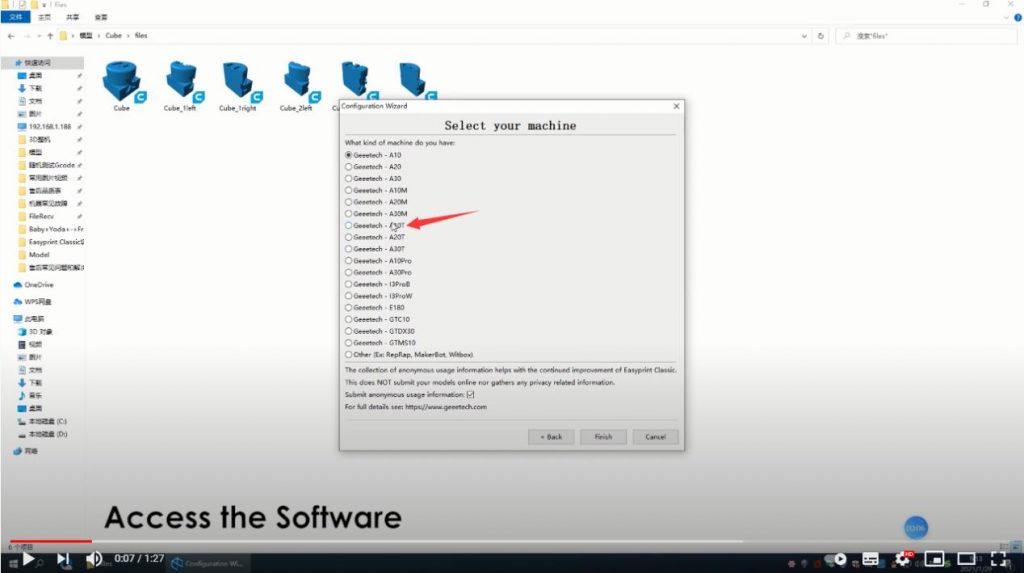
1. Same Operation as A10M (Select the device of your printer, A10T as an Example)
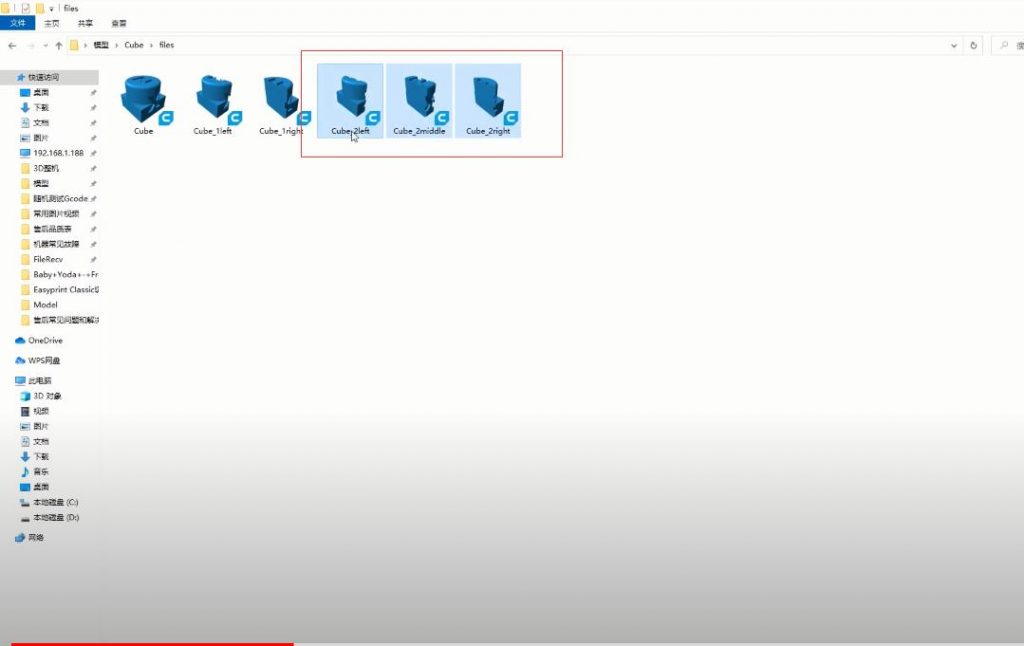
2. Upload the STL Files
Click the “LOAD” icon select three STL files and upload them into the software.
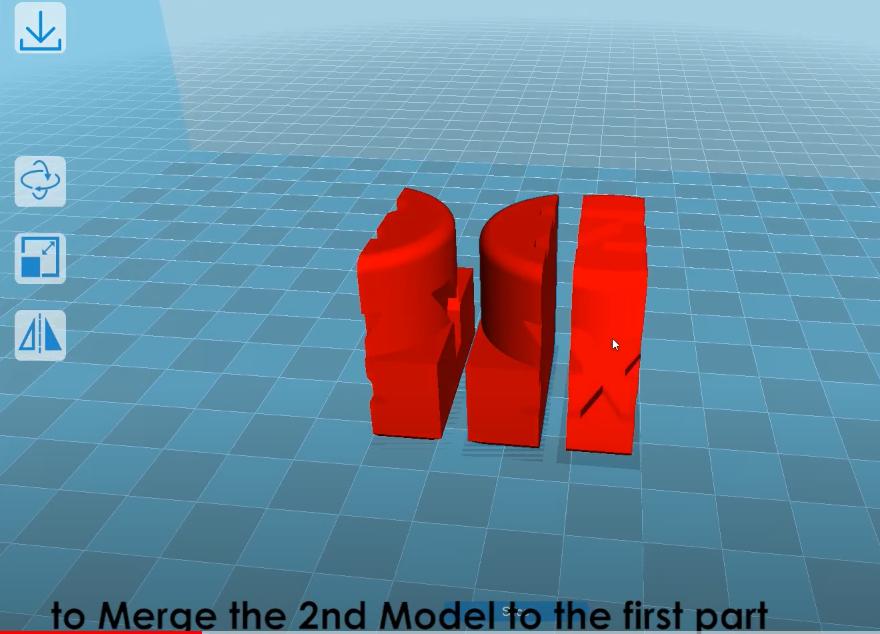
3. Select the Corresponding Extruder to Each Model That You’ve Uploaded and Commence Merging Them
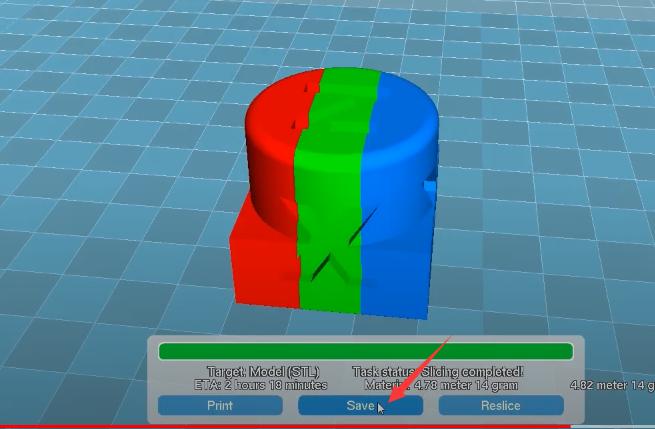
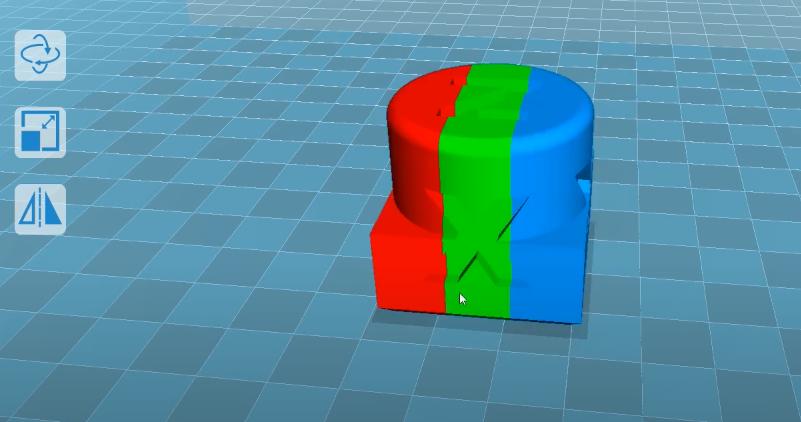
Tap on one of the models by clicking the left button of your mouse, it will automatically select the chosen model as a default selection of EXTRUDER 0 while this part of the model will respond to E0 Extruder. In the following step, tap on the other model by clicking the right button of your mouse, and click the selection “Dual Extrusion Merge”, and the chosen part will be selected to respond to the E1 Extruder. For the third part of the model, operate the same process to combine it with the first and second models, and automatically, it will be selected to respond to the E2 Extruder
As three of the models are combined into an integrated one with separate colors, click the “Slice” icon, and then choose “No” for not coloring your model.
4. Preview the Entire Model
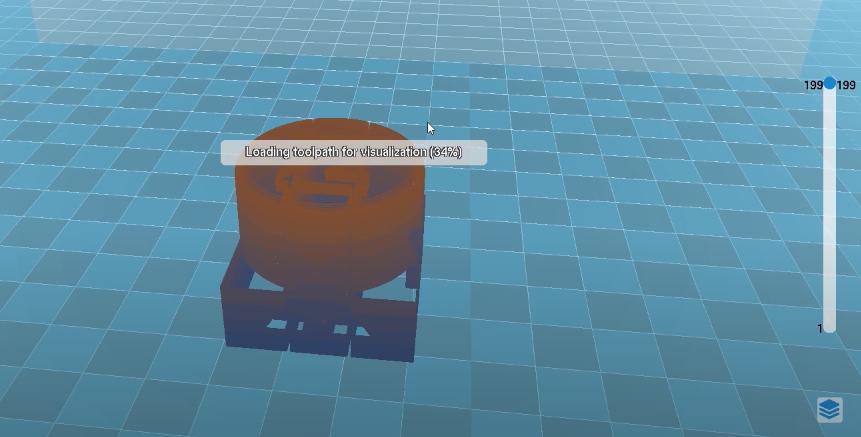
By clicking the View icon which is displayed right in the upper right corner of the interface, you will see several icons shown in its subordinate list, and then click the “Layers” icon right at the bottom of it. In the following steps, you are allowed to slide the slider to review and check every single layer for clear scrutiny.
5. Save the File As a Gcode File
