Do you remember the article I posted before, that is an instruction about how to control a lamp with your iPhone and a Raspberry Pi?
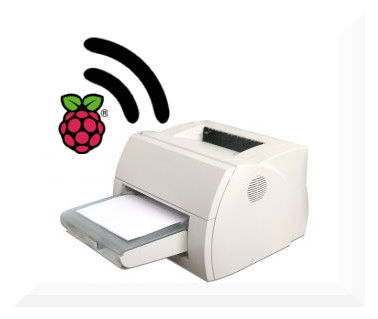
It is made by a guy named Bartboy, a very creative and popular maker on the instructables. He had new creations recently. He successfully turned his ordinary printer into a wireless printer with a Raspberry Pi, and he shared this genius idea with us.
You may find it difficult and impossible, but now, in an anything- is- possible time, you can even turn your ordinary printer into a wireless one with the help of a Raspberry Pi. Follow the steps below, you can easily turn the impossible into possible.
A good wireless printer is usually expensive, and many routers that let you make network printers out of USB ones don’t necessarily do all the driver-work for you. So why not have a try?
Preparation:
- A $25 RPi Model A
- A $2 power supply
- A $5 SD card
- A $5 USB Wifi dongle (be sure to find one supported in Raspbian or other OSes) you can turn any printer from the CUPS printer list into a wireless network printer.
- A lot of added functionality for under $40!
Step 1: Step 1: Set up your OS
This is pretty simple stuff if you know anything about the RPi, so I won’t tell you much about it, but if not the foundation has made an awesome instructional page.
Any OS should do, but make sure it has WICD for easy setup!
Step 2: Step 2: Setting up CUPS to print
CUPS(Common Unix Printing System) is a printer driver to make Linux work more like Windows with printers.
To install it, type this into terminal:
sudo apt-get install cups
After that add yourself to the CUPS admin files, with
sudo usermod -a -G lpadmin username
Since CUPS doesn’t have a standalone GUI, you connect to it with a web browser. Find your IP address by typing in
ip addr show
Then enter into a web browser your ip address followed by a colon then CUPS default port number of 631.
Click the “printers” tab and find the driver for your printer model. Install it, then print a test page.
Step 3: Step 3: Sharing the printer
 Once you have the printer working with test pages, you need to go to the printer’s profile then under administration set it to sharing.
Step 4: Finished!
Your PiPrinter should be showing up from any other machine on the network as if it were a shared printer. (Note the @RaspberryPi)
Rename it and give it a location if you want! Use “Generic Postscript printer” on your connected machines since CUPS on the Pi is handling the printer-computer driver relations.
That is possible. try now.


