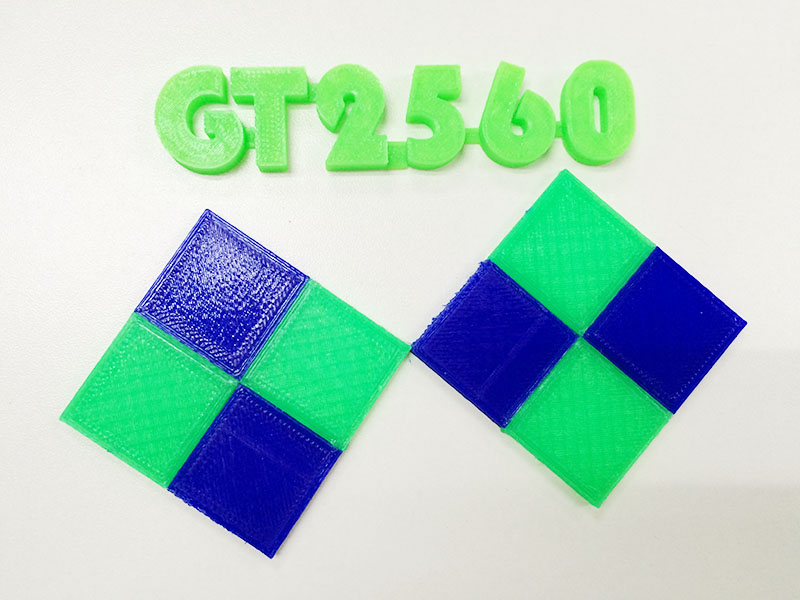
if you are interested in 3D printing, you cannot afford to miss this post, today, i will show you a step by step instruction on how to print dual color models with geeetech prusa I3 pro C.
.jpg "3d print dual color model")
.jpg)
Before reading this text,please make sure you have already read the set up guide of the version of 13B single extruder and you can use it to print 3D models. If not, please learn how to operate the single extruder. Of course, you can take this one as the single extruder version to start.
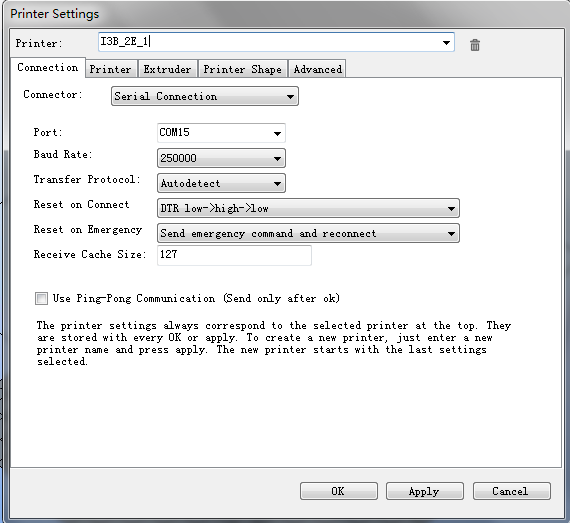
Step 1:Open Repetier Host,click Config/Printer Settings to set up the connection.
1. Name your printer.
2. Select the corresponding COM port and baud rate. Baud rate is generally 115200 or250000.
3. If you are not sure about the COM port, you can check it in your device menager.
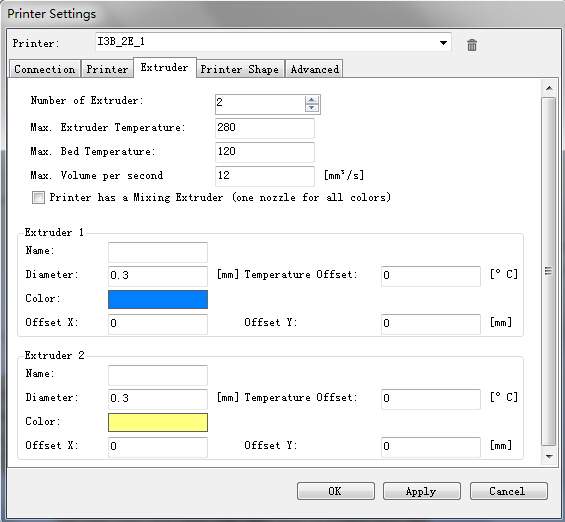
Step 2: Set up your extruder
- Choose the number of extruder, here we choose 2.
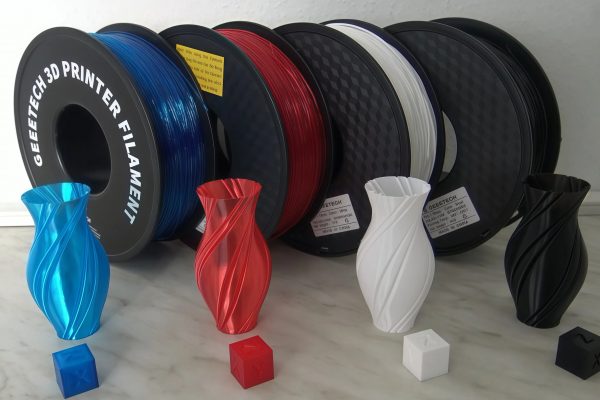
- Set up the diameter and color of filament
- Offset X/Y refers to the distance between the two extruders,which can be adjusted based on real situations. You can leave it alone now.
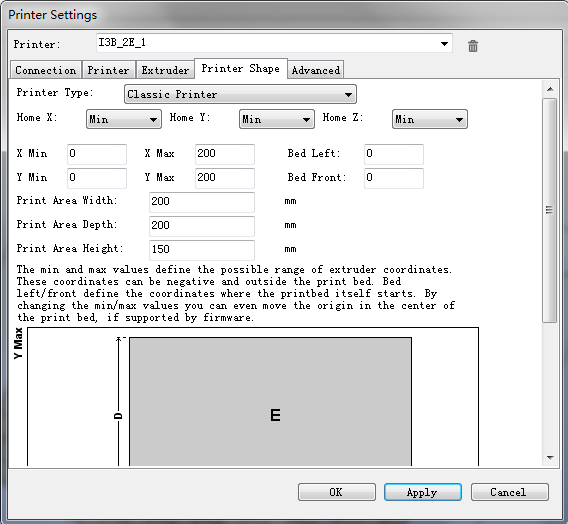
Step 3: Set up the shape of printer
Choose Classic printer as the printer type.
Home X: min Home Y: min Home Z: min
Print height: 150
Now,you can click the Connect button on the left corner to check whether it can connect with your printer. If it fails, please recheck the COM port and Baud rate.
Step 4: Manual control
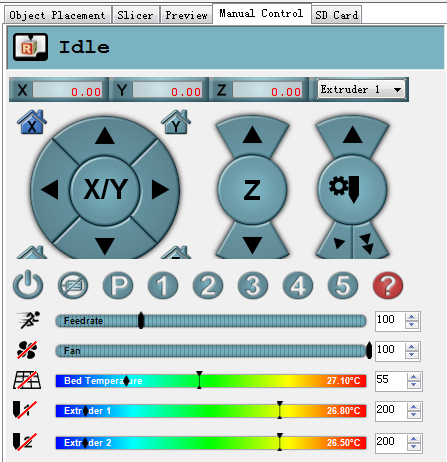
1. X home,
Click X home to home the X axis, or you can click the right/left arrow to move the axis to check whether the direction and distance is normal or not;
2. Check Y axis and Z axis respectively in the same way;
3. Click the icon of heated bed on RH to heat up the bed. observe whether the temperature is rising to a pre-set value;
4. Click the icon of heated bed and extruder, observe whether it is heating up to the pre-set temperature and keeps at that value.
5. When the temperature of extruder surpass 170 °C , choose extruder1 and extruder2 respectively, you can move them and check their directions.
Step 5: leveling the two extruders.
Leveling the two extruder is very important if you want to printer with two extruders at the same time.
First, you can adjust one extruder to make it parallel with the surface of the heated bed in (the same way you level for the single extruder) , click the button of Z home to adjust the distance between the nozzle and the heated bed, make sure the vertical distances of the nozzle to the four corners of the bed are the same.
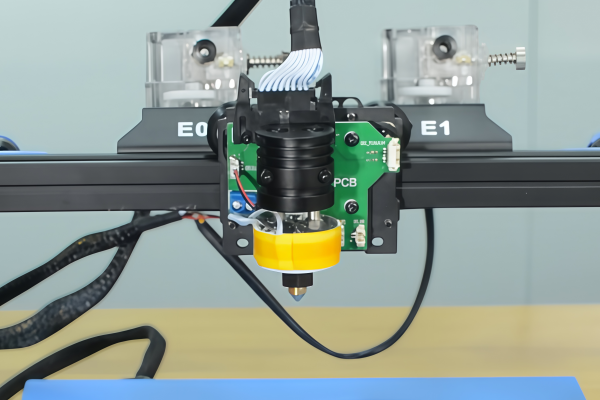
Then, you can adjust the distance between the second extruder and heated bed by adjust the screws, as shown in the following picture:
Loose the screws, you can adjust the distance between two extruders and heated bed.
For more detailed instructions, please view here.
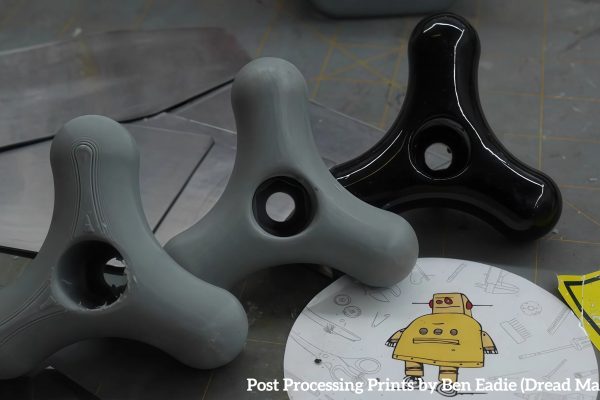
take a look at the printing object here.
now, it time you try with your prusa I3 pro C.