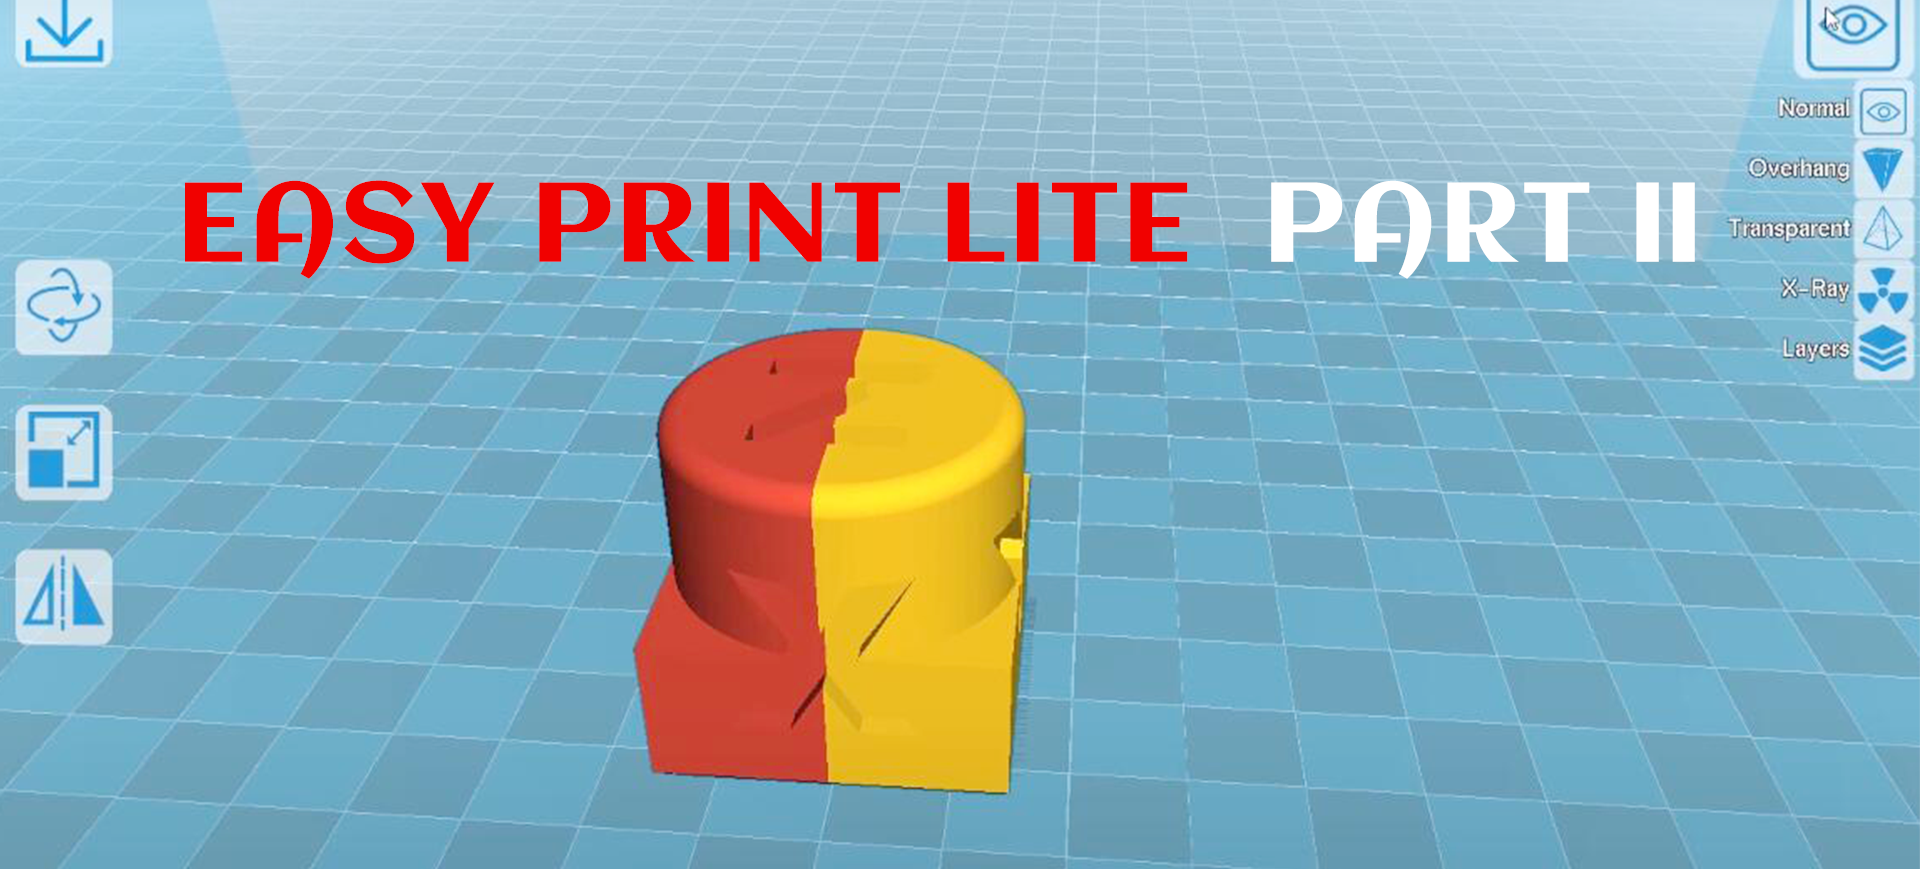
EASY PRINT LITE | A 3D Printing Software For Color Mixing Function of Your 3D Printers (Part II)
Besides the color merging with separate modular of different colors, the updated version of our Easy Print Lite also allows you to print your models with gradient color which requires only some simple steps. Let’s dive in and see where it will bring us.
Setting Procedures
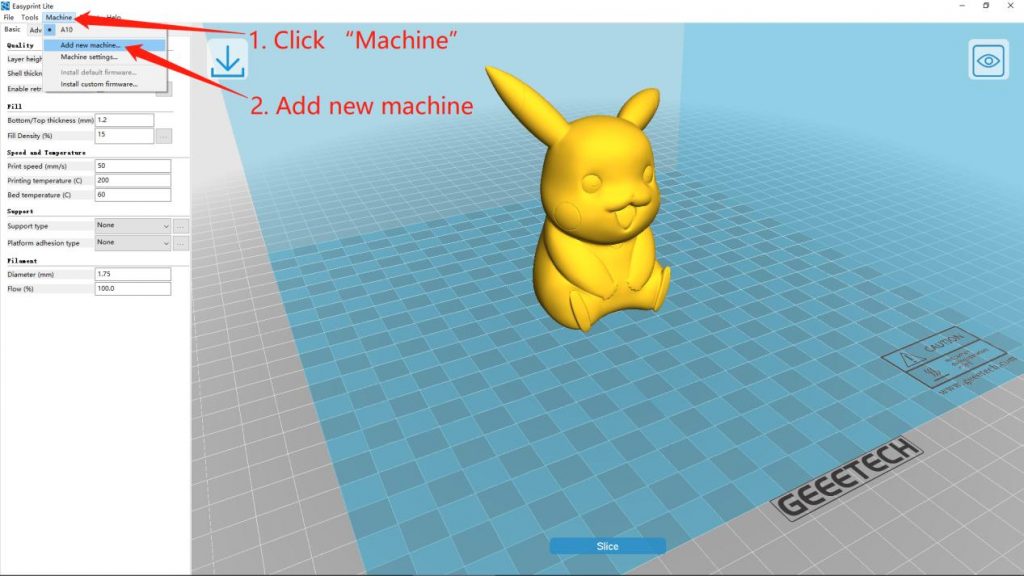
1. Select Your Machine
Get access to the software and then click the “Machine” Button on the upper left corner and select the “Add New Machine” function.
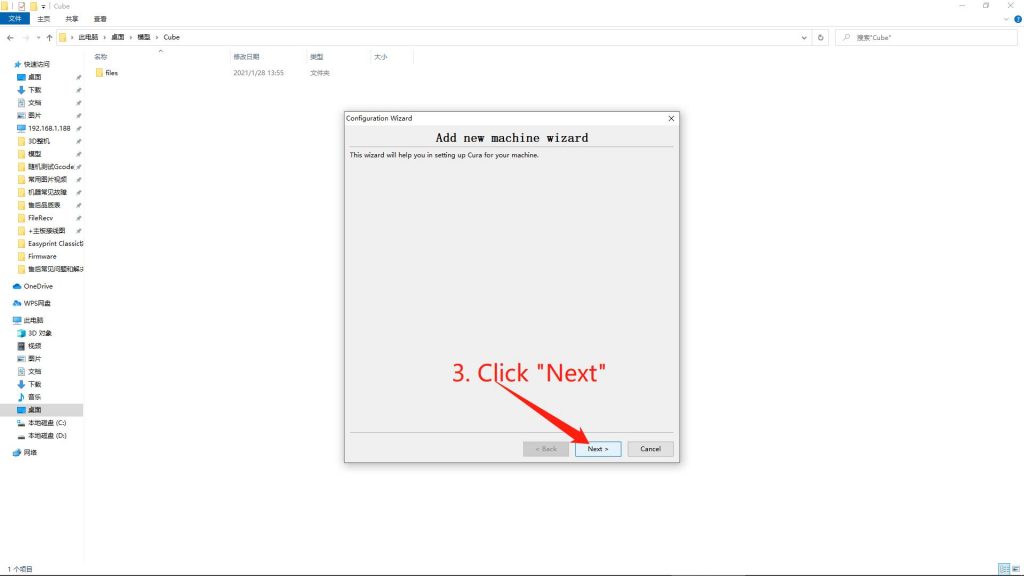
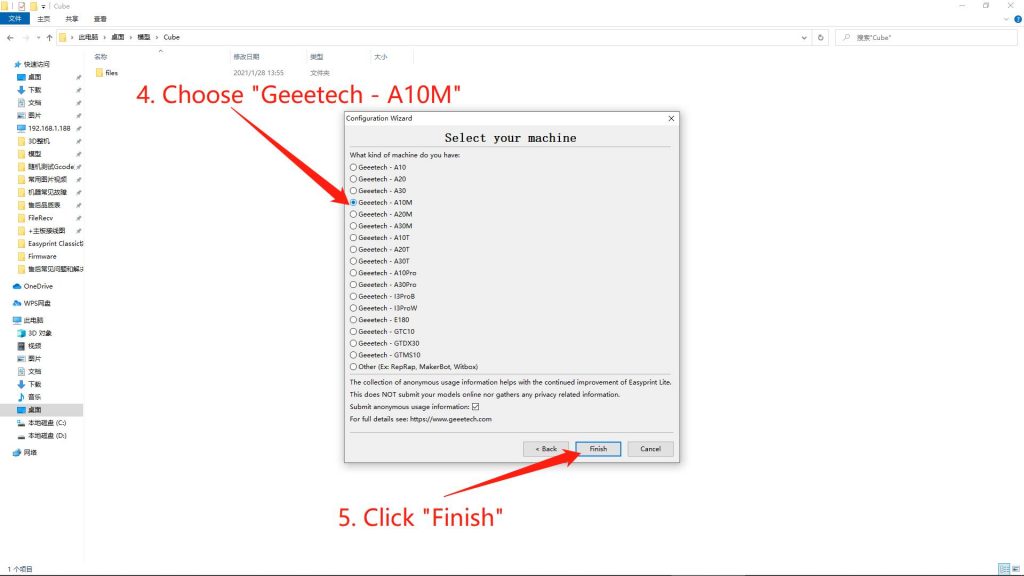
2. Add New Machine with Dual Extruder (A10M/A20M/A30M), Or Machine with Triple Extruder (A10T/A20T/A30T)
Choose the printer that you’ve got, and then click “Finish” to enter the operating interface.
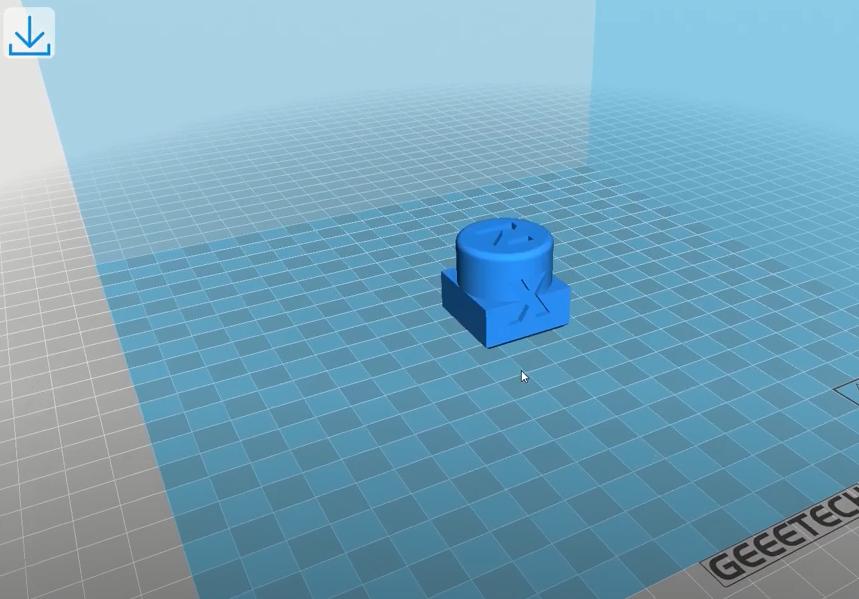
3. Upload the STL File
Import the STL file and then click the “Slice” button. And then choose “Yes” for coloring model layers.

4. Parameter Selection
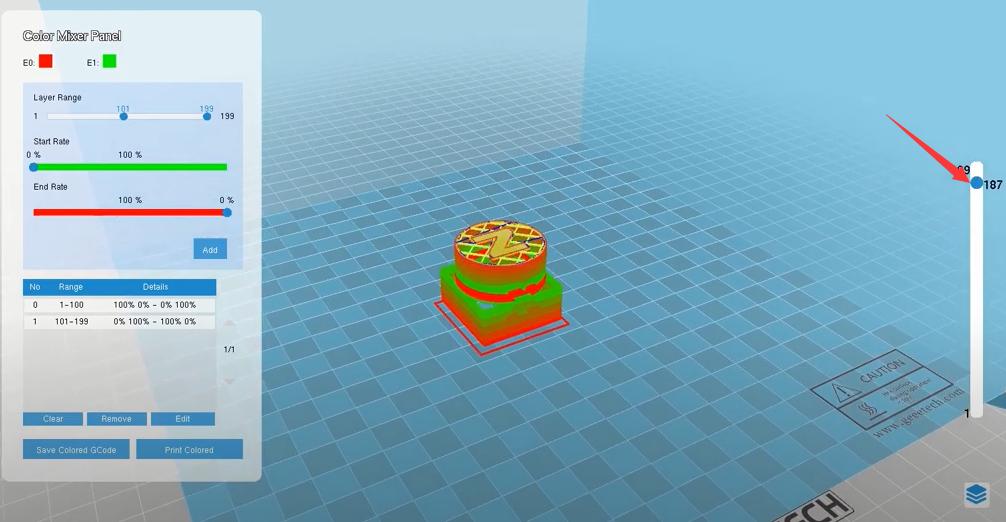
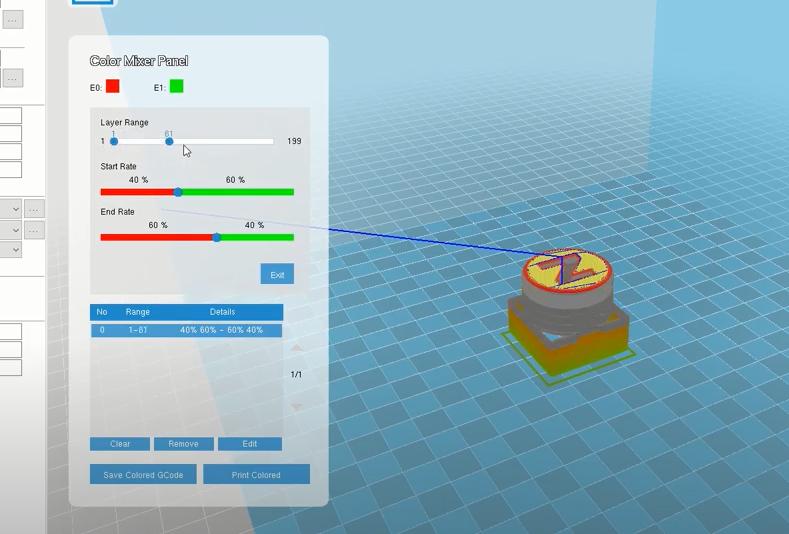
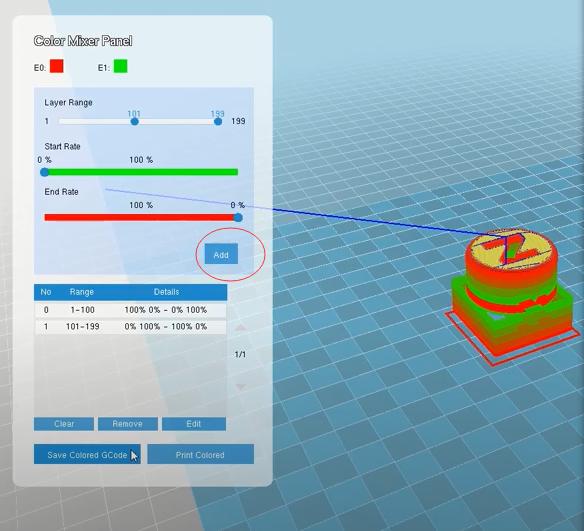
As long as you’ve finished the slicing process, a Color Mixer Panel will pop up right away which allows you to DIY your color fantasy, and you can adjust the blending color by controlling the slider.
First, remove the default setting as you wish.
There is one fixed control panel “Layer Range” which allows you to pick a range of layers for a particular setting. For instance, if you want to operate the layers from 1-50, move the left button to the leftmost side which is marked with “1” on the top of it while moving the right button to the point marked with “50”.
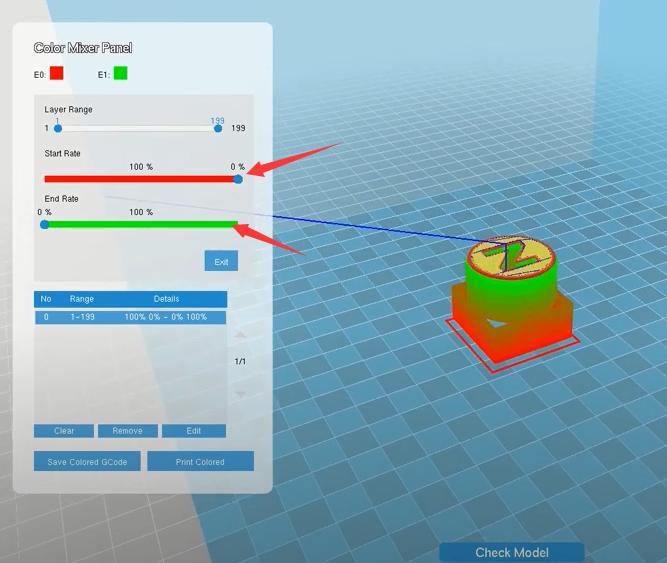
Then, you’re allowed to control the buttons in the mix coloring section (Start Rate and End Rate) to adjust the proportion of each color. Take the model as an example, if you set the layer range from 1-199 (the quantity of layers is based on the volume of your model and the optimal slicing setting), with a start rate of 100% red and an end rate of 100% green. The effect of the color will be like the image as follows (The brightest red from the first layer to the brightest green till the end, while it gets a color transition in between.)
Or, according to your DIY creation (if you’re quite talented and sensitive to various color blending), you are allowed to adjust the proportion of each color while making a way more wonderful and eye-catching effect based on the color blending.
And don’t forget to click the “Add” button to save your previous setting, make sure that every layer is covered with color.
5. Preview and Save Gcode
Control the slider at the rightmost, you’re able to preview the whole model layer by layer. After this, please remember to your finished file in the format of Gcode. Geeetech Wiki ↗