Here’s how you can fix pillowing! No Gaps
The 3D Printing Problem-
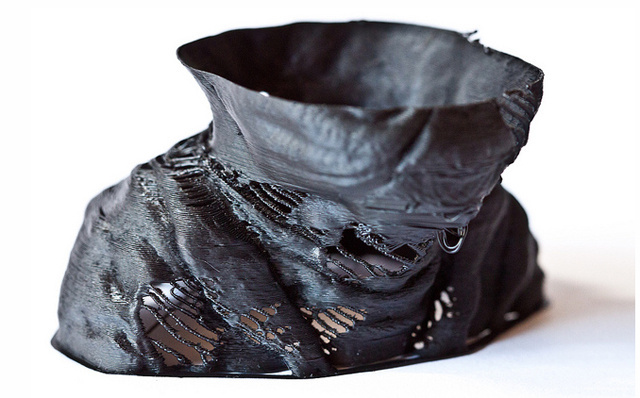
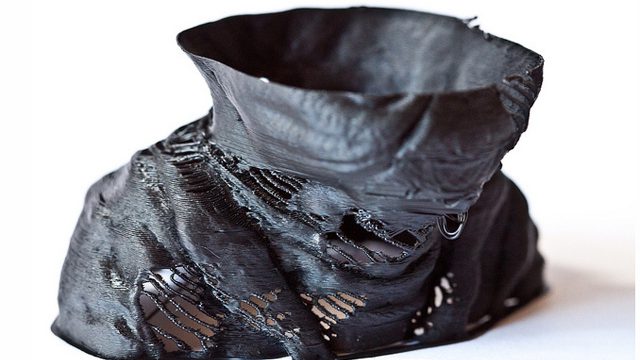
Your 3d print may have seemed successful while printing it but once its finished you notice gaps and holes in the outer layers. This is known as pillowing and though it is frustrating after spending hours on a print, there are some easy ways to prevent it from happening again! How to fix pillowing here we go!
Why does pillowing happen?
There are a number of reasons why these gaps and holes form on the 3d print. If the top layer itself isn’t thick enough and then pillowing is more common as well as if there isn’t sufficient cooling of layers.
Luckily with a few adjustments and changes in your print settings, you can avoid it from occurring again.
How To Fix pillowing 3D print:
1. Use a cooling fan
You may have the optimal settings but if your layers don’t cool properly it could contribute to pillowing. Use a fan with settings set to low for the initial layers and after the first few layers, the fan speed can increase. If you are using a cooling fan already here are a few things to check for-
- Position– Check if your fans are positioned correctly so that maximum airflow is aimed towards your print.
- Fan Speed- Without proper cooling, the material will tend to curl up at the places where it crosses the infill lines and forms gaps in the top layer. For best results, ensure that the fans are running at the maximum fan speed as per the cooling settings.
2. Increase Thickness of Top/Bottom layers

Since pillowing occurs on the top or outer layer, the best solution is to increase the thickness of this layer. A layer that is too thin at the top will be more prone to gaps and holes. Increasing the thickness will seal or close the “gaps” that are otherwise seen when pillowing takes place.
Ideally, the top/bottom thickness should be at least 6 times that of the layer height. For example, if your layer height is 0.1mm then the Top/Bottom thickness should be set to 0.6mm and you can even take it up to 0.8mm to make it full proof.
To edit these settings, check the advanced section of your print application, under the ‘Bottom / Top Thickness setting’.
3. Increase infill percentage
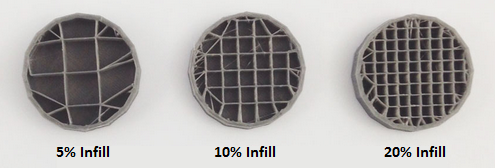
Apart from increasing the top/bottom thickness, check your infill settings as well. If the fill density is set at a default 5-10%, you should increase it to at least 20% and retry the print.
4. Use another filament size
If all else fails then consider switching to another filament size. The gaps and holes you see during pillowing could simply be from your filament. It’s a common problem seen in filaments of 1.75 mm. You can avoid the problem by switching to a filament of size 2.85mm as it will allow for better control and higher extrusion rates on wider nozzle diameters. Run a test print to see if the problem is solved! Make use of these tricks to prevent your 3D print by pillowing. I hope this how-to-fix pillowing article is helpful to you guys to make your 3D print look better and attractive.
Image credits: creators.vice.com, 3ders.org, bootsindutries.com, 3dprintingindustry.com, grabcad.com