Troubleshooting Guide to 7 Common 3D Printing Problems, our solution.
I’ve seen this a lot of times when utilizing plastic expulsion 3D printers and have come to acknowledge there are a few standard issues that may cause the issue. It’s extensively disappointing as prints may take a long time to finish and you’re squandering much time and in addition fiber.
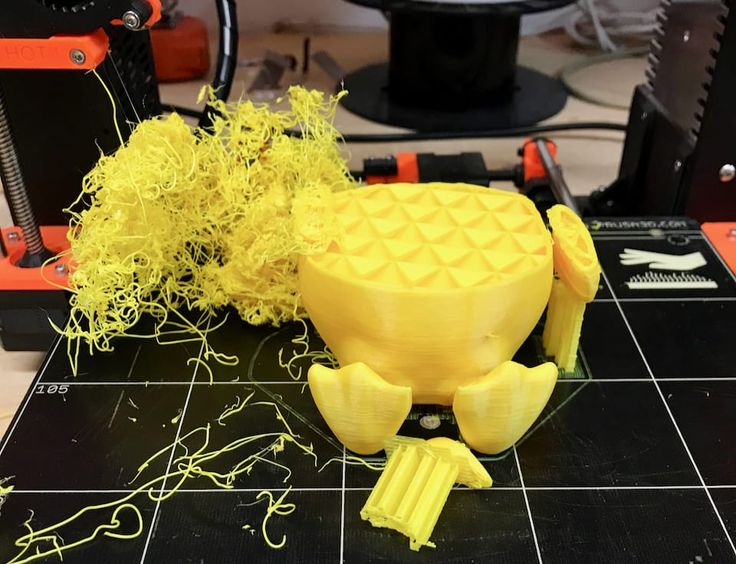
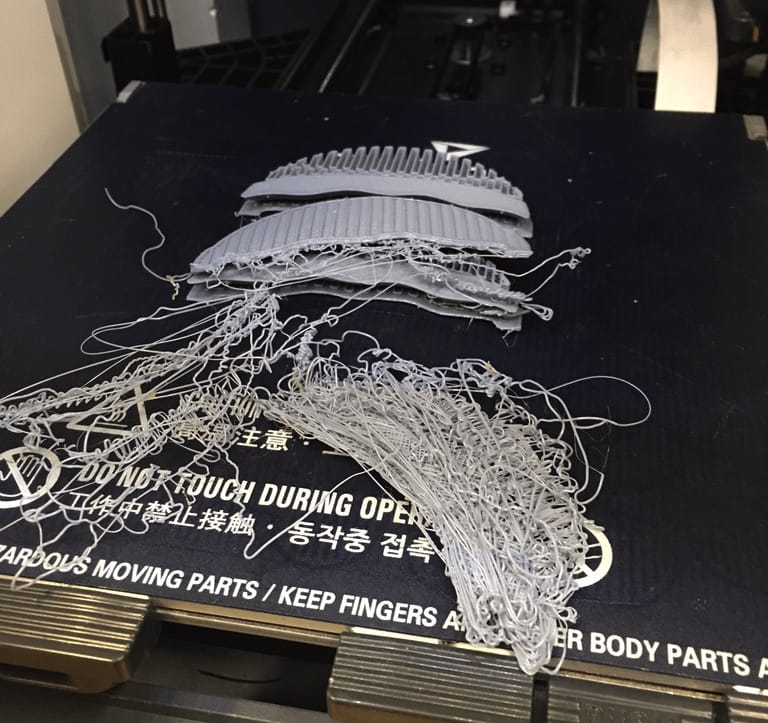
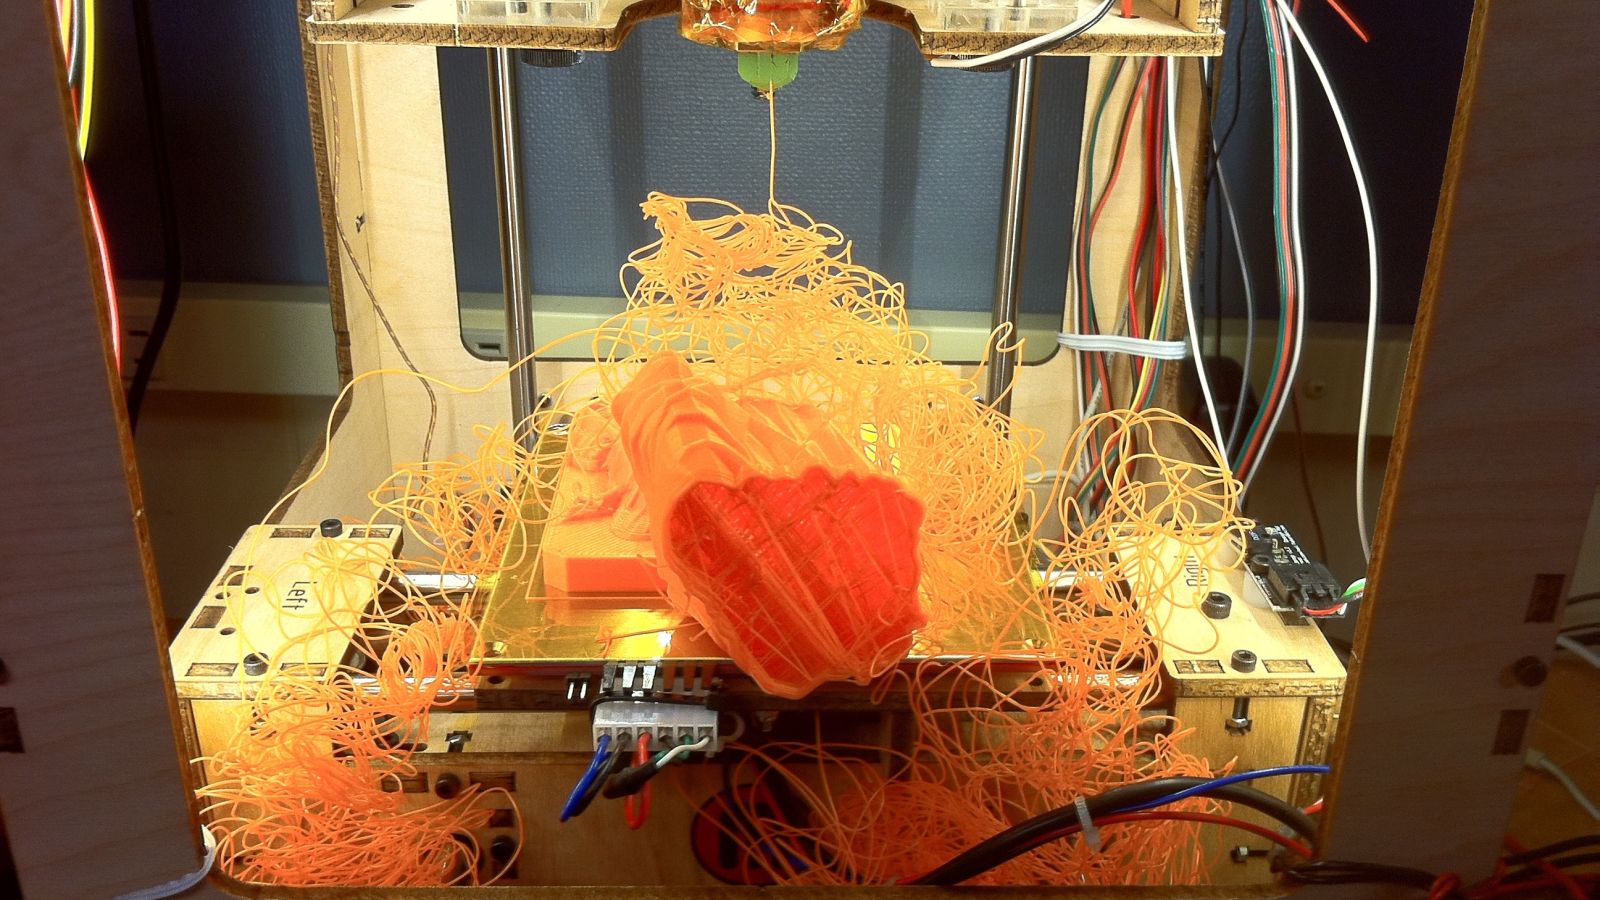
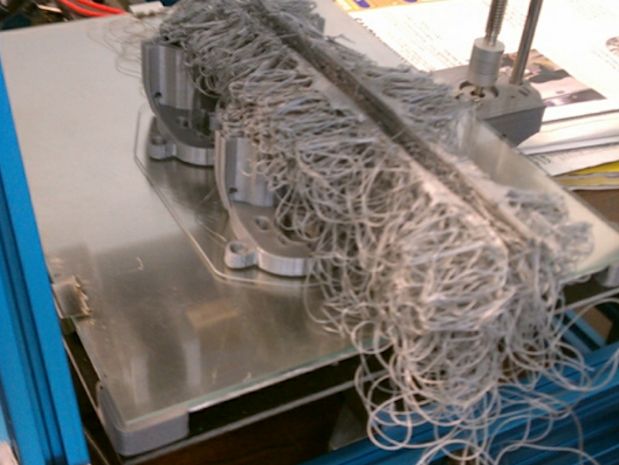
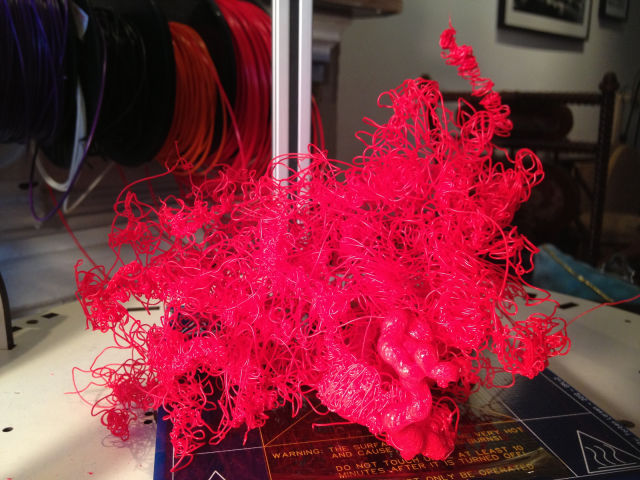
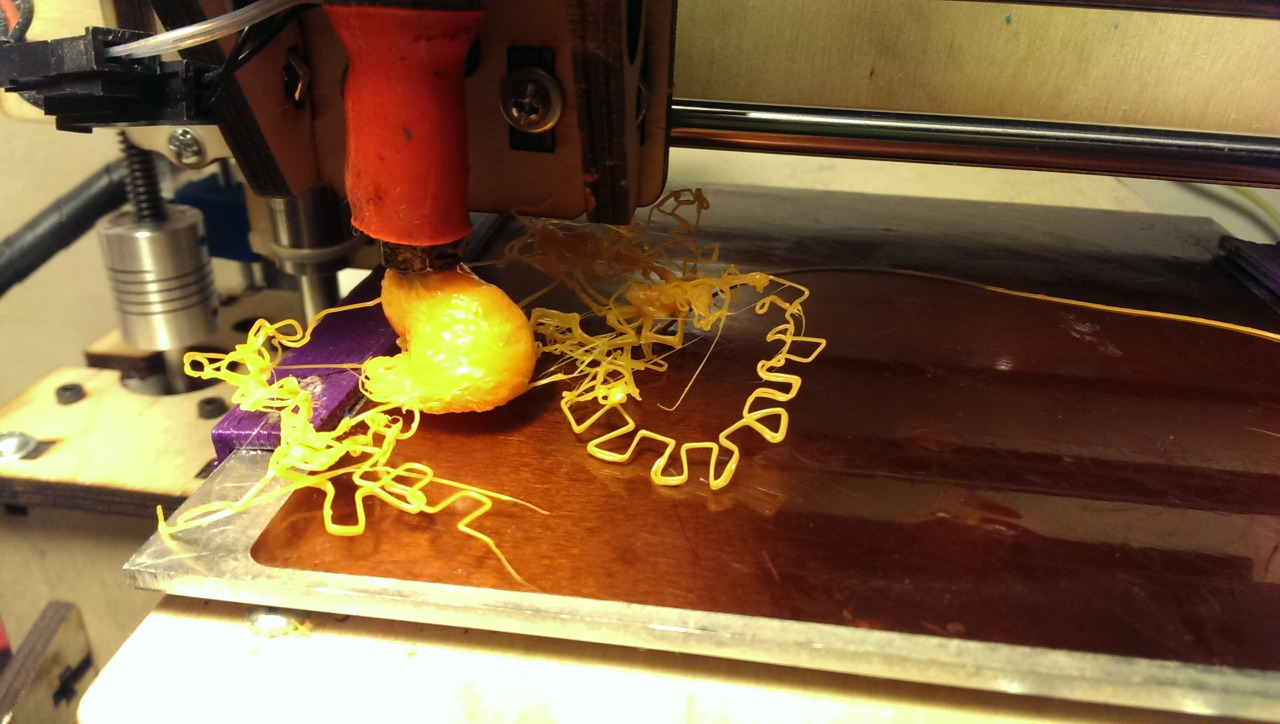
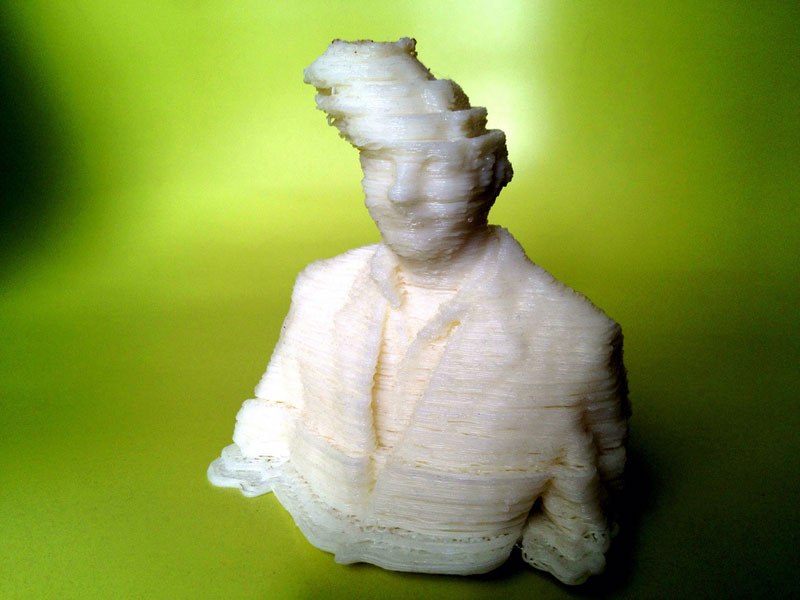
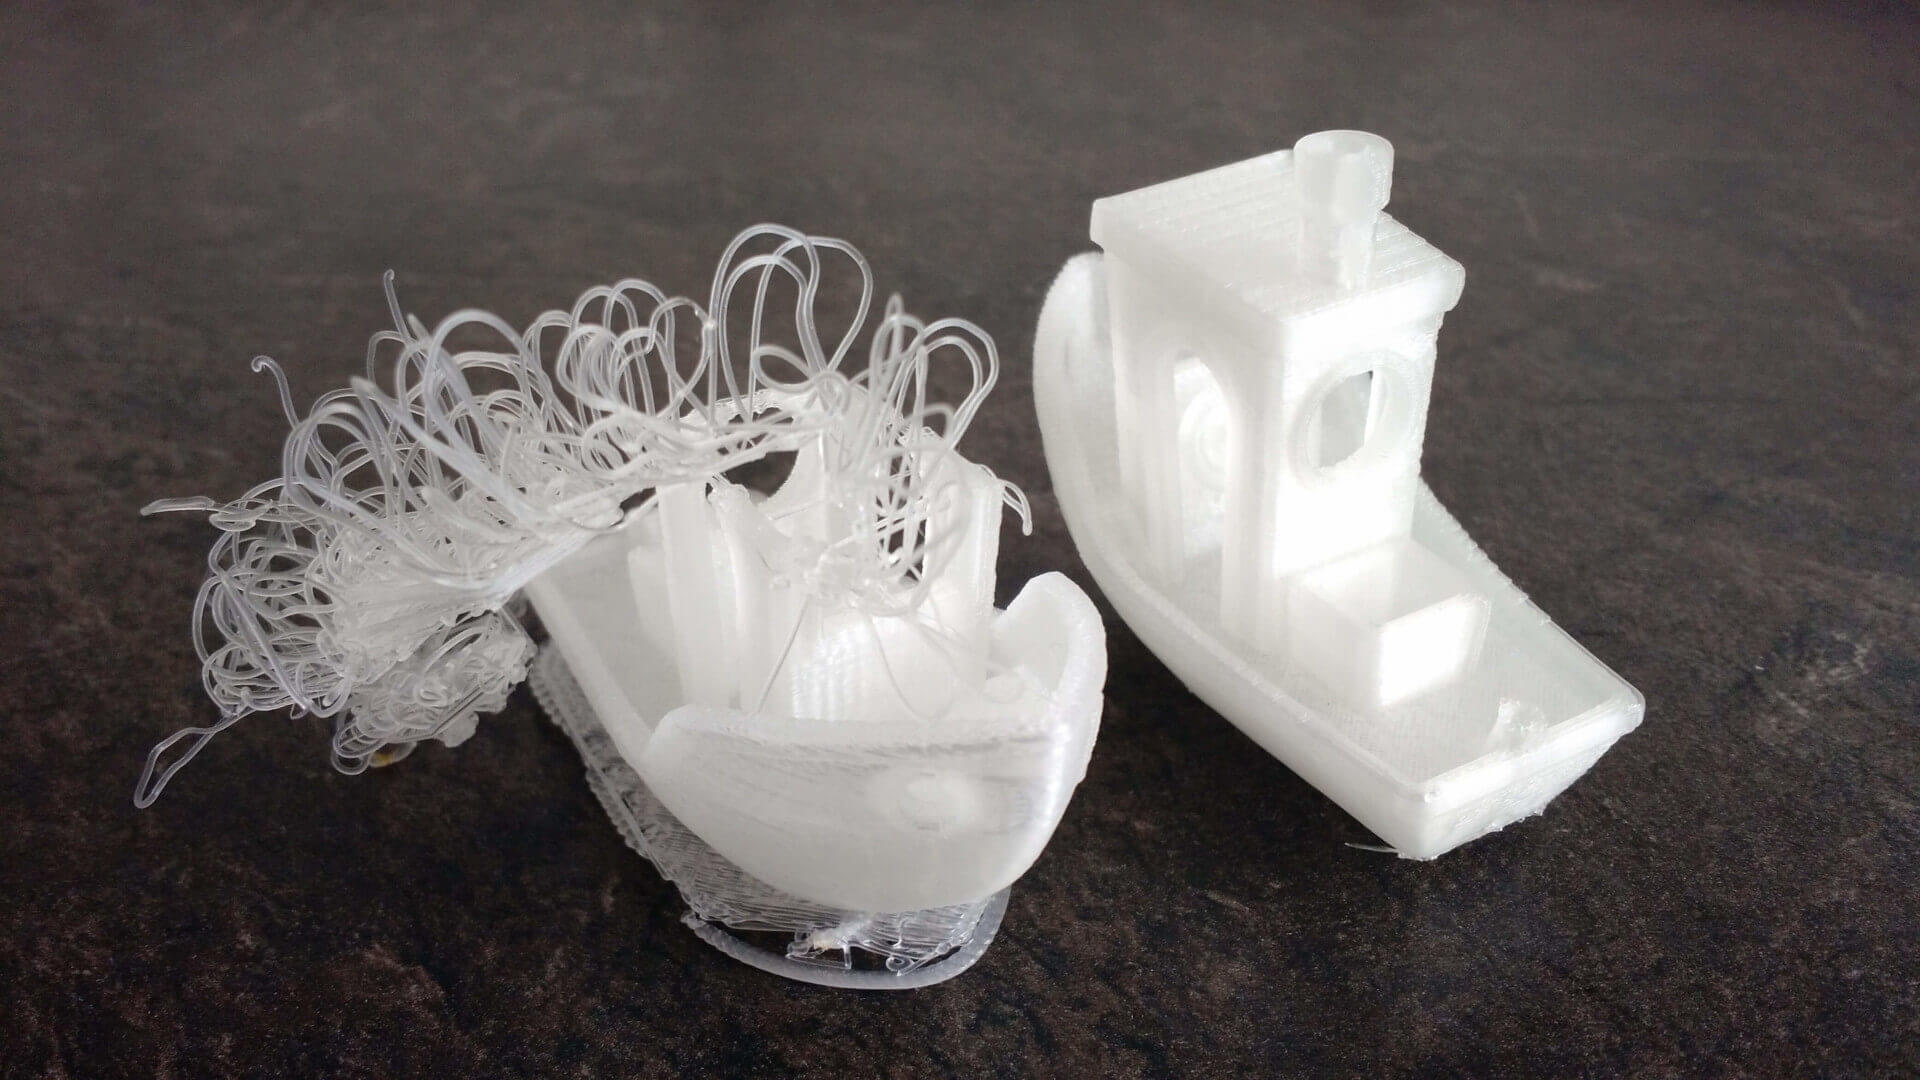
The circumstance is normal: you begin a print to run overnight and in the morning you check the 3D printer just to discover a heap of spaghetti. Surprisingly more terrible, dissolved – and now set – plastic may be inserted in the segments of your machine. In the most pessimistic scenario you may really wreck your machine.
It’s best to avoid these situations. Here’s a few things to consider if you’re having consistent problems printing a particular 3D model.
1.Bed Level?
The most obvious problem you may encounter is that your print surface may be slightly unlevel. This means that in part of your 3D print’s first layer the extruder will be too high, while in the rest it will be too low. For a very small portion of the print surface it will be at the correct height. For machines that do not have an auto level function, you should ensure the machine is in fact level.
In some extreme cases the print surface itself is bent and thus cannot be properly leveled. This tends to happen only in older machines with non-metal print beds, such as acrylic.
ACTION: Level your print surface using the standard approach for your machine.
2. Z-Gap Wrong?
Even when a desktop 3D printer is completely level, there is still the matter of ensuring the gap between the nozzle and the print surface is optimum. If it’s too much, then the first layer will not be sticking properly and likely will come loose later on. If it’s too tight you may find the print sticking too much when completed, or in some cases the extrusion may stop due to back pressure from a very tight squeeze pushing the filament.
ACTION: Set the z-gap properly with a test print. Some machines actually allow you to tweak this on the fly, which you should almost always do during the first layer.
3.Print Surface Unclean:
Very often people are handling the print surface and inadvertently leaving oils and other material. You can’t necessarily see it, but it can affect the adhesion properties of some plastics. There’s also the possibility of crud leftover from previous prints should should be removed. Each new print should face an unpolluted print bed.
ACTION: clean the print bed with appropriate solutions. Usually this means isopropyl alcohol, but check with your 3D printer manufacturer.
4.Filament Snagging?
The plastic extrusion 3D printer will work only so long as filament is being delivered to the extruder. This means that your filament spool should rotate smoothly without much effort. Sometimes you can find the spool having too much friction on its mount, which can put undue stress on the extruder that could even slip.
ACTION: Ensure the spool rotates smoothly and even lubricate if necessary.
Knots: Another possibility is that the filament itself is knotted up. This occurs when you accidentally let the end of the filament slip underneath other strands, typically when changing spools.
ACTION: Always hold on to the loose end of the filament and stick it in the holes in the filament spool. For untangling
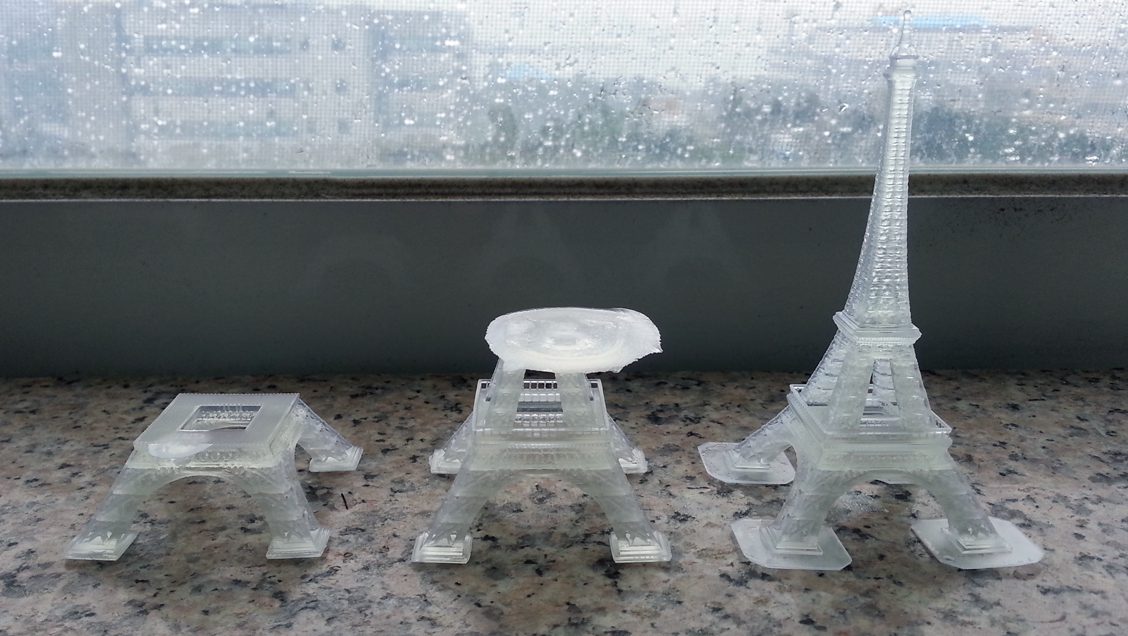
5.Flat Bottom?
A print will stick if there is sufficient surface area on the bottom of the 3D model. But although your 3D model might LOOK like it’s flat, it may NOT BE SO. If this is the case, you might be surprised to find your first layer is fantastically smaller than you thought and is insufficient to stick.
ACTION: Use a 3D modeling tool to inspect the bottom of the 3D model before printing. If necessary, use a Plane Cut to slice off a wee bit of the bottom to ensure it’s truly flat.
6.Enough Bottom?
What is the ratio of surface area of the bottom to the rest of the print? Do you expect to 3D print a large object and have only a 4mm square area support it? I think not.
ACTION: Make sure the bottom of the 3D model is sufficient to support the rest of the model. Reorient if necessary.
7.Temperature Correct?
Sometimes layers aren’t sticking together properly in mid print and depending on the model’s geometry it might cause a failure. This could be because you’re 3D printing at a temperature that’s a bit too low.
ACTION: Increase the print temperature slightly and ensure those layers really fuse into each other.
Credit: pinimg.com;squarespace.com; izismile.com; gambody.com; wordpress.com