Here’s How To Get The Best Print Quality From Your 3D Printer
We’re all looking to get the best out of our 3D printers and sometimes a few tricks can go a long way. Whether a professional or hobbyist, here are some tips to get better results and avoid commonly faced 3D printing quality issues.
1. Follow the manufacturer’s instructions while setting up the 3D printer
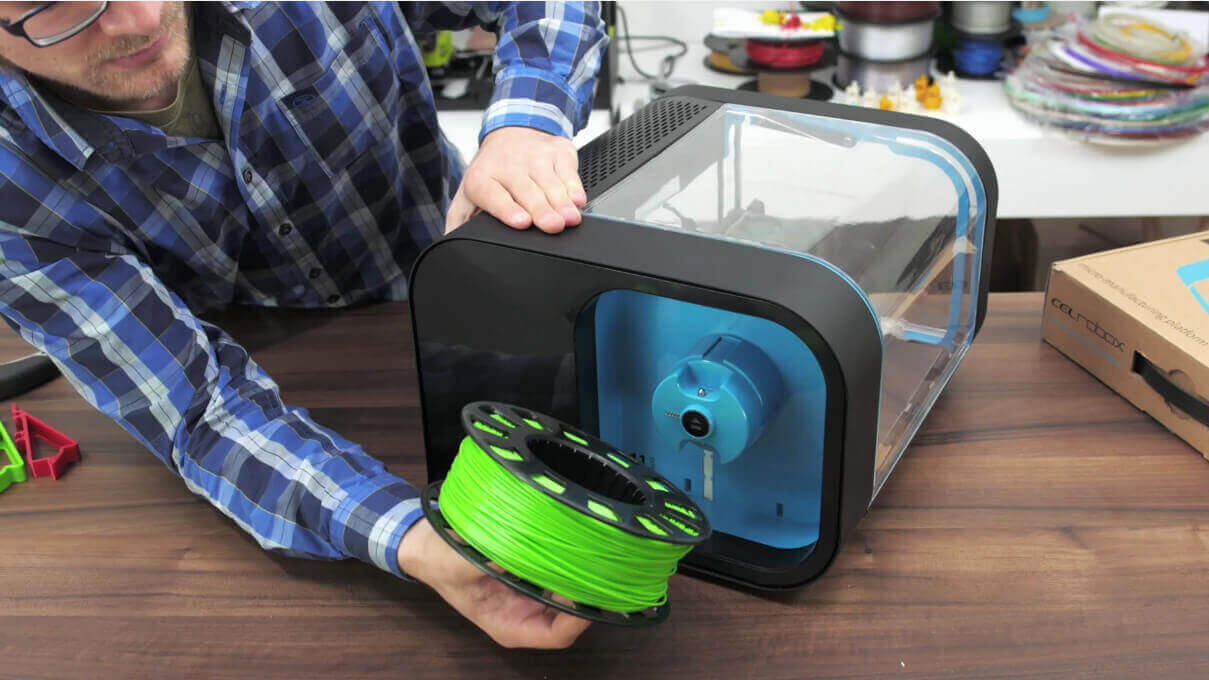
This may seem obvious but it’s important to keep all the instructions in mind when setting up your printer. Setting up a 3D printer isn’t as easy as it sounds. Always read and follow the manufacturer’s setup instructions step by step as there may be straps or brackets inside that you need to remove.
Also, use the manufacturer’s recommendations for software settings and print settings.
2. Update the printer firmware and software frequently
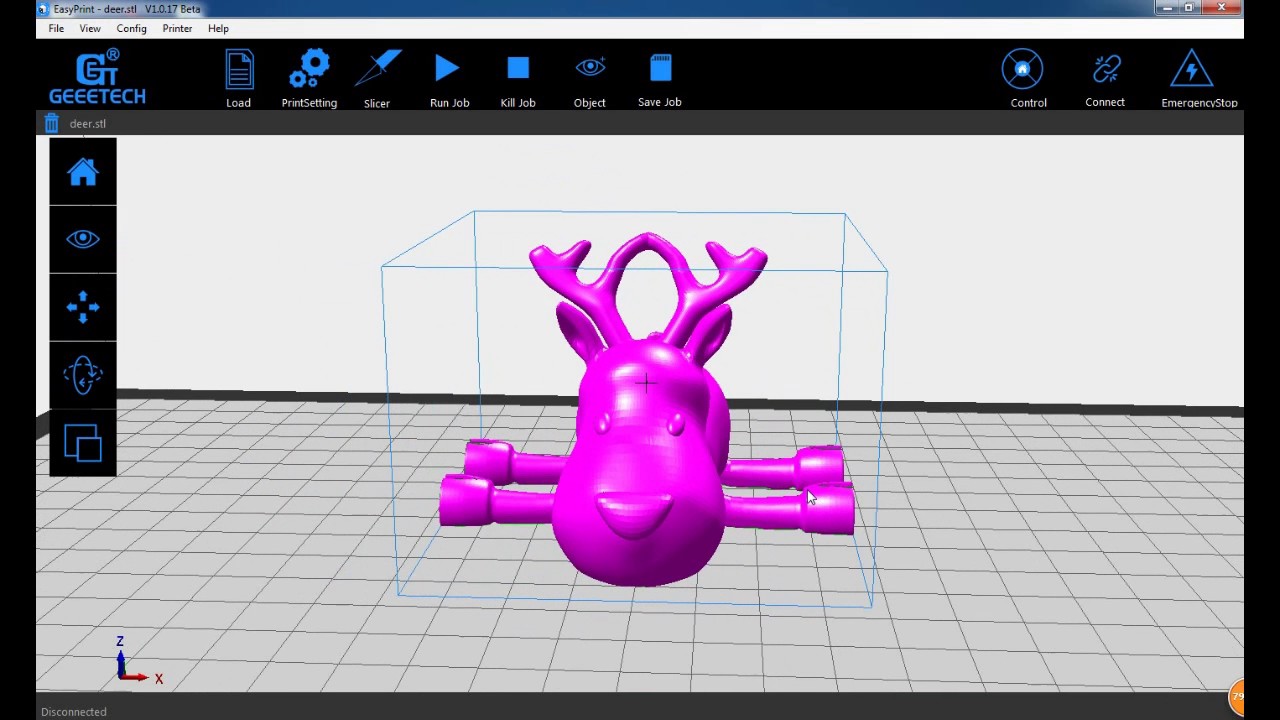
Printer manufacturers constantly try to improve the firmware and the printer software/slicer in order to fix errors and improve the functionality. So, check for updates regularly and install them. Turn on your printer’s auto-update feature to make sure that your software is always up to date.
3. Keep your 3D printer well maintained and calibrated
Before you start a print, check that all screws are firmly fixed, that no belts or pulleys are loose.
Also, do the maintenance procedures the printer manufacturer recommends. The parts of a 3D printer are constantly moving, heating up and subsequently cooling down. Neglecting maintenance of these parts will lead them to break and will have to replace them.
4. Clean the print bed well
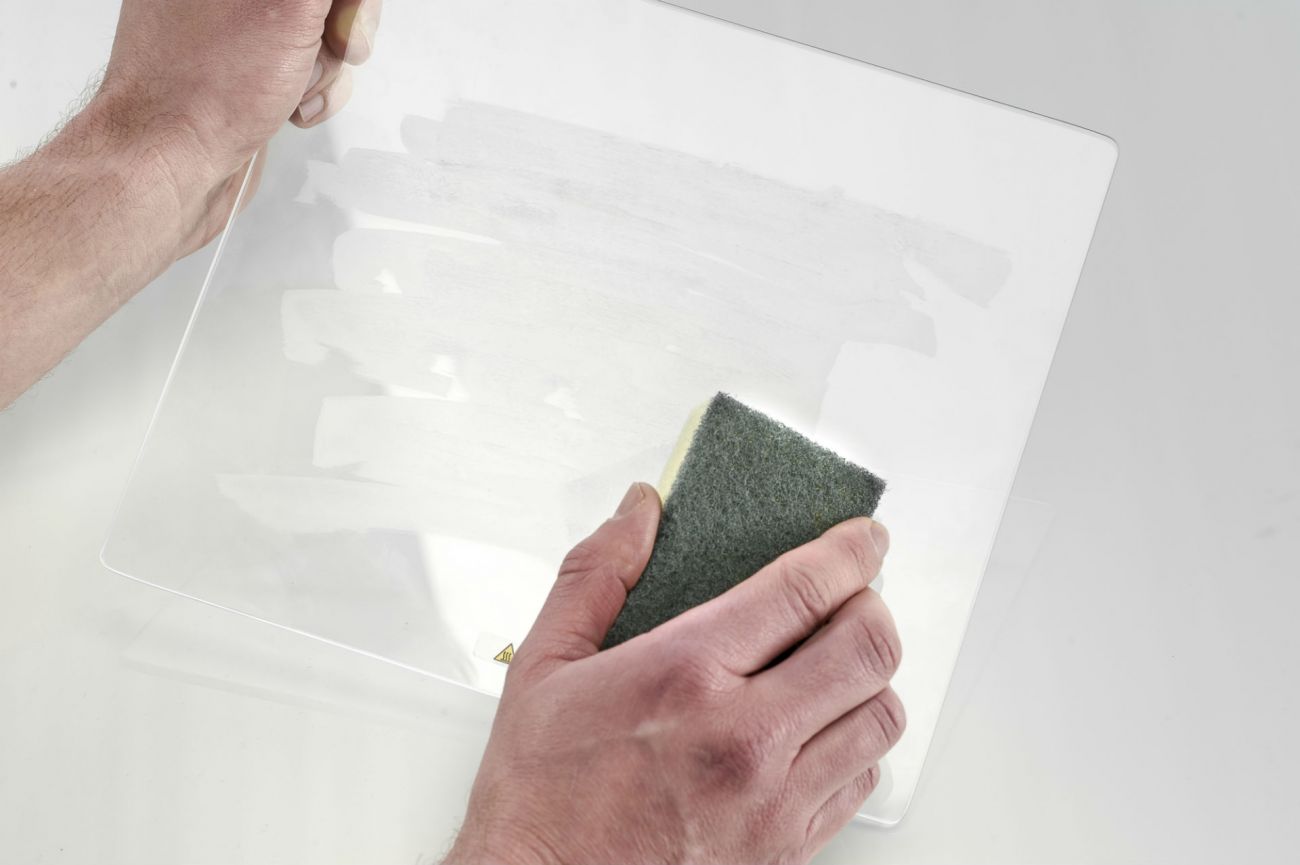
Its quite common to find fingerprints left behind on a print bed, especially when prying off designs from the print bed. Unfortunately, these stains do not let the filament stick properly on the print bed for the next print. You can clean them off easily with a lint-free cloth and rubbing alcohol.
Remnants of printed pieces on the bed also impair new prints: Remove them before starting a new print.
5. Make sure the print bed is level
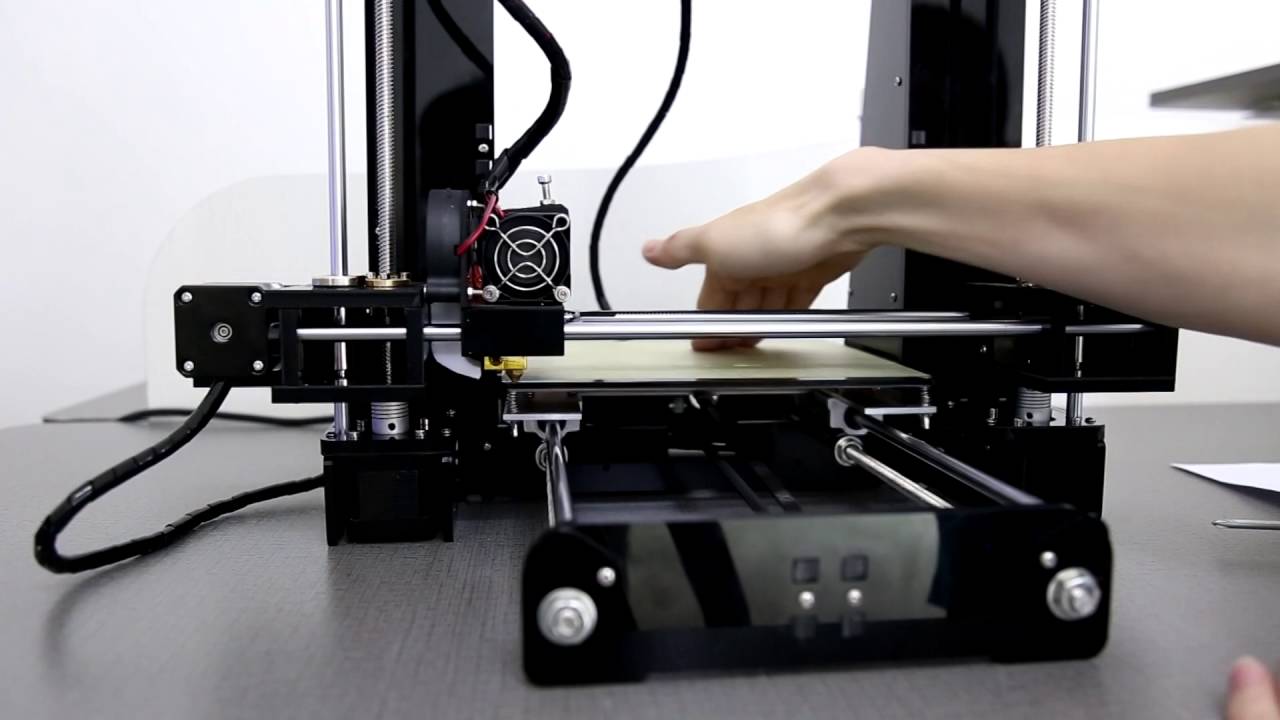
If the print bed is not leveled, the printhead cannot adjust itself. A bad bed level may cause warping of the first few layers and compromise bed adhesion. Another result is that the bottom surface does not come out smoothly.
Levelling the print bed does not mean making it level to the surface on which the printer is placed. The purpose of leveling is to make sure the printhead always stays parallel to the printed.
If the distance between the nozzle and the printed varies while one layer is printed, the filament may fail to stick (if the distance is too big) or the filament may clog the nozzle causing the printer to jam (if the distance is too short).
Leveling your print bed depends on your printer and printer software.
6. Adjust the gap between the nozzle and the bed
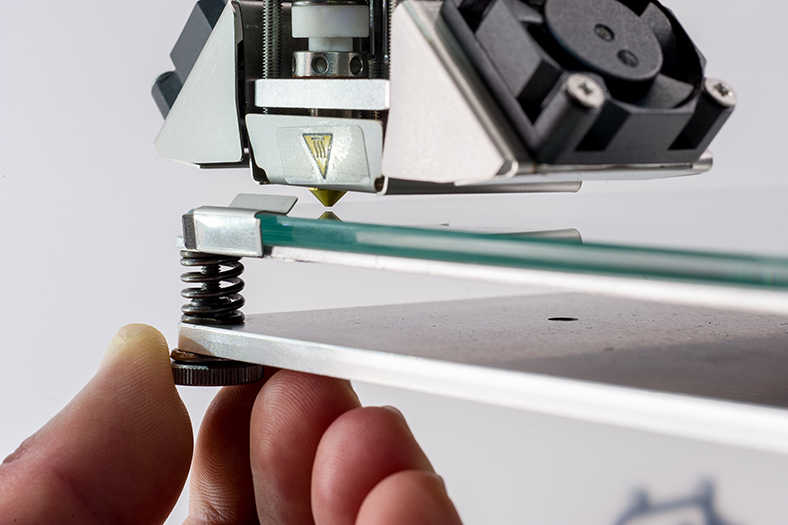
As already mentioned the distance between the nozzle and the bed needs to be set correctly, or else the printed pieces will have flaws. Again, consult the printer documentation for information on how to set the distance and which distance to choose.
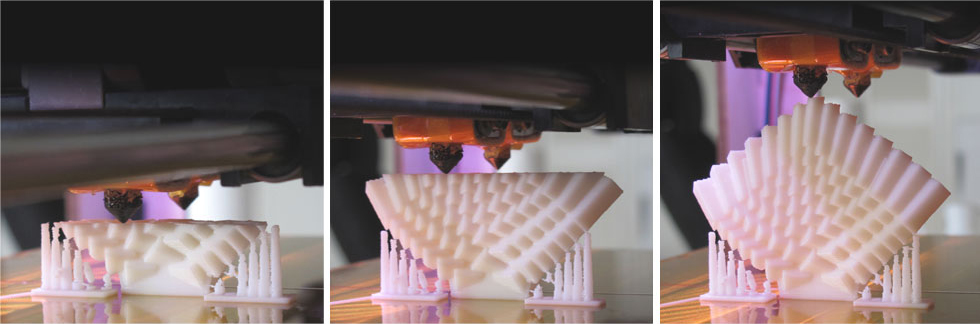
7. Smaller is better
A handy tip for those who are new to 3D printing- Start small. Working on bigger prints that take 6 hours only to have it fail can be very frustrating. Also, do not print several pieces at a time.
When you construct models on your own, it is a good idea to print out the tricky parts separately to test whether they come out as you want them. So you won’t have to throw away the entire model when the tricky part goes wrong.
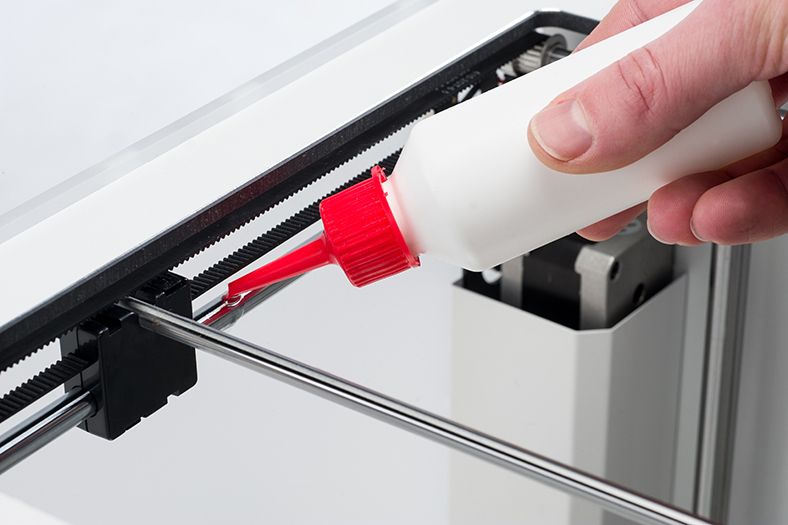
8: Improve print bed adhesion
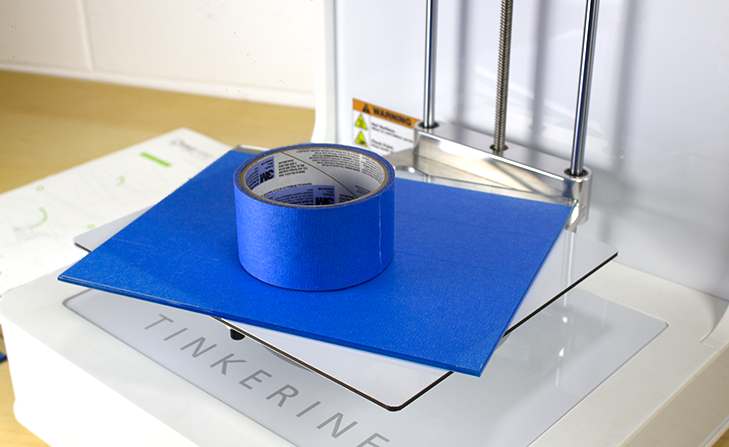
Warping of your print design can take place when the first few layers do not stick properly to the print bed. To improve the adhesion of the filament, we recommend you coat the bed with Kapton tape or masking tape (masking tape is fine for PLA filaments, Kapton is better when printing ABS filament as Kapton withstands higher temperatures). You may also apply glue or hairspray to the bed (either directly on the glass plate or on the tape).
9: Check the bottom layers
3D printing is a long process which can take hours and hours to finish. But it’s the very first layers of your print that determine whether the print will be successful. If the first layers do not come out right, we recommend you abort the print process – this saves time and print material.
10: Finally, be patient
Hang in there and don’t let the first print failures demotivate you. High-quality output takes time and practice. Enjoy the journey of 3D printing!
Take a look at some of our coolest 3D printers to make your work much easier!
Credits- ultimaker.com, youtube.com, commons.wikimedia.org, tinkerine.freshdesk.com