3D Printing Troubleshooting: Blocked Nozzle? Here’s the solution
The Problem-

You’re trying to print a design but whatever you try, nothing comes out of the nozzle. Removing and reinserting the filament doesn’t work as well.
Why is it happening

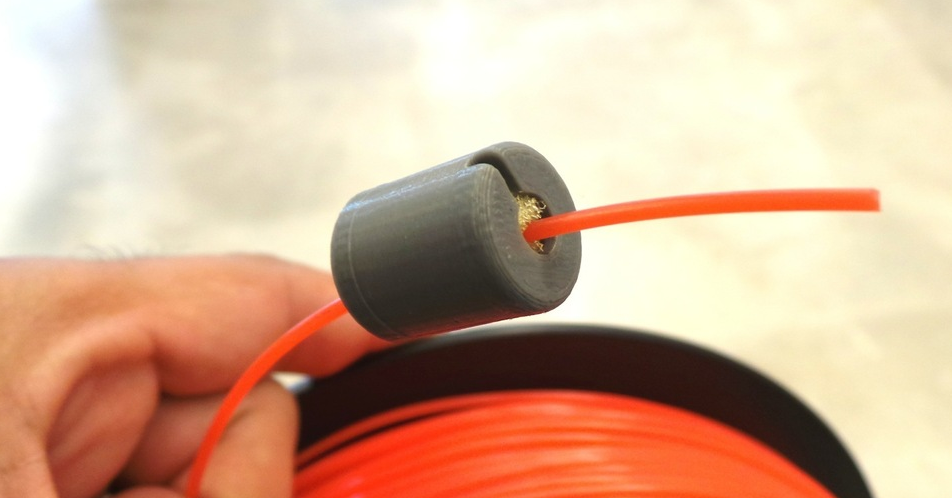
A small piece of filament has been left behind previously in the nozzle after changing spools, often when the filament has snapped off at the end. When the new filament is loaded, the piece of old filament that is left in the nozzle doesn’t allow the new filament to be pushed out.
A little printer maintenance can go a long way to reduce the chance of problems like a clogged nozzle. You’ll find that even before a clog appears, there is old carbonized filament stuck inside your nozzle. Weeks or even months may pass without you realizing it, but there will be small signs in the quality of your prints.
Small changes in your print quality like nicks in the outer walls, and small flecks of dark filament are often overlooked because it’s hard to tell if there is a problem or some variations. But if it continues then it’s a sign to acknowledge there may be a clogged nozzle creating these problems. You can find out more solutions here via the 3d printing troubleshooting guide.
When does it happen
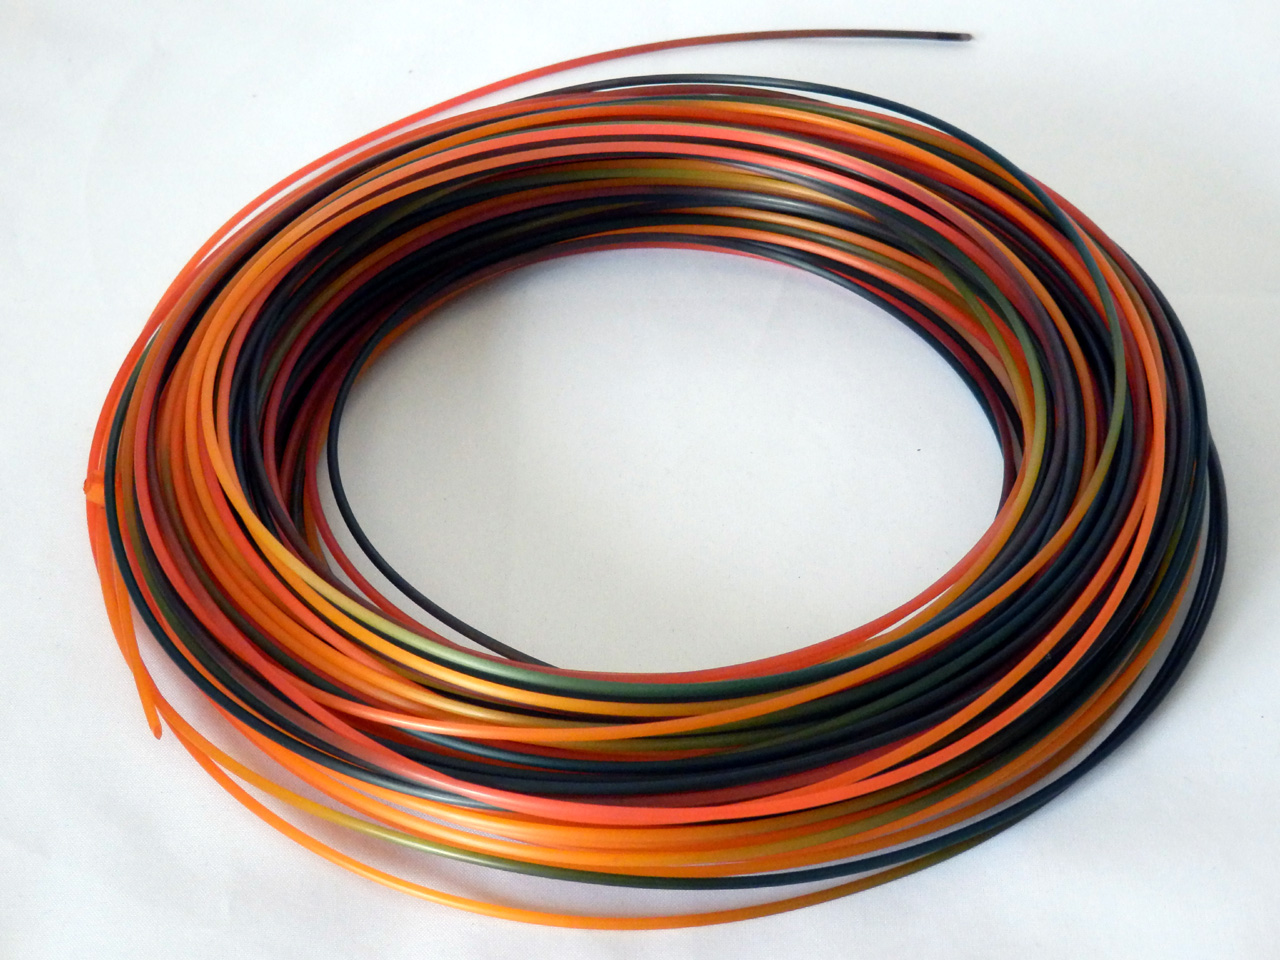
If you frequently switch between filaments like ABS and PLA then this problem occurs quite a bit. The difference in melting points of various filaments is what is attributed to a blocked nozzle. Some amount of PLA is left behind in the nozzle. When heated beyond its normal melting point, it will carbonize and burn which causes the blockage.
Similarly, a switch between ABS and Nylon does the same and you may see a wisp of smoke appear briefly as the new filament is fed through.
So keep these in mind if you use a variety of different filaments for your 3d print jobs.
The Atomic Pull or Cold Pull is one of the best solutions to fix this problem!
How to fix it
1. UNBLOCK WITH A NEEDLE
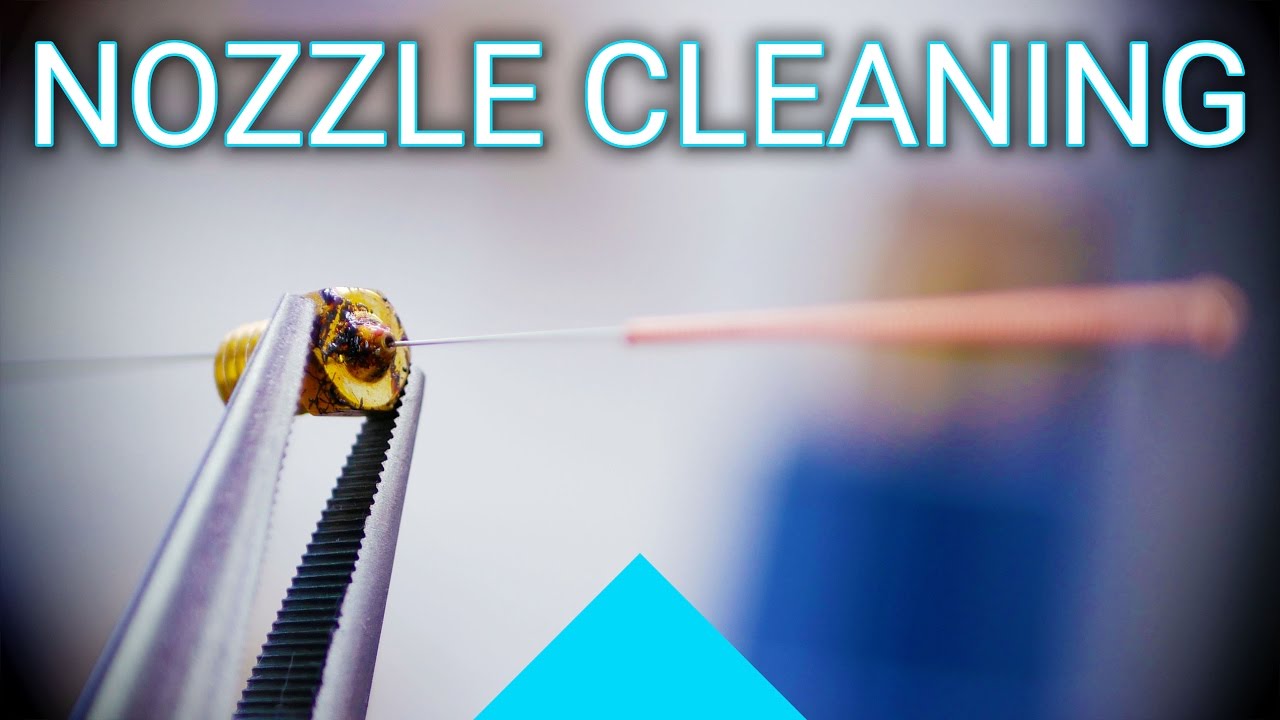
Unblocking can be a quick and easy process if you’re lucky. Start by removing the filament and using your printer’s control panel, select the “heat up nozzle” setting and increase the melting point of the stuck filament. No control panel on your printer? No problem. Connect your printer to a computer running compatible control software and heat the nozzle using that. For PLA set the temperature to 220 C. Once the nozzle reaches the correct temperature, use a small pin to clear the hole carefully, and don’t burn your fingers! If your nozzle is 0.4mm then you need a smaller pin.
2. PUSH THE OLD FILAMENT OUT

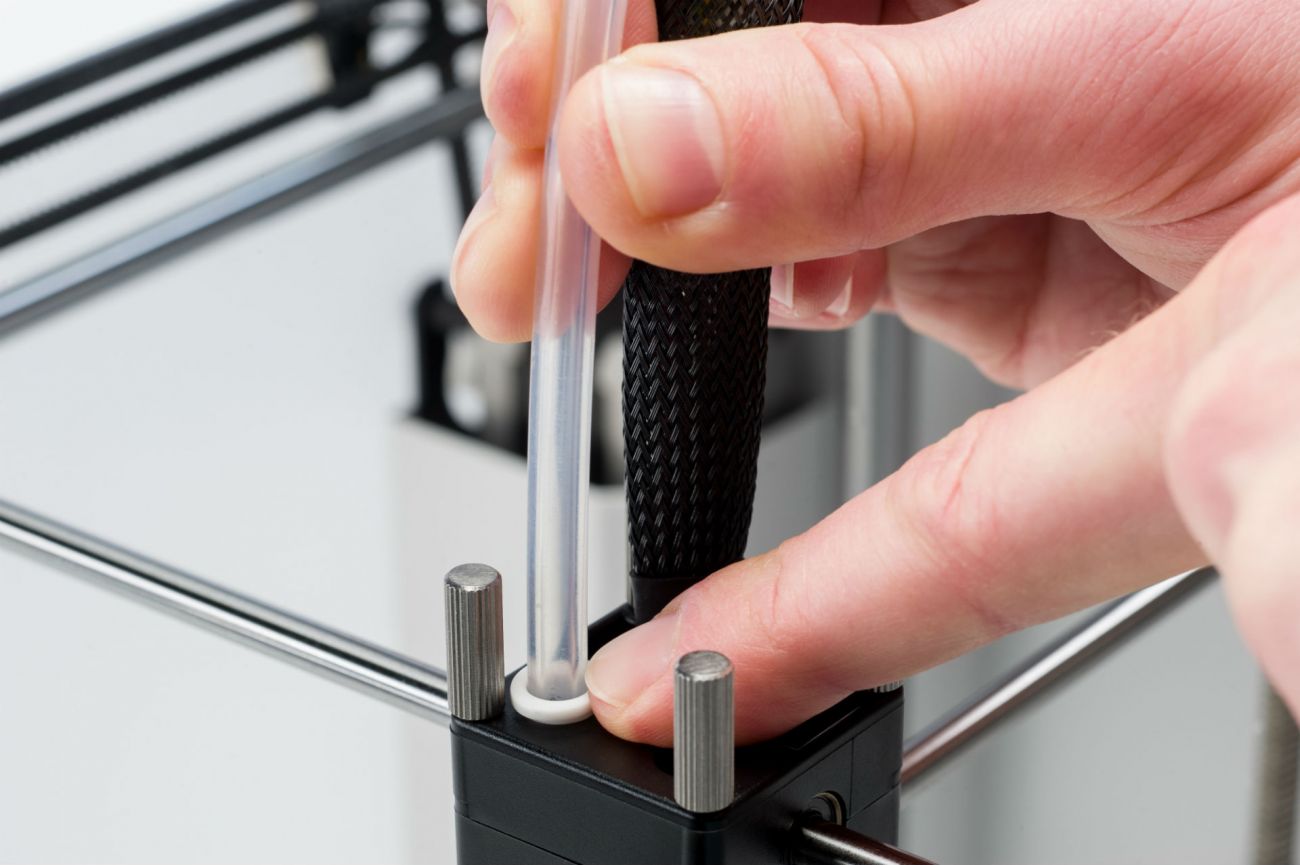
If you find that the nozzle is still blocked then you may be able to push the filament through with another bit of filament. Start by removing the filament as before and then remove the feeder tube from the print head. Heat the hot end to 220 C for PLA and then using another piece of filament push this through from the top to try to force the stuck filament in the nozzle out. Usually, if new filament hasn’t succeeded in unblocking then the extra pressure you can exert by hand might just do the job. However, don’t push too hard as you’ll risk bending the horizontal printer rods.
Once the end clears use a needle to push through the nozzle and a brush to clean any filament excess.
3. DISMANTLE AND REBUILD THE HOT END

In extreme cases when the nozzle remains blocked, you’ll have to dismantle the hot end. If you’ve never done this before then make notes and take photographs of every step so you know where everything fits when you reassemble. Start by removing the filament, then check your printer’s manual to see exactly how to dismantle the hot end.
4. ATOMIC PULL PART I – CHOOSE A MATERIAL
You can use ABS or Nylon for this, but though most consistent results come from Nylon due to its higher melting point, ABS is more common, however, so we’ll use it here.
PART II – REMOVE FILAMENT
First off, remove the 3d printer filament that’s already in the print head in the usual way for your printer. Then the Bowden tube or release the direct drive, so that when the time comes you can manually feed the filament out.
PART III – INCREASE THE NOZZLE TEMPERATURE
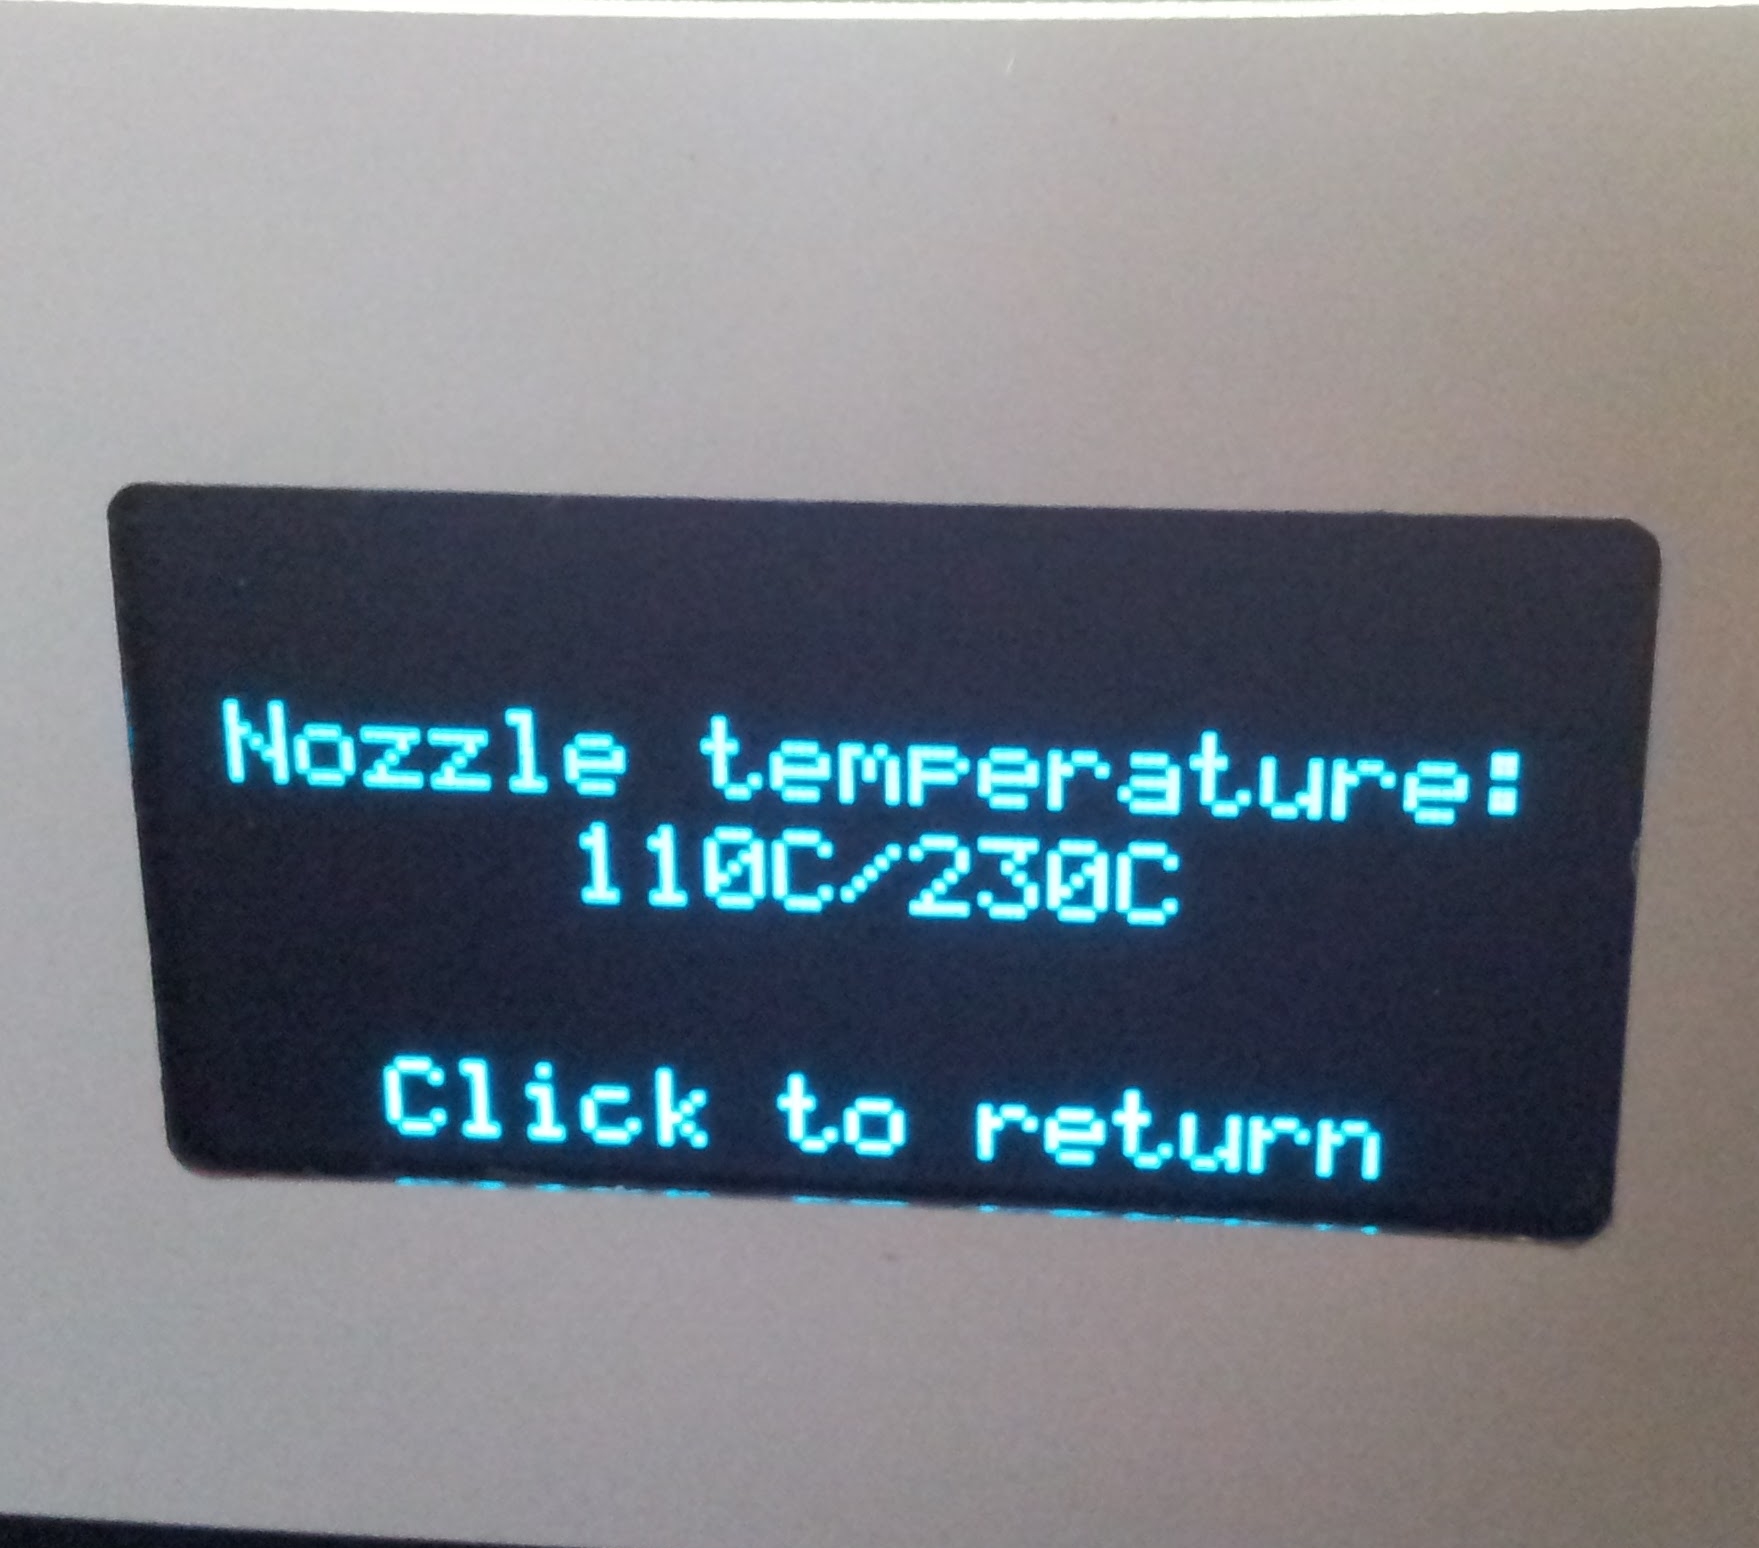
Depending on the filament, increase the nozzle temperature. We’re using ABS so increase it to 240 degrees, but if using nylon check the melting point temperature on the packaging. Leave the printer at this temperature for 5 minutes without pushing the filament out.
PART IV – PUSH THE FILAMENT THROUGH

Apply some pressure to the filament, slowly until it starts to come out of the nozzle. Pull it back slightly and push it back through again until it starts to flow out through the nozzle.
PART V – LOWER THE NOZZLE TEMPERATURE

Reduce the temperature. For ABS- 180 degrees and 140 degrees for Nylon (you’ll need to experiment a little for your filament). Again, leave the printer at this temperature for 5 minutes.
PART VI – TAKE OUT THE FILAMENT
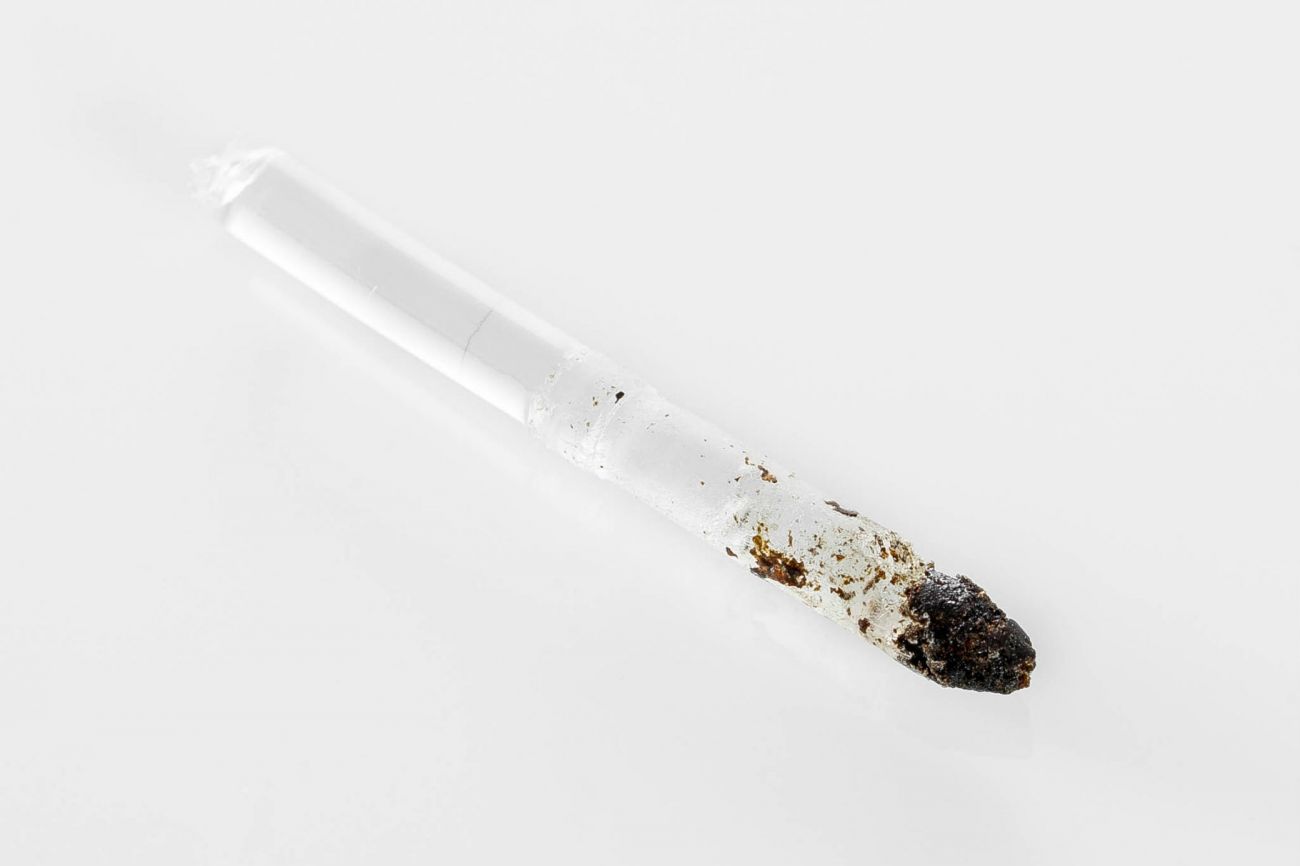
Extract the filament from the head. When you look at the end, you will see some black carbonized material there. Repeat the process until it’s all clean. If the filament won’t pull from the nozzle, increase the temperature of the hot end slightly.
And there. Your problem should be fixed! Try out a couple of prints just to check. Happy Printing!