Difference between revisions of "PIR motion sensor Module"
(→How to buy it) |
|||
| Line 42: | Line 42: | ||
==How to buy it== | ==How to buy it== | ||
| − | Click here to buy[http://www.geeetech.com/arduino-pir-body-movement-sensor-module-p-324.html PIR sensor module] | + | Click here to buy [http://www.geeetech.com/arduino-pir-body-movement-sensor-module-p-324.html PIR sensor module] |
Revision as of 09:35, 7 May 2012
Contents
Introduction
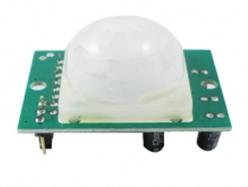
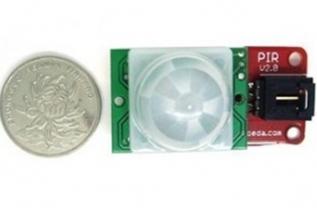
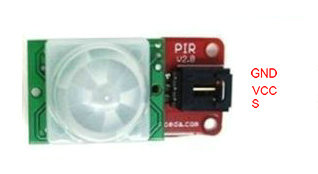
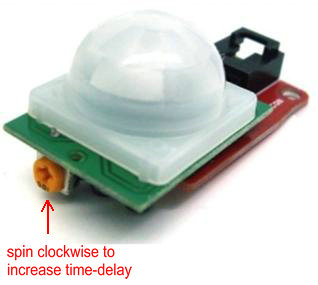
PIR sensors allow you to sense motion, almost always used to detect whether a human has moved in or out of the sensors range. They are small, inexpensive, low-power, easy to use and don't wear out.PIR sensor are basically made of a pyroelectric sensor (which you can see above as the round metal can with a rectangular crystal in the center), which can detect levels of infrared radiation. Everything emits some low level radiation, and the hotter something is, the more radiation is emitted. The sensor in a motion detector is actually split in two halves. The reason for that is that we are looking to detect motion (change) not average IR levels. The two halves are wired up so that they cancel each other out. If one half sees more or less IR radiation than the other, the output will swing high or low.
Technical parameters
- Operating voltage: DC5V to 20V
- Static power consumption: 65 microamps
- level output: high-5V, low-0V
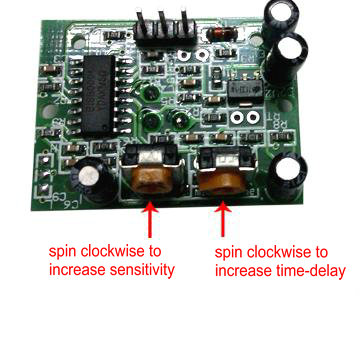
- Delay Time: adjustable (0.3 seconds to 18 seconds)
- embargo time: 0.2 seconds
- sensing range: less than 120 degrees angle, 7 meters
- Operating temperature: -15 ~ +70 degrees
Usage
Example code
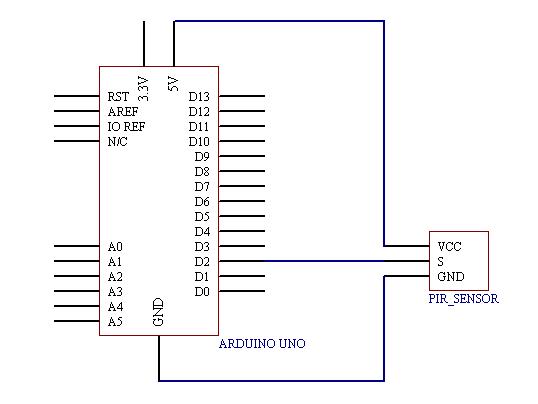
int pirPin = 2; //digital 2
void setup(){
pinMode(pirPin, INPUT);
pinMode(13, INPUT);
}
void loop(){
 int pirVal = digitalRead(pirPin);
 if(pirVal == HIGH)
 { //was motion detected
 digitalWrite(13,HIGH);
 delay(500);
 digitalWrite(13,LOW);
 delay(500);
 }
}
Adjustment
How to buy it
Click here to buy PIR sensor module
