Difference between revisions of "Geeetech Mizar S 3D Printer"
(→How to replace a hotend) |
(→How to replace a hotend) |
||
| Line 42: | Line 42: | ||
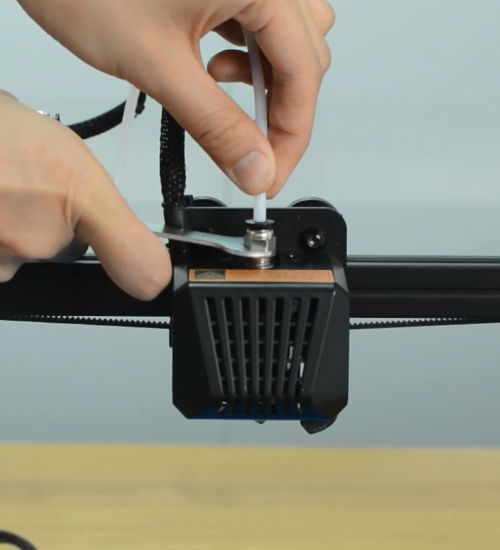
Remove the Teflon tube from the hotend. | Remove the Teflon tube from the hotend. | ||
| + | |||
| + | [[File:M1.png]] | ||
<big>'''Before moving to step 2, remember to turn the printer off and unplug it from the socket!'''</big> | <big>'''Before moving to step 2, remember to turn the printer off and unplug it from the socket!'''</big> | ||
| Line 51: | Line 53: | ||
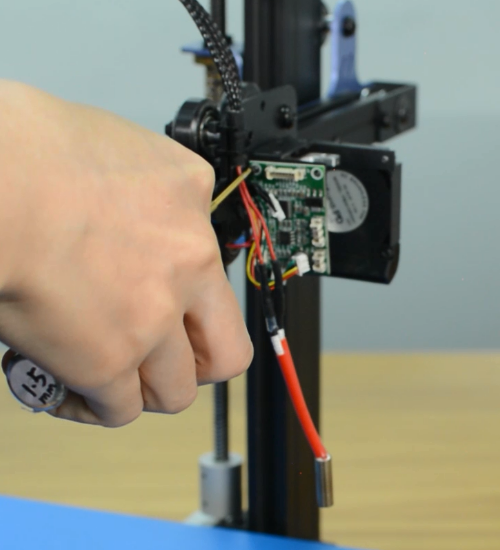
Release and remove the two screws that secure the hotend, then unplug all the cables on the extension board. | Release and remove the two screws that secure the hotend, then unplug all the cables on the extension board. | ||
| + | |||
| + | [[File:M3.png]] | ||
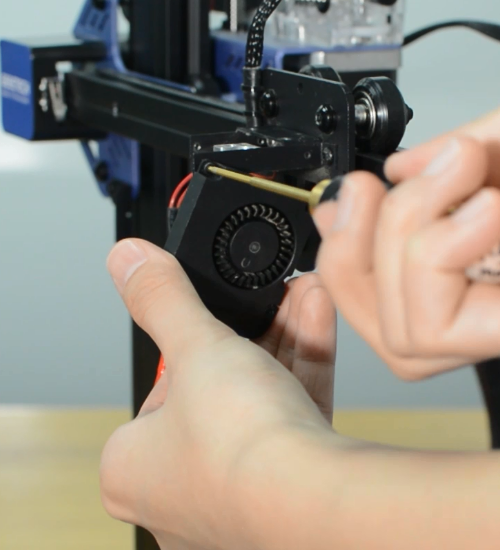
Remove the extension board and the part cooling fan. | Remove the extension board and the part cooling fan. | ||
| + | |||
| + | [[File:M4.png]] | ||
| + | |||
| + | [[File:M5.png]] | ||
Remove the strain gauge. | Remove the strain gauge. | ||
Revision as of 10:50, 3 May 2023
Contents
Introduction
Product details
Unpacking and proper handling
Slicing
Printer maintenance
How to replace a hotend
| Tools necessary for this guide |
|---|
| Wrench size 10 mm
Allen keys – 1.5/2/2.5/3 mm Flat screwdriver tip width 2.5 mm Diagonal pliers Electrical tape Zip ties Craft knife or equivalent |
Step 1 Preparing
Preheat the nozzle to 220 Celsius from the LCD menu, then unload the filament from the hotend.
Remove the Teflon tube from the hotend.
Before moving to step 2, remember to turn the printer off and unplug it from the socket!
Step 2 Disassembling the hotend
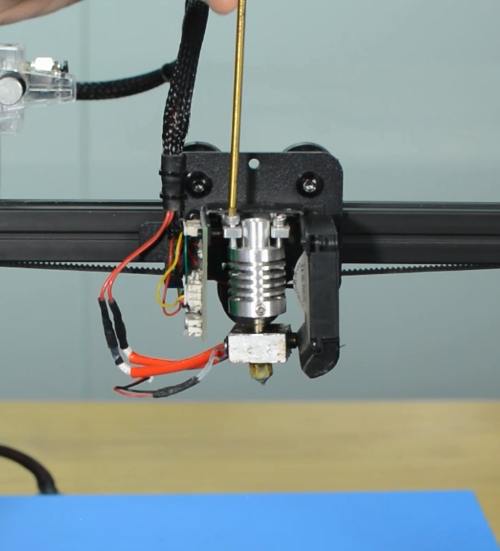
Remove the hotend housing and disconnect the hotend thermistor.
Release and remove the two screws that secure the hotend, then unplug all the cables on the extension board.
Remove the extension board and the part cooling fan.
Remove the strain gauge.
Step 3 Disconnecting the hotend cables
Remove the bottom cover and disconnect the cooling fan.
Disconnect the heater cartridge.
Cut off the heat-shrink tubing from the connection wire. Avoid cutting the cable.
Remove the old heater cartridge.
How to clean the hotend and replace a nozzle
| Tools necessary for this guide |
|---|
| Tweezers for nozzle
Wrench size 6/10/20 mm Cleaner rod (1.5mm diameter, 100mm length) Needle for nozzle Allen key - 2 mm |
How to replace a control board
| Tools necessary for this guide |
|---|
| Allen keys – 2.5/3 mm
Flat screwdriver tip width 2.5 mm |
How to replace PSU
| Tools necessary for this guide |
|---|
| Allen keys - 2.5/3 mm
Philips screwdriver for PSU cables |
How to replace a hotbed
| Tools necessary for this guide |
|---|
| Allen keys – 3 mm
Flat screwdriver tip width 2.5 mm Diagonal pilers Zip ties |
How to replace a screen
| Tools necessary for this guide |
|---|
| Allen keys - 2.5/3 mm |


