Arduino IR Remote Control
From Geeetech Wiki
Introduction
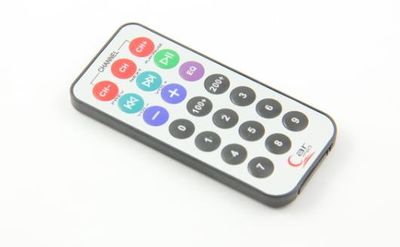
The new ultra-thin 38K universal infrared remote control, NEC encoding format 1-21-key remote control, USB port stereo, car MP3, foot bath, lighting, digital photo frame, microcontroller development board, learning board, etc..
Feature
- Remote control distance: more than 8 meters
- Launch tube infrared wavelength: 940Nm
- Crystal: the oscillation frequency of 455 KHz
- IR carrier frequency: 38KHz
- Encoding: the encoding format of the NEC, upd6122 encoding scheme, the user code 00FF, key coding below picture
- Size: 86 * 40 * 6mm
- Frequency: 38K
- Power supply: CR2025/160mAH
- Button: free height is less than 3mm, the force 200-350g, the life of more than 200 000
Document
Usage
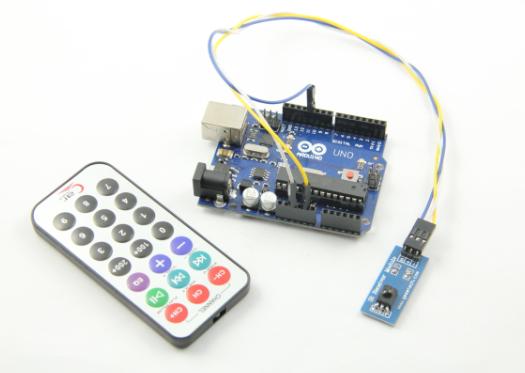
- You need a IR receiving breakout to detect the IR signal and decodes it as HEX code, then dispaly it on the serial monitor to read what the remote control send.
 S  -> D11
VCC -> 5V
GND -> GND
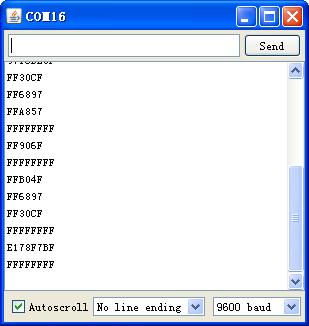
- When you press any button on the remote control, serial monitor shows the hexadecimal code of that button.Every button on the remote control has a corresponding hexadecimal code. If you keep on pressing any button, it shows FFFFFFFF on the serial monitor. As well as the IR transmitter and receiver module, keep the IR LED on the remote control opposite the IR detector for better signal reception.
Example code
#include <IRremote.h>
int RECV_PIN = 11; //define input pin on Arduino
IRrecv irrecv(RECV_PIN);
decode_results results;
void setup()
{
Serial.begin(9600);
irrecv.enableIRIn(); // Start the receiver
}
void loop() {
if (irrecv.decode(&results)) {
  Serial.println(results.value, HEX);
  irrecv.resume(); // Receive the next value
}
}
How to buy
Click here to buy Arduino IR Remote Control


