Page 1 of 2
Installing TMC2208
Posted: Mon Jan 21, 2019 5:10 pm
by Le_zOU
In pictures....
Carefully remove the ribbon cable from clips
Pay attention to GND pin on old and new drivers
Insert the driver first then only attach the heatsink, it's easier
I had to remove the 24V fan because the new drivers have a bigger heatsink so there is not enough clearance for the fan.
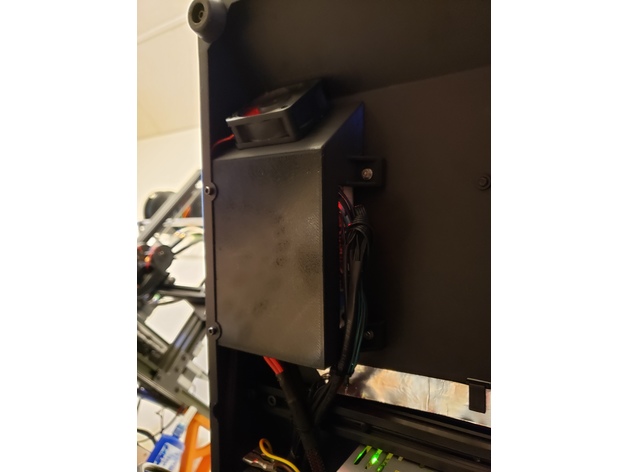
unclip ribbon cable and remove 4 screws
- IMG_20190121_093220.jpg (205.54 KiB) Viewed 19746 times
View without cover
- IMG_20190121_093242.jpg (313.42 KiB) Viewed 19746 times
Close up of factory drivers(note GND pin at bottom)
- IMG_20190121_093428.jpg (272.25 KiB) Viewed 19746 times
1 driver removed
- IMG_20190121_093459.jpg (280.84 KiB) Viewed 19746 times
Check of GND pin location on new and old drivers
- IMG_20190121_093540.jpg (218.87 KiB) Viewed 19746 times
2 new drivers installed
- IMG_20190121_093755.jpg (264.72 KiB) Viewed 19746 times
Top rank of drivers have GND at opposite location
- IMG_20190121_093832.jpg (267.59 KiB) Viewed 19746 times
All new drivers installed (be carefull that the wires don't push away the heatsink)
- IMG_20190121_094514.jpg (276.25 KiB) Viewed 19746 times
Board screwed back in place
- IMG_20190121_094815.jpg (259.74 KiB) Viewed 19746 times
24V fan removed
- IMG_20190121_100225.jpg (244.89 KiB) Viewed 19746 times
Cover and ribbon cable back in place
- 15480616381556832340877973318267.jpg (189.5 KiB) Viewed 19746 times
Re: Installing TMC2208
Posted: Mon Jan 21, 2019 6:49 pm
by pepgra
Thanks yesterday I did this process, This is important:
1) The colors of the drivers are changed, you do not have to follow the color model, you have to follow the model of the pins
2) Just change the direction of the engines in Marlin.
Re: Installing TMC2208
Posted: Mon Jan 21, 2019 6:54 pm
by Le_zOU
Correct, I edited the post with decription of pictures, I posted the pics from the phone so it was easier :p
Re: Installing TMC2208
Posted: Tue Jan 22, 2019 2:40 am
by Le_zOU
Note, if you do not want to get rid of the FAN, I suggest printing this board cover:
https://www.thingiverse.com/thing:3322209
Re: Installing TMC2208
Posted: Mon Feb 11, 2019 12:18 pm
by davesatu
Thanks to all for a much needed post.
For me there are 3 more important issues to consider.
1. All TMC2208's I have used (currently ver 1.2) say to remove the 3 jumpers under the A4988.
This is not mentioned and
2. Running this rig without a fan would be inviting trouble. Let's leave it at that.
3. The TMC2208 will benefit in operation from as much cooling as possible.
I also have put the original heatsink as well on the chip side but have not tried this in the A20M.
Re: Installing TMC2208
Posted: Wed Feb 13, 2019 2:45 am
by pepgra
I have installed them and I have not changed any jumpers
Re: Installing TMC2208
Posted: Mon Feb 18, 2019 10:46 am
by William
Vert is correct.
You can remove the jumpers#3 off.
Re: Installing TMC2208
Posted: Thu Dec 19, 2019 2:38 pm
by ktown1900
I have installed my tmc 2208 and inverted the direction of xyz axis.
When i move y it works correctly. Z and x doesnât do anything. Also my 3dtouch is already on.
Can you help me?
Re: Installing TMC2208
Posted: Thu Dec 19, 2019 2:47 pm
by William
Hi, Whether you can move the x / z axis normally without changing the driver board,
You can exchange the Y-axis motor cable with the motor cable that cannot be moved (the position of the motor cable port on the motherboard is not exchanged), check whether it can move normally, and determine whether the broken motor cable is causing this situation.
Re: Installing TMC2208
Posted: Fri Dec 20, 2019 5:17 am
by ktown1900
Y and Z is now working correctly. Is this perhaps a Problem of the new tmcs?