Troubleshooting: Easy ways you can prevent layer shifts
The 3D Printing Problem–
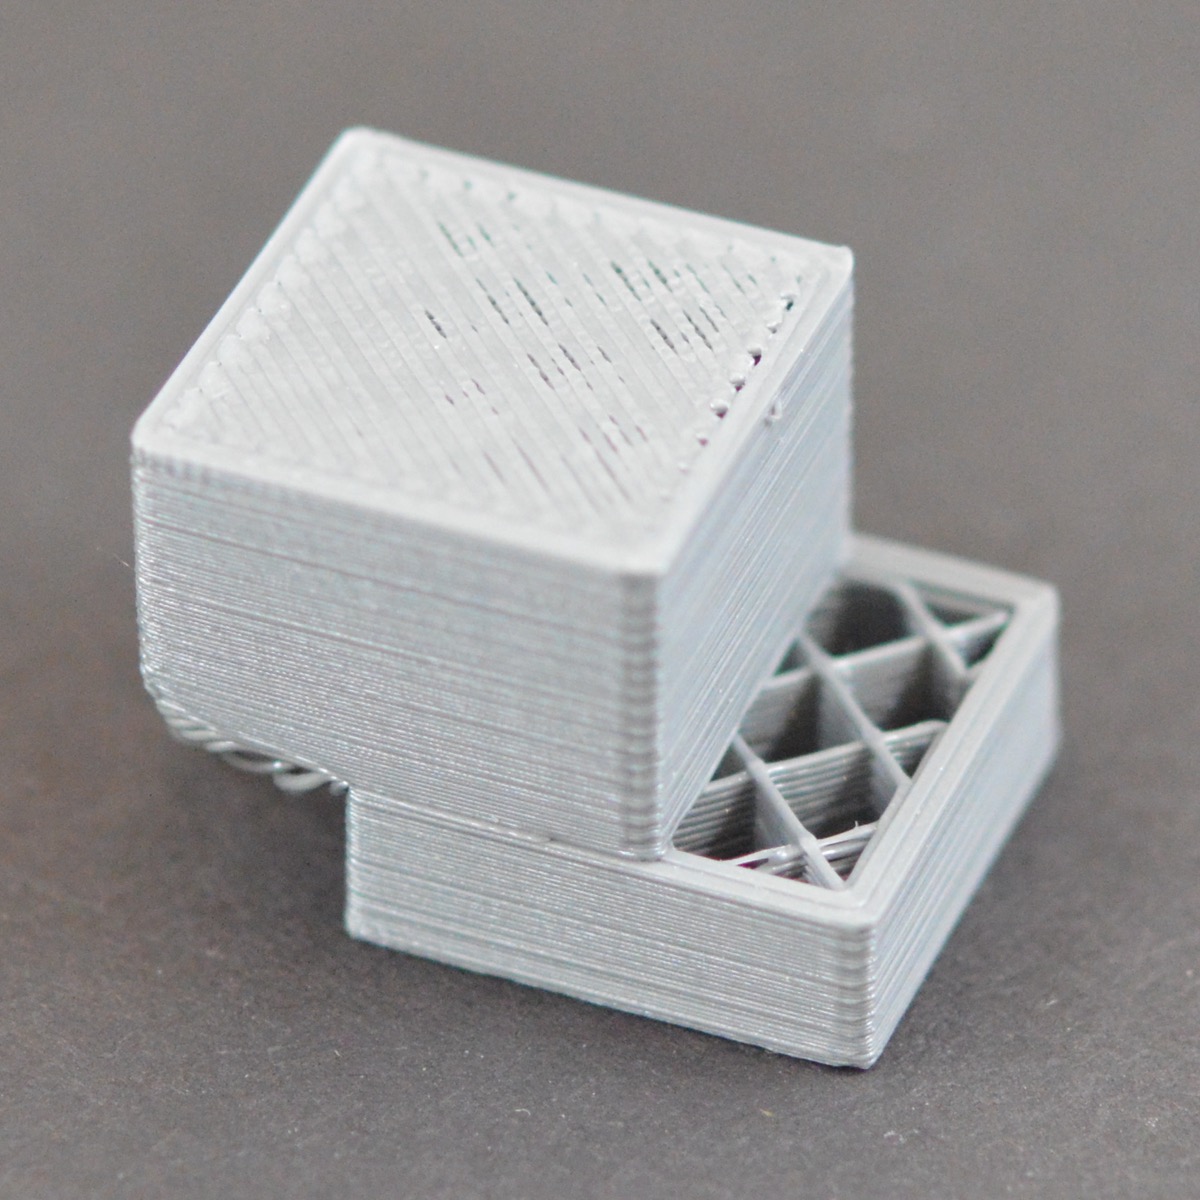
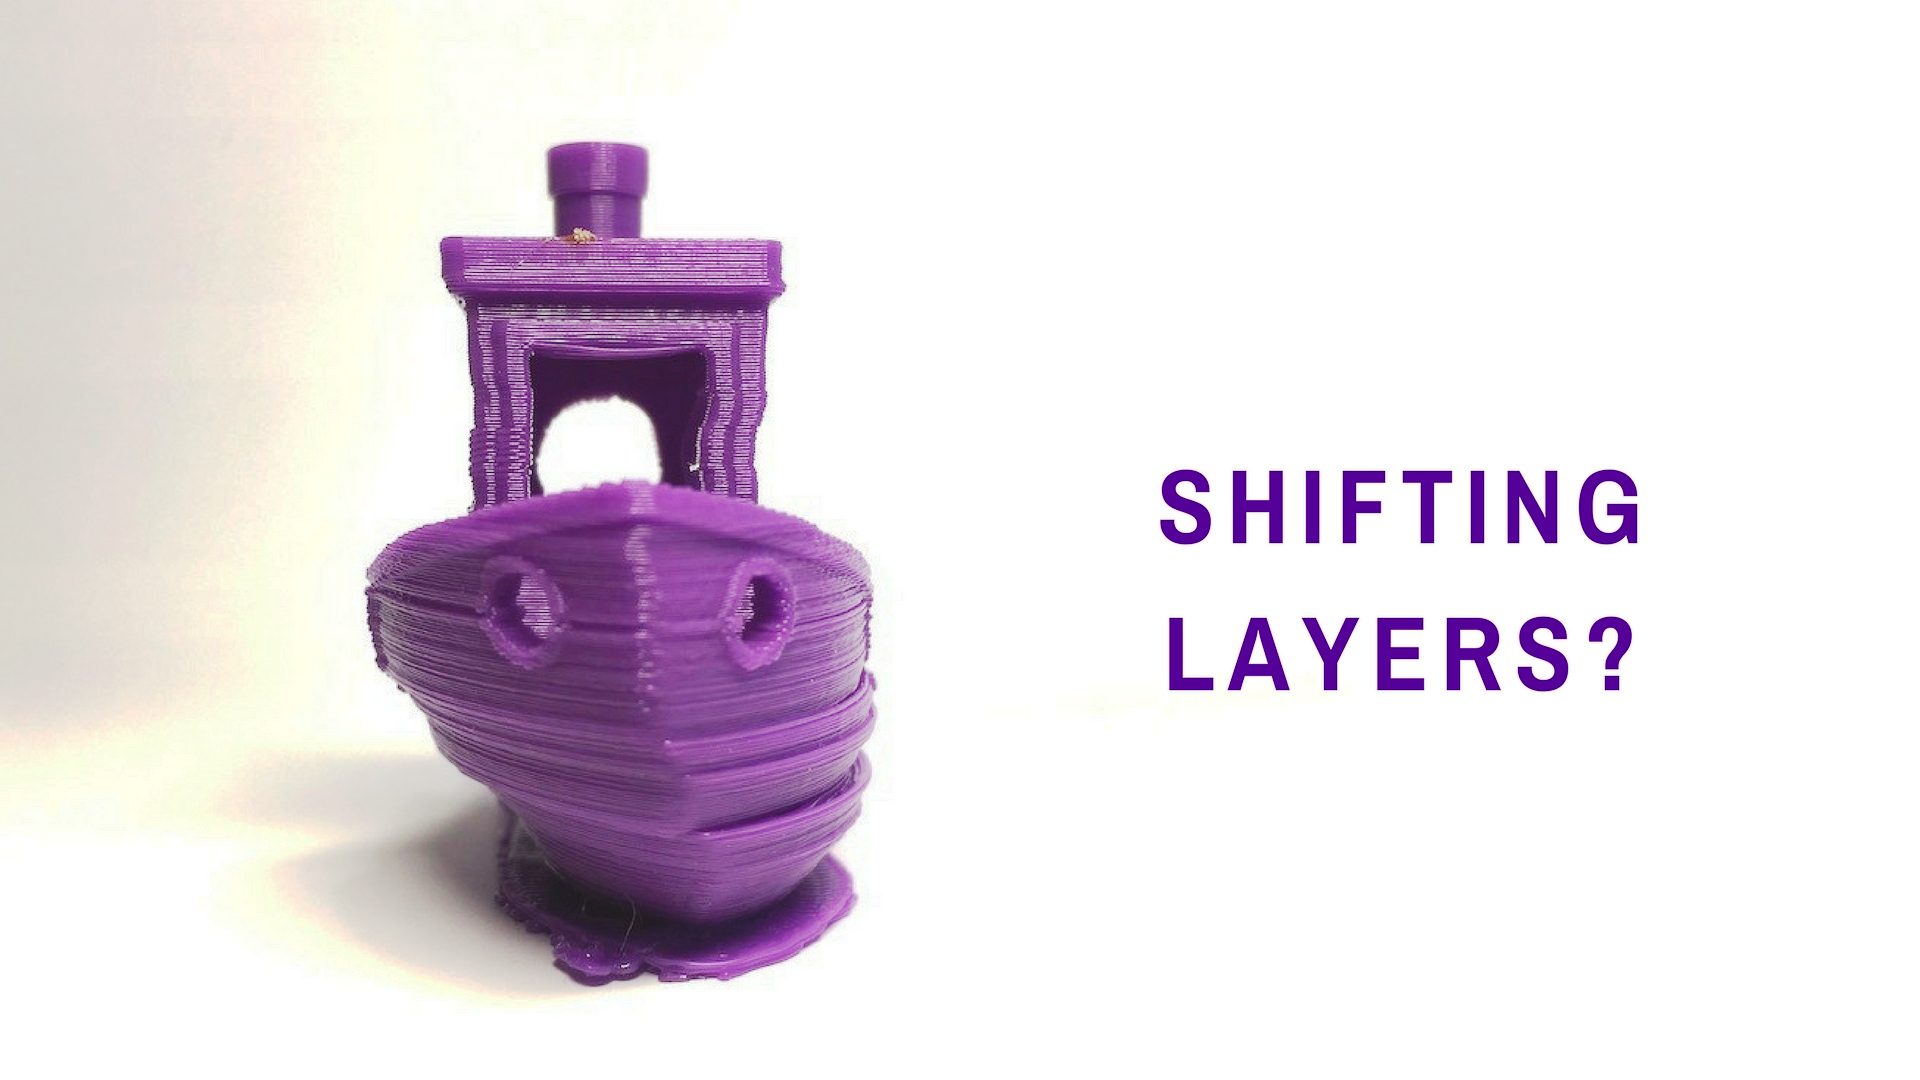
Your print may start out looking fine but as it progresses, you notice a shift in between the layers. It looks similar to a step and this effect is known as a layer shift. It may be subtle or could end up ruining your print entirely! So to overcome this troubleshooting layer shift problems while 3D printing process.
Why does it happen?
There are many different reasons that contribute to shifting in the layers. So it’s hard to pinpoint it to just one. The most common, however, is the slipping of pulleys and loose grub screws. But it could also be something as simple as nudging your printer and causing a disturbance in the print job.
How to fix layer shift problems by troubleshooting?
Fix the Print Bed firmly in place
Check the print bed to see if there are any clips or screws that have become loose. Since printers have detachable print beds it’s a common problem that occurs. But also one that can be fixed easily with the help of pliers.
Similarly, ensure that the printer is on a stable and secure base. As well as kept in an area where it is not prone to be knocked or hit. You’ll notice that even a small disturbance to the printer. During your print job can cause shifting or other layer issues.
Fix the grub screws
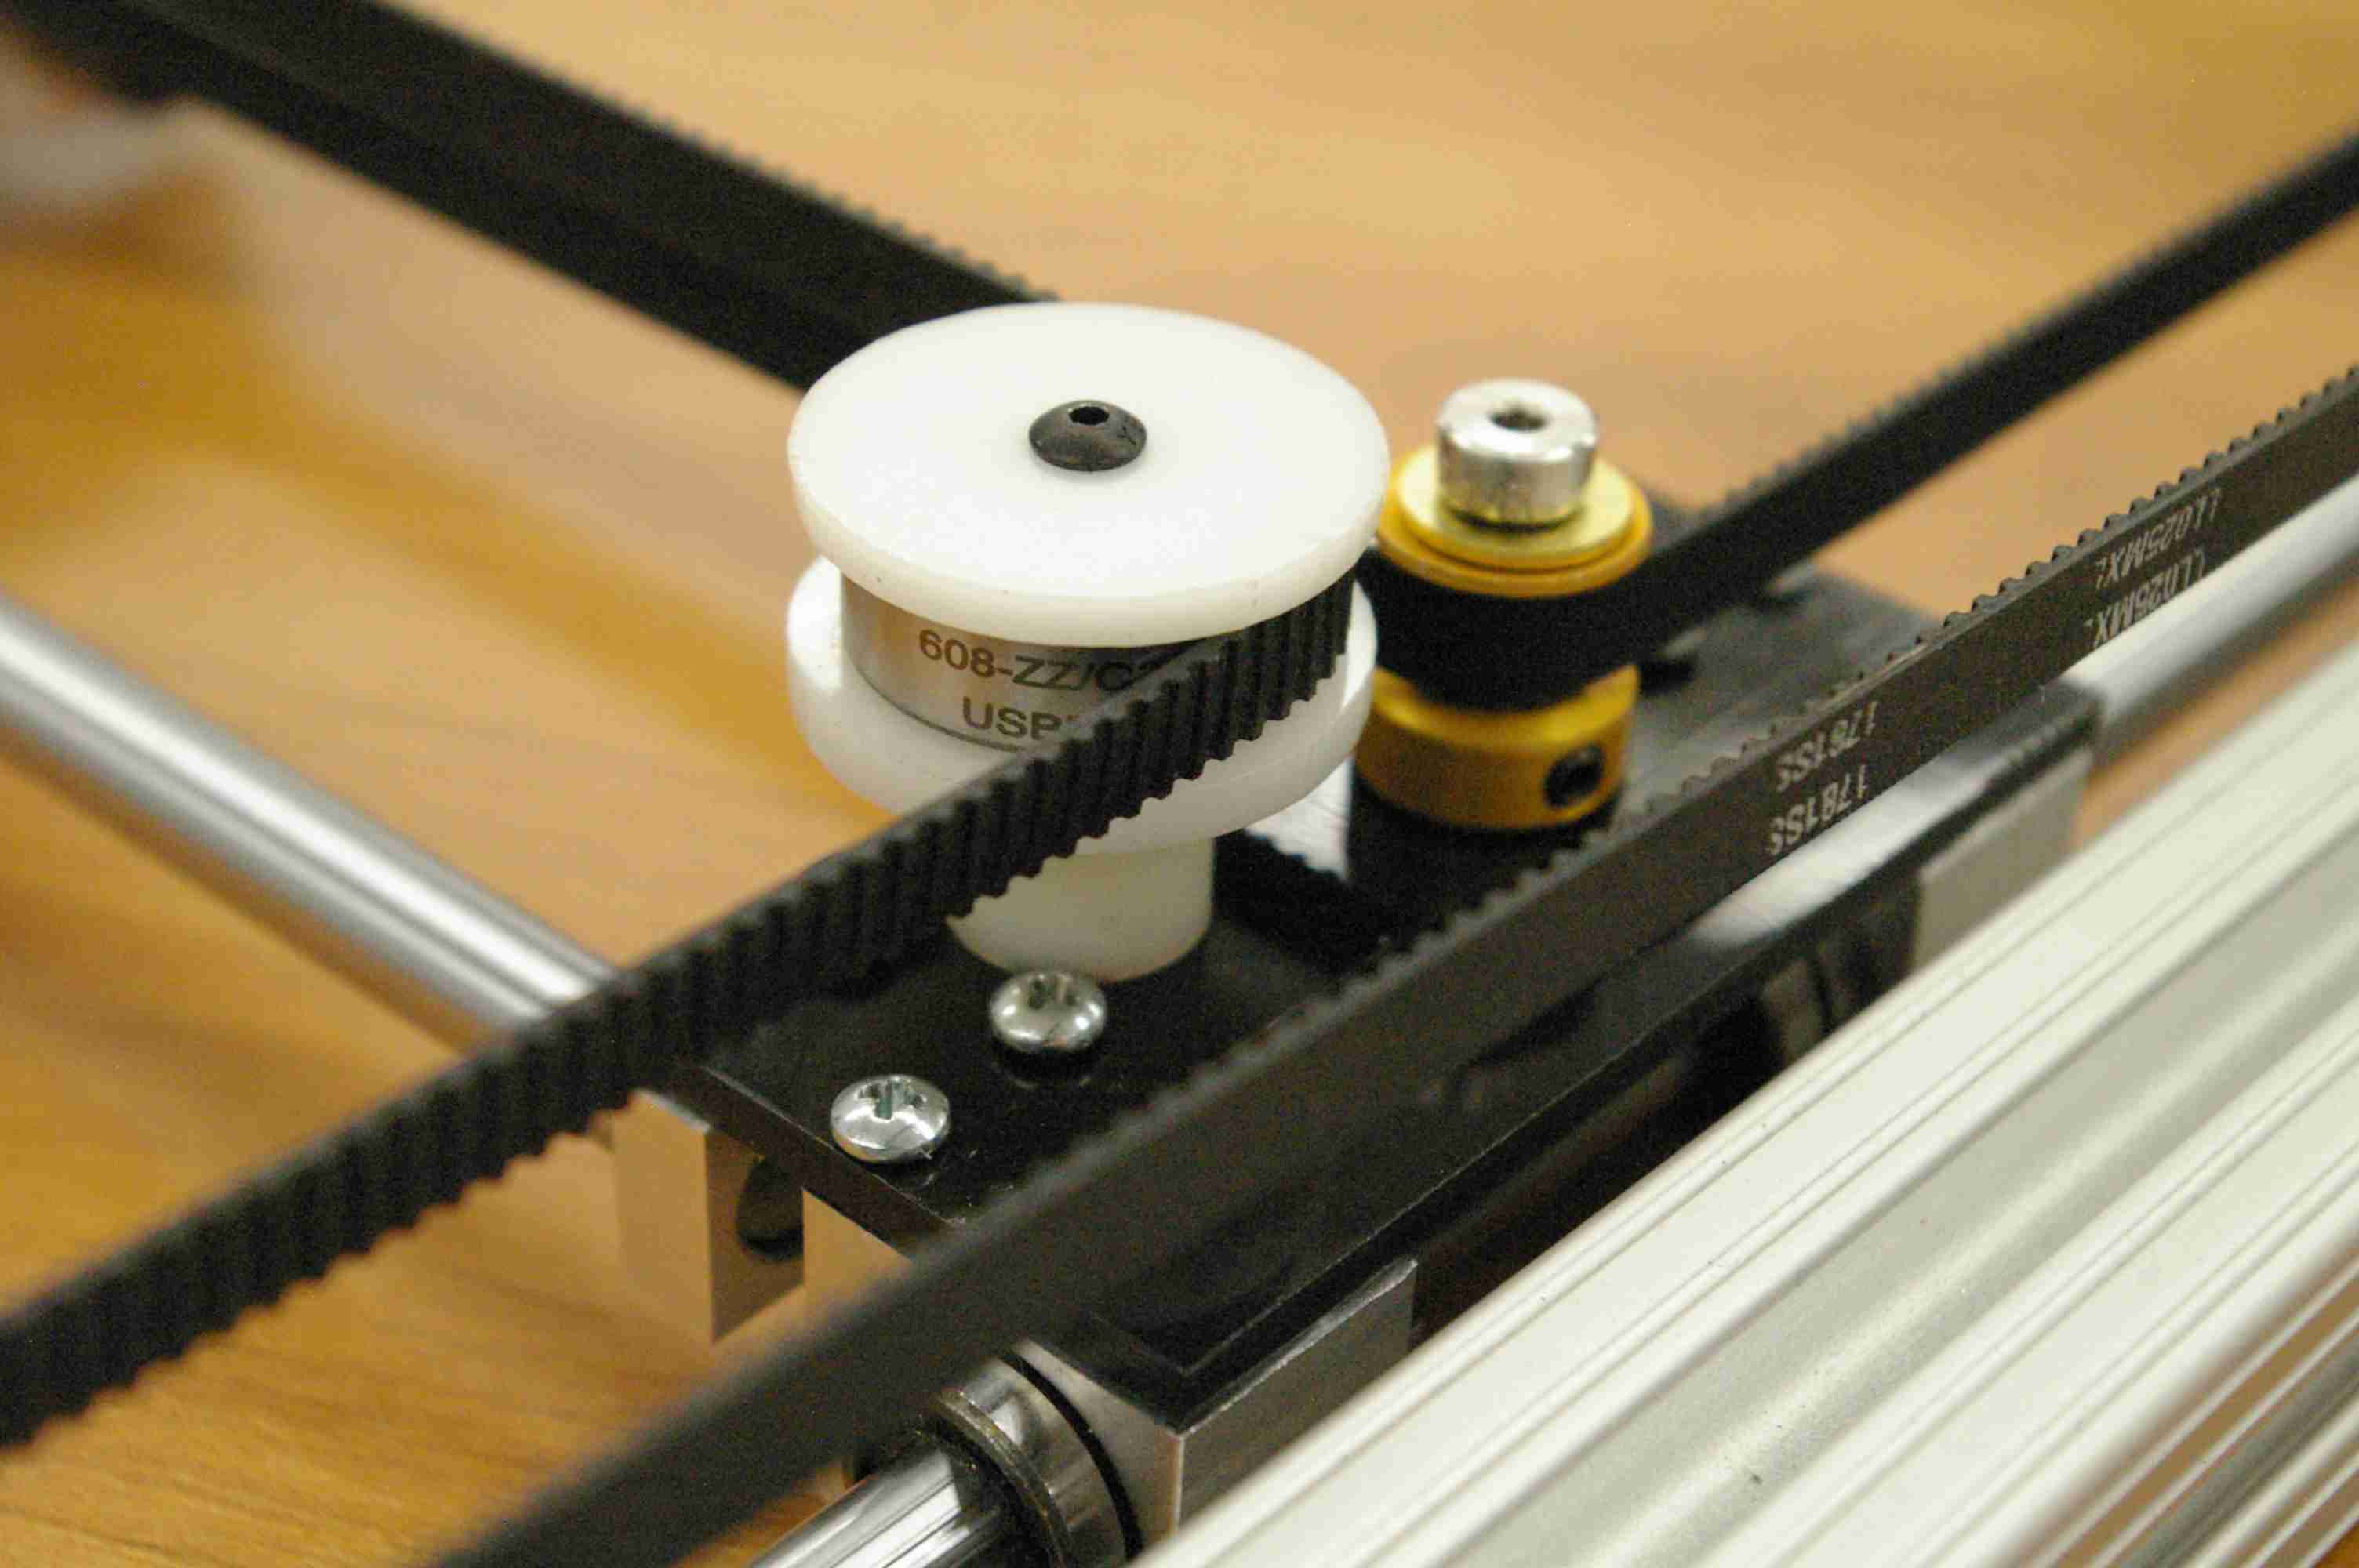
When there are sudden shifts in layers, it’s most probably due to one or more pulleys not secured properly to the axis/axes. You can check this when your layers start to shift and notice the pulleys moving and consequently tighten the respective grub screws. Use a small Allen to tighten them.
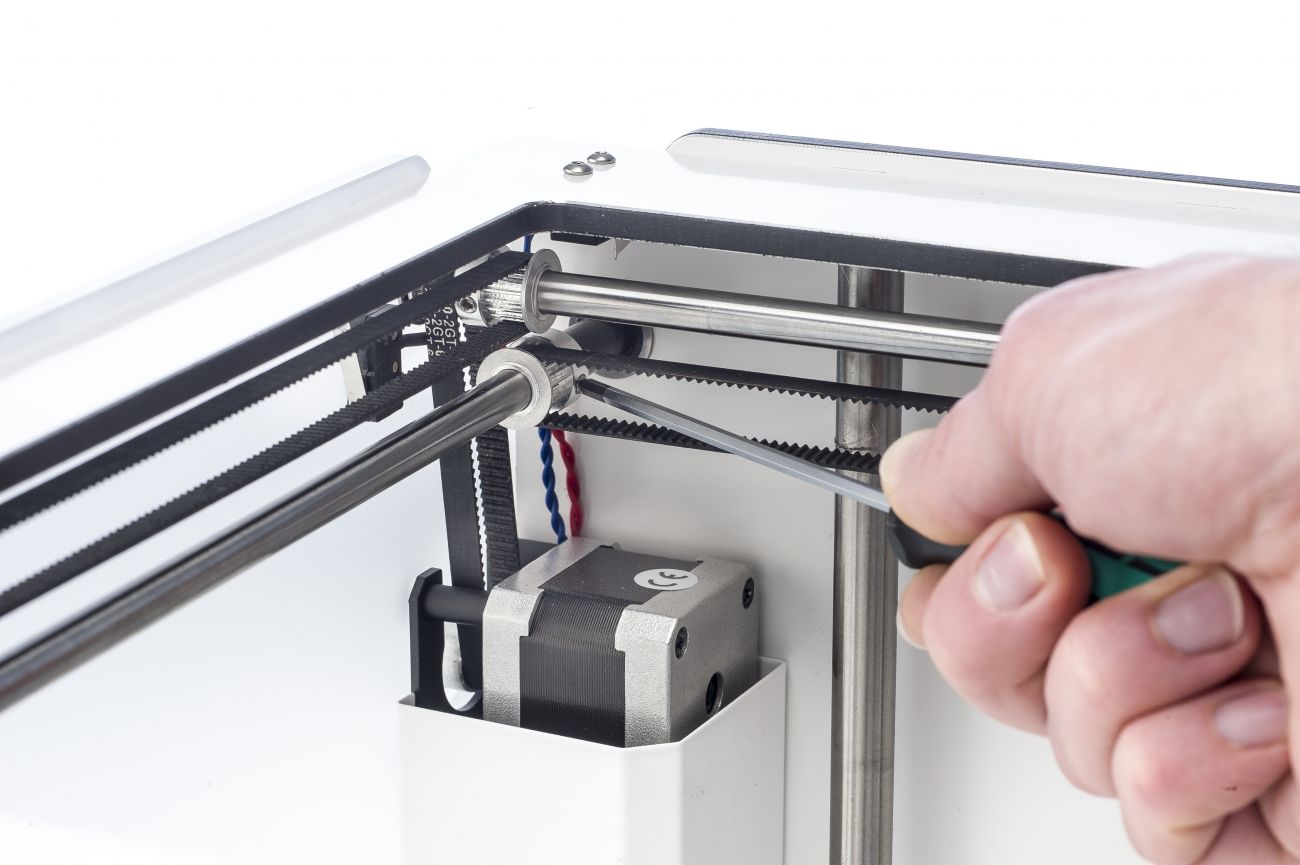
Check the belts
Another important thing to check is the tension of the belts. You can adjust the belt position to ensure the tension is the same between all the belts. However, if the problem persists and if you’ve had your printer for a while then you should probably change the belts.
Fix stiff rods by oiling them
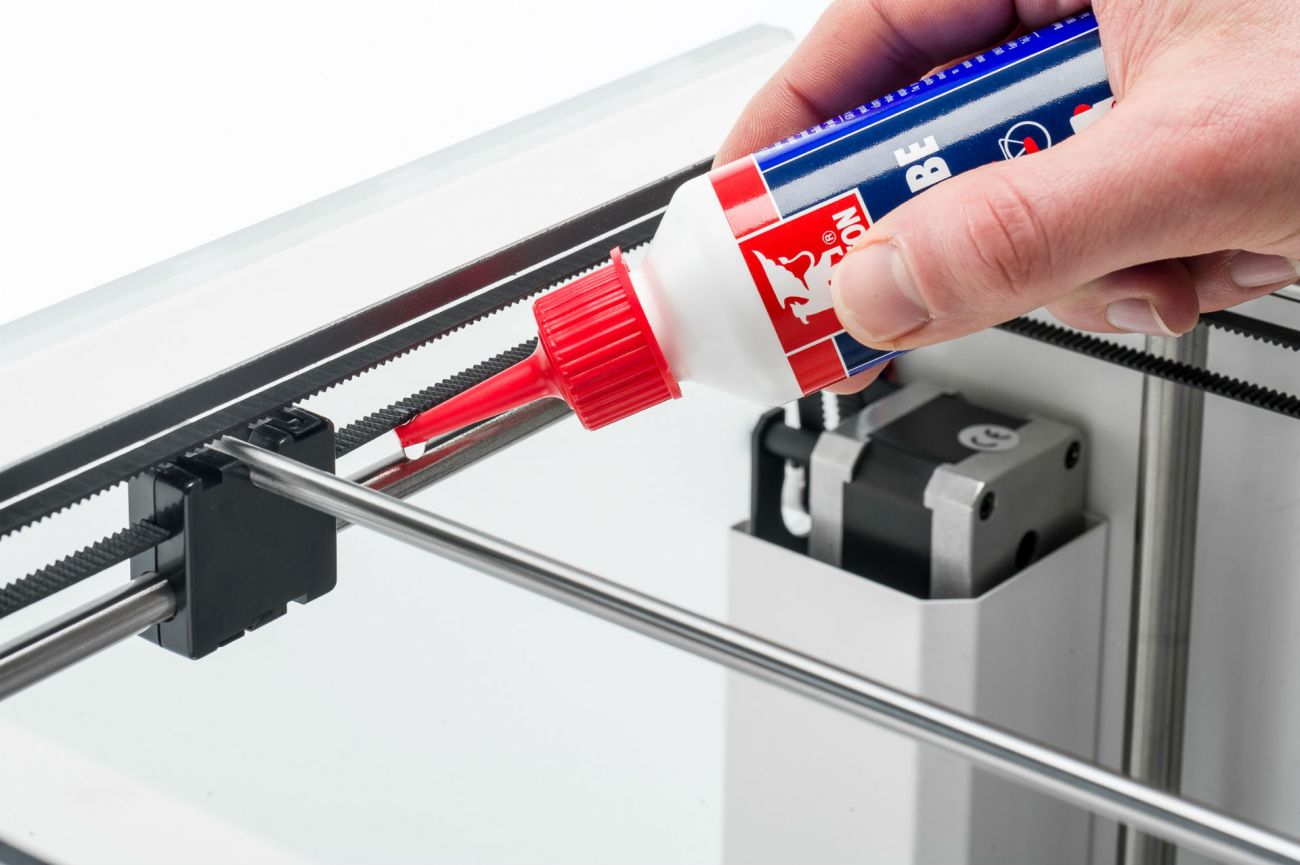
Rods can get stiff and encounter resistance over time which affects the print and causes shifts in the layers. Ideally, the print head should move around easily without resistance. you can perform a simple check to test this.
Turn off the power and check the head by moving it manually in both X and Y direction. If the head moves around stiffly then its time to oil the rods with some light machine oil.
Check the alignment of the rods
Misalignment in rods is another reason that contributes to stiffness. Again perform a check by moving the head to the left/right side and consequently to the front/back of the printer. The distance between the sliding blocks and the pulleys should be equal on both sides. If the axes aren’t square you can fix this by loosening the screws on the two pulleys of one rod, adjust the sliding block and then re-tighten the screws.
Apart from this, check if your rods are bent by removing them and rolling them on a flat surface. You’ll instantly realize if they’re deformed or bent and can replace them.
Check for warped layers

Warping takes place when there is uneven cooling between the layers which results in the edges rising up. If this happens, the print can release from the bed and this makes it much easier for the layers to shift. You can combat warping by adjusting the speed of the cooling fans but if the problem continues, check out our Troubleshooting Guide To Fix Warping.
Decrease the print speed
Many a time, the reason could simply be that your printer is printing too fast. A clicking sound heard during the print job indicates this and you should first check to see if the filament is slipping and if not, then proceed to reduce the print speed by going into your slicer settings.
I hope this troubleshooting layer shift problems that can be overcome by the article are useful and easy.