How to add proper Finishing to your 3D Prints?
It would be so much better if our 3D Printed objects get removed from the bed too easily and are perfect. But sadly that’s not the case. For better prints with proper finishing. You need to put in some extra effort even if the print is ready. This is the essential step in 3D Printing. Because you want your 3D prints to look the best. You don’t need to invest too much and the skills and tools are mostly that we use in everyday life. Why it’s so important to give a proper finishing 3D prints? So why leave your 3D Print without giving a smooth touch.
Nerdforge Youtuber, he has shown the simple things. That you can do to make your 3d prints look the best and yes they won’t even look like they are 3D printed coz the finishing is that fine. Also in addition to the above video, you can use these extra tips to help you out.
What do you need to do for proper finishing 3D Prints?
Everything lies in the slicer settings
Your slicer settings deal with how your final product looks. For example, the layer height gives the details to the specific height of each layer in the design. If the layer height is thick than the final object won’t have many details and layers become visible. If it is thin the details of the final object are visible enough blending the layers into each other. Thus this setting is necessary.
Also, the printing speed is a necessary factor and it depends on which object you are printing. If it’s a complex object with too many details that keep the speed slow. Else if not many details are needed than a faster printing speed would do no harm.
Shell thickness refers to the number of layers. That the outer wall will have before infill printing will begin. The higher the setting is for shell thickness. The thicker the outer walls of your object will be. So if you are going to finish the object by sanding, you want to increase the shell thickness to account for the material. You will be removed later.
Get more information about the slicer settings here.
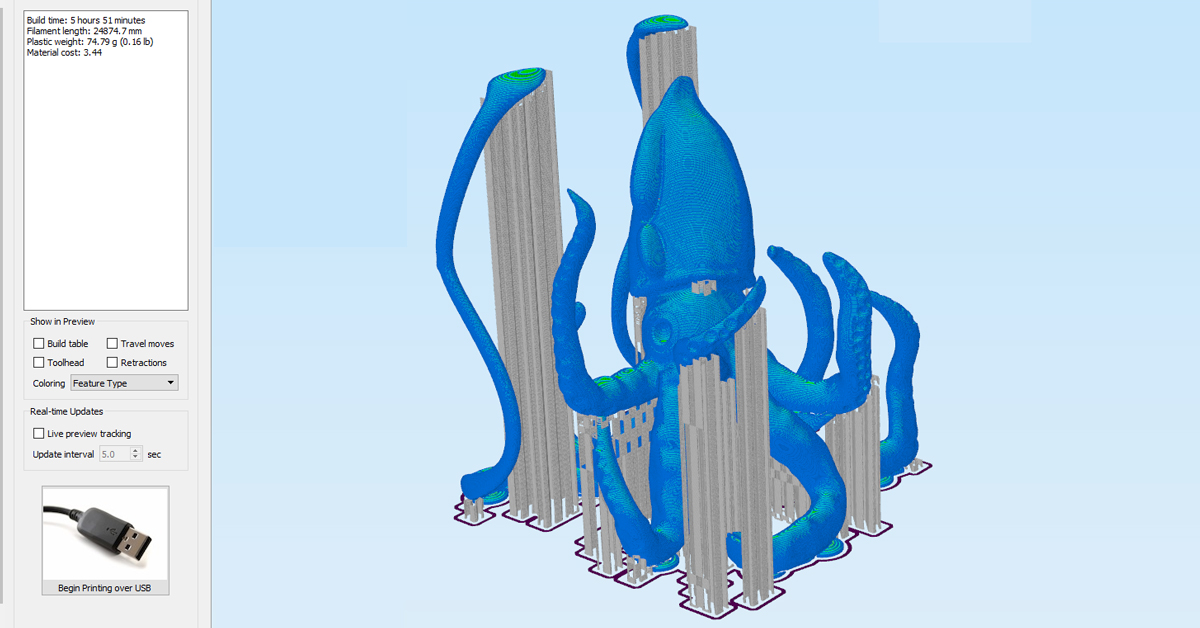
Support structures
If your 3d printed objects have overhangs than you need a support structure. Also to be printed for it which has to be removed later after the 3d printed object is complete. Now it depends whether your support structure is soluble or insoluble.
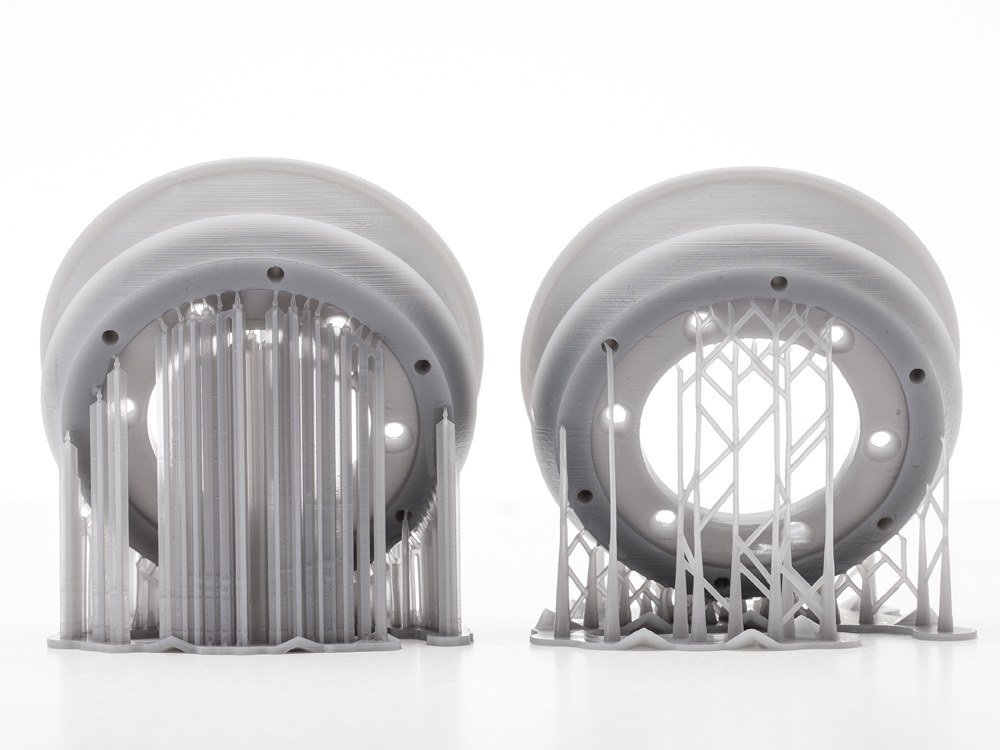
If it is insoluble you need a knife or a cutter that helps you get rid of the extra filament your object has and if it is soluble. You’re likely dealing with either PVA or HIPS. In this case, simply submerge the object in the solvent in question – water for PVA and Limonene for HIPS. The water should completely dissolve the PVA support structure within several hours.
Clean it with Fillers
A quick fix for the lazy man to improve the quality of the 3d printed object is using fillers. If the object gets printed unevenly or there is a small amendment to be done to cover a small space, fillers always do help.
We recommend using XTC-3D which you can get here. You’ll notice you can even use it for smoothing out 3D prints just by brushing it over as a 3D print coating. Fill the gaps neatly so that you don’t have to waste your time on sanding the object later.
You’ll also need to leave it to cure for at least a few hours after filling.
Sand and Polish them
Sanding can be used for materials like PLA and ABS but not for hard materials like polycarbonate and PMMA. If you want to make your 3d print shine and it cannot be vapor smoothed than sanding is what has to be done.
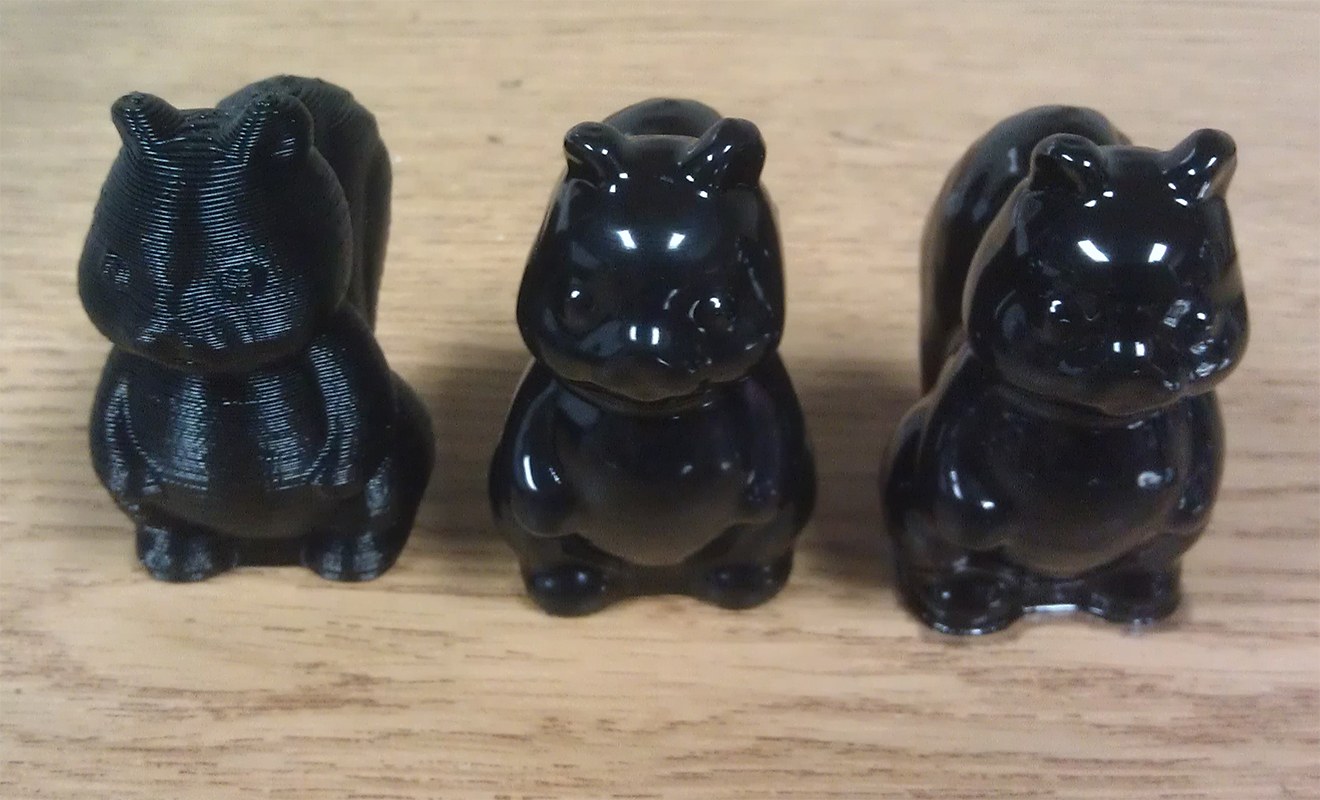
Chose a good quality filament so that sanding doesn’t result in ruining the object. PLA ‘s lower melting temperature can make the object soft and gummy if you sand it roughly. Use a circular motion with a slow-moderate pressure to remove unwanted material. The idea is to get rid of what you don’t want while leaving absolutely no trace that you’ve done any finishing work.
Vapor smoothing
Vapor smoothing requires some instruments. But if you are good with it then you can use simple materials found around the house. Remember not all filaments are the same, so while using this method I would suggest you test out the filament first and then apply the method to your 3D Printed object. In addition, testing a piece of the filament may also give you an idea of how much time it might take for the materials to start to dissolve.
Watch the video for more knowing the Vapor Smoothing process in detail.
Bead Blasting
Another process that needs equipment but takes a shorter duration of just 5 to 10 minutes.

It includes spraying tiny, plastic particles at a part of a closed chamber to produce. A smooth finish and is flexible which goes better with FDM materials. It also can be used in parts throughout their product development and manufacturing lifecycle, from the initial to the final stage.
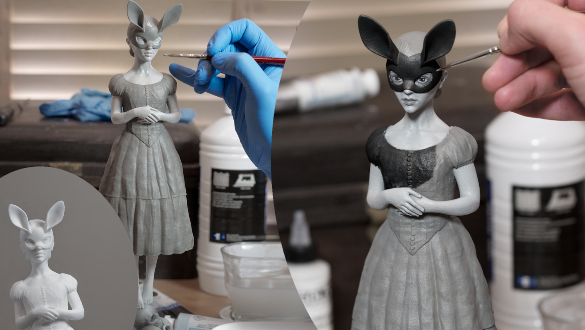
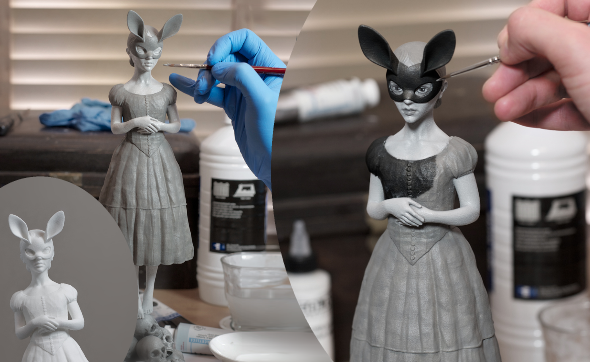
Paint it well
Along with many other essential tools that can help you while 3D Printing and finishing the products. Also painting the product is quite essential. It is the last step and you need to be careful with it. It’s best to first mount it on what’s known as a painting block using a dowel.
A painting block is nothing more than a block of wood that supports the object while it is being primed and painted. Also, remember that priming and painting an object can be a messy business. You want to stop the paint from getting on objects that it shouldn’t and you want to keep foreign objects, like dust, from settling on your printed object while it dries. Therefore, work in a well-ventilated area that is clean and well lit.
I hope these methods help you in proper finishing 3D Prints your designs perfectly…
HAPPY PRINTING!!!
Credit: pinshape.com,wired.com,machinedesign.com,i.materialise.com,makerbot.com,3dparts.com