Troubleshooting: Stop Your 3D Prints from Warping!
The 3D Printing Problem-

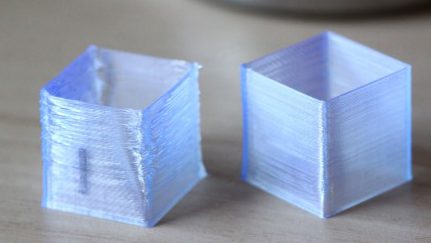
While printing your 3D model, you see that the print curls upwards especially along the edges until it’s no longer level with the print platform. It can also lead to horizontal cracks in upper parts and cause your print to lose adhesion from the print bed.
Why does it happen?

Warping is a common phenomenon caused when the printed plastic parts at different areas of the object begin to cool at different rates. As the ABS or PLA filament cools it starts to contract very slightly and thus the problem of warping arises if the plastic is cooled too quickly. Though PLA has a much lower shrinkage factor than ABS, both can warp and curl, potentially ruining a print.
Make the Print Bed More Adhesive

The easiest way to keep the edges from warping is to some extra adhesion. And what provides adhesion better than glue sticks? Glue sticks are extremely handy when it comes to 3D Printing. You can apply a thin and even layer on your print bed to prevent your print from lifting off at the edges.
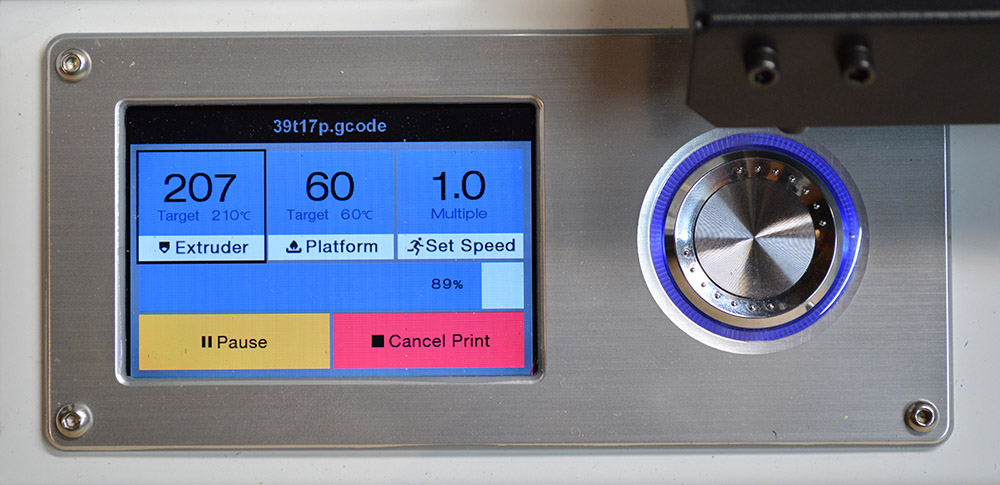
Heating The Print Bed
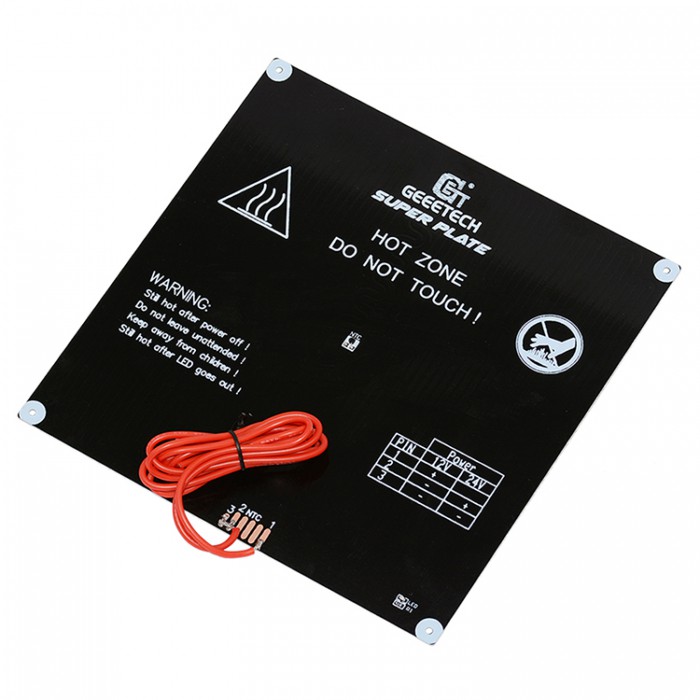
Since temperature plays a key role in warping it must be adjusted. To avoid warping try using a heated print platform set at a temperature just below the filaments melting point. Also known as the “glass transition temperature”.
If you get that temperature right then the first layer will stay flat on the print platform. This also allows the overall print to cool more evenly. Check out our Superplate 3D Printer Aluminum Heatbed Kit to make things easier!
Have a super CLEAN Print Platform
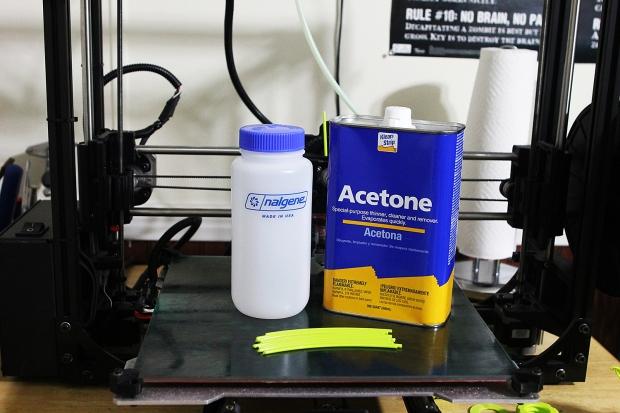
Warping takes place when your filament doesn’t adhere firmly to the print bed which happens a lot when your print bed isn’t as clean as you may think. Filaments like ABS and PLA will stick better to a clean build surface. So make sure you regularly clean your print bed. Use acetone since it will dissolve any leftover ABS or PLA. Simply pour some on the bed and wipe it off!
Try another Print Bed?
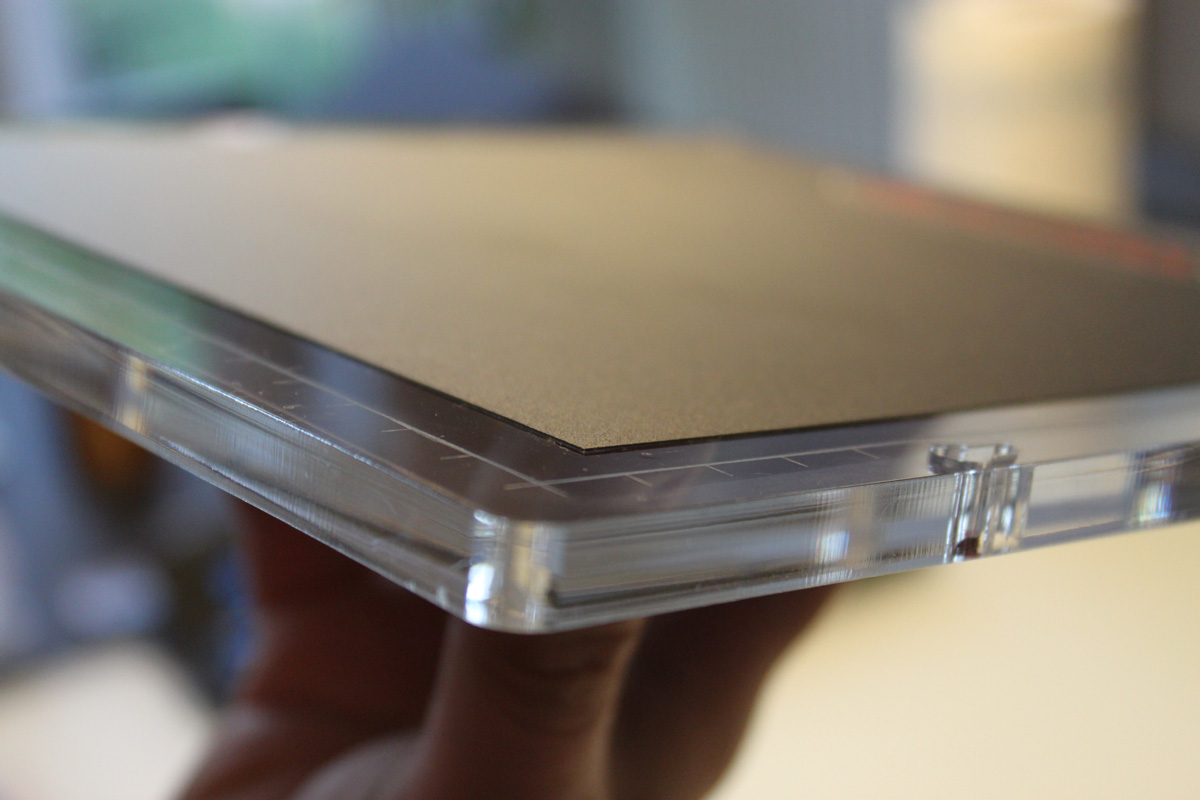
If the problem persists you may want to consider switching to another print bed. Preferably one with better adhesion! Take a look at Geeetech’s Superplate 3D Printer Glass Platform that offers excellent adhesion without glue and makes it super easy to take prints off. Apart from this it can also withstand extreme temperature and is much more durable than your average print bed.
Check the Height and Leveling.

Incorrect calibration of your print platform can be another cause that leads to warping. A good first layer is literally the foundation for your 3D print model. If you find that the Z-axis height is too high, lower it by 0.05mm increments until you find a good first layer.
Reduce infill
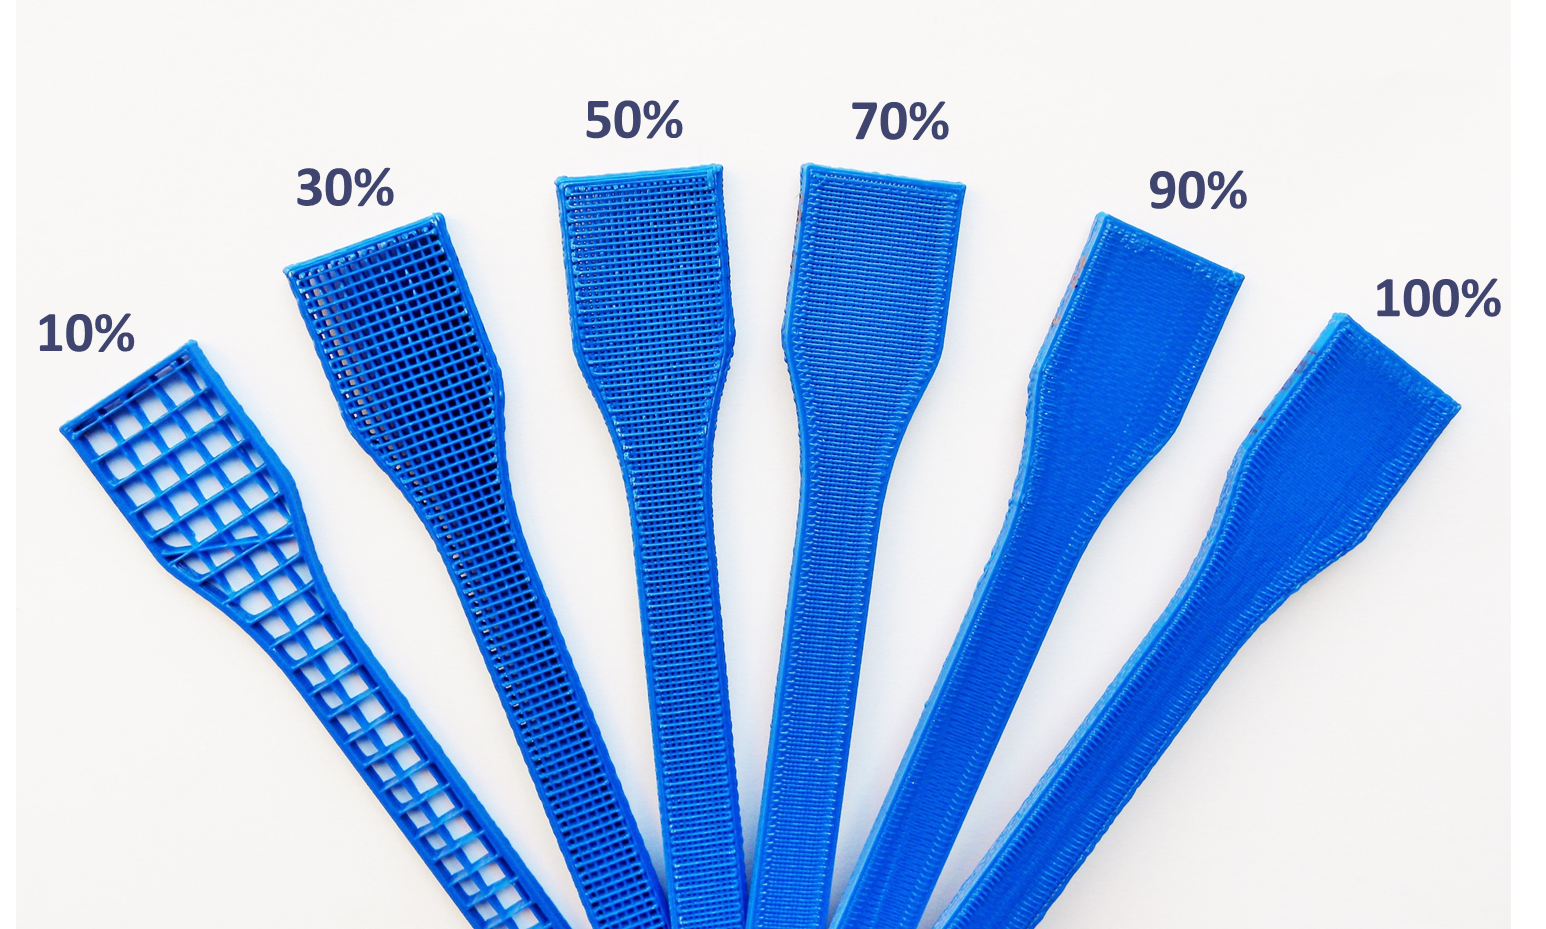
When printing a model you can choose to print it hollow, completely solid, or some percentage between zero and 100. It stands to reason that the more plastic you have, the more those pieces of plastic will pull against themselves and the build surface as they cool. Hence reducing infill will, in turn, reduce the amount of internal tension as the object cools. And thus reducing this internal tension will help reduce curling and warping as well. Makes sense doesn’t it?
Print Slow, Print Steady
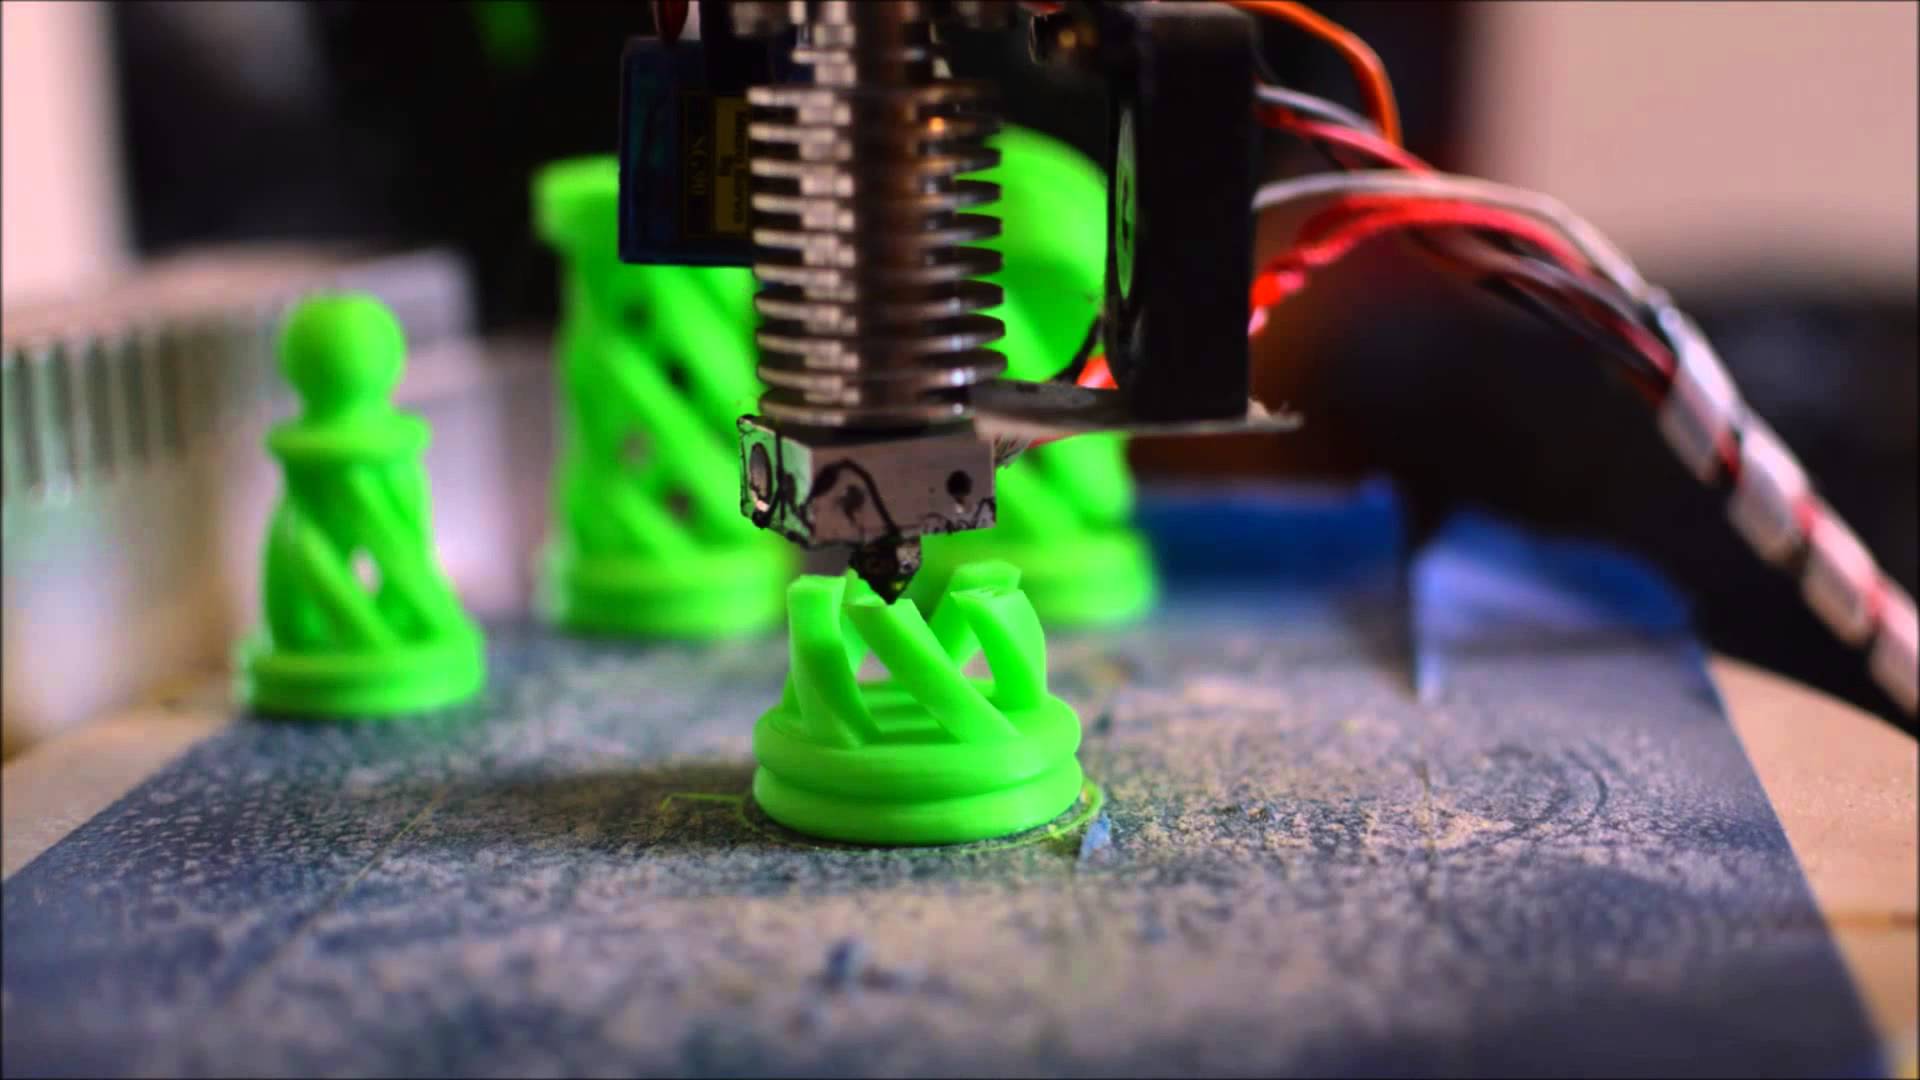
3D Printing is a slow process and cannot be hurried. Printing slower allows finer detail, better adhesion to the build surface and lower layers, and gives the printed part more time to cool evenly.
Use Brim and Rafts
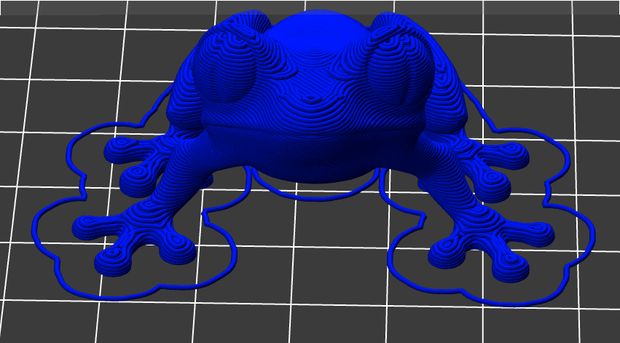
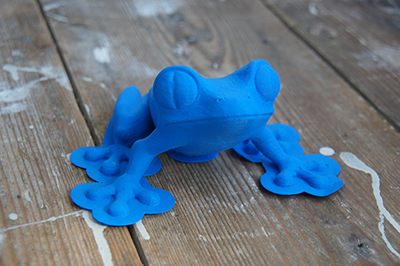
Why not add additional platforms in the forms of rafts and brims? They help reduce warping and curling by allowing your printed object to stick better to your print platform. Rafts increase the contact between your 3d print model and the bed and are an easy fix. Most printer softwares have the option to add rafts or platforms.
Adjust Advanced Temperature Settings
If nothing works and you’re thinking of giving up then hold up just a bit! Take a look at your advanced print settings both on your printer and in your printer software. Try increasing the print bed temperature by increments of 5 degrees. At the same time, take a look at the fan cooling in the slicer software. It is usually set such that the cooling fans switch to full power at a height of around 0.5mm so go ahead and increase this to 0.75 to give the base layers a little more time to cool naturally.
If you have some additional tips that worked for you then let us know in the com these tips worked for you let us know! Happy Printing!
Credits: hackaday.com, youtube.com, target.com, blog.myminifactory.com, 3dhubs.com, plus.google.com, instructables.com