Troubleshooting: Your 3D Print Won’t Stick to the Print Bed? Read on!
One of the most common problems faced during 3D Printing is the print design refusing to stick to the print bed. Though it can prove to be extremely frustrating, it can be fixed easily. Take a look below!
The 3D Printing Problem
The print doesn’t stick to the print platform. You may keep trying but the problem persists.

Of course, it’s not always the printer’s fault and if you’ve tried to print a model that only has a small amount of contact with the platform then undoubtedly that’s going to be the issue. Imagine you’re trying to print a plane and the only contact the model has with the print platform is the wheels. It is unlikely to print without some form of build plate adhesion and brim, and that’s before you start to look at supports.
Why does it happen?
The most common cause is that the print doesn’t bond to the surface of the print platform. The filament needs a textured base to stick onto the bed hence you’ll need to create a better bonding surface.
An unlevel print platform is usually the most common problem. The print nozzle won’t be close enough to the platform to correctly extrude and bond the first layer.
Calibration can also be an issue and over a while, the distance between the nozzle and platform can increase to the point where the initial layer is dragged rather than pushed into the print platform.
In all cases, you’re likely to see a spaghetti filament appear above your half-formed model, just filament spaghetti or parts of your model dotted around the print platform.
1. Clean the Print Platform
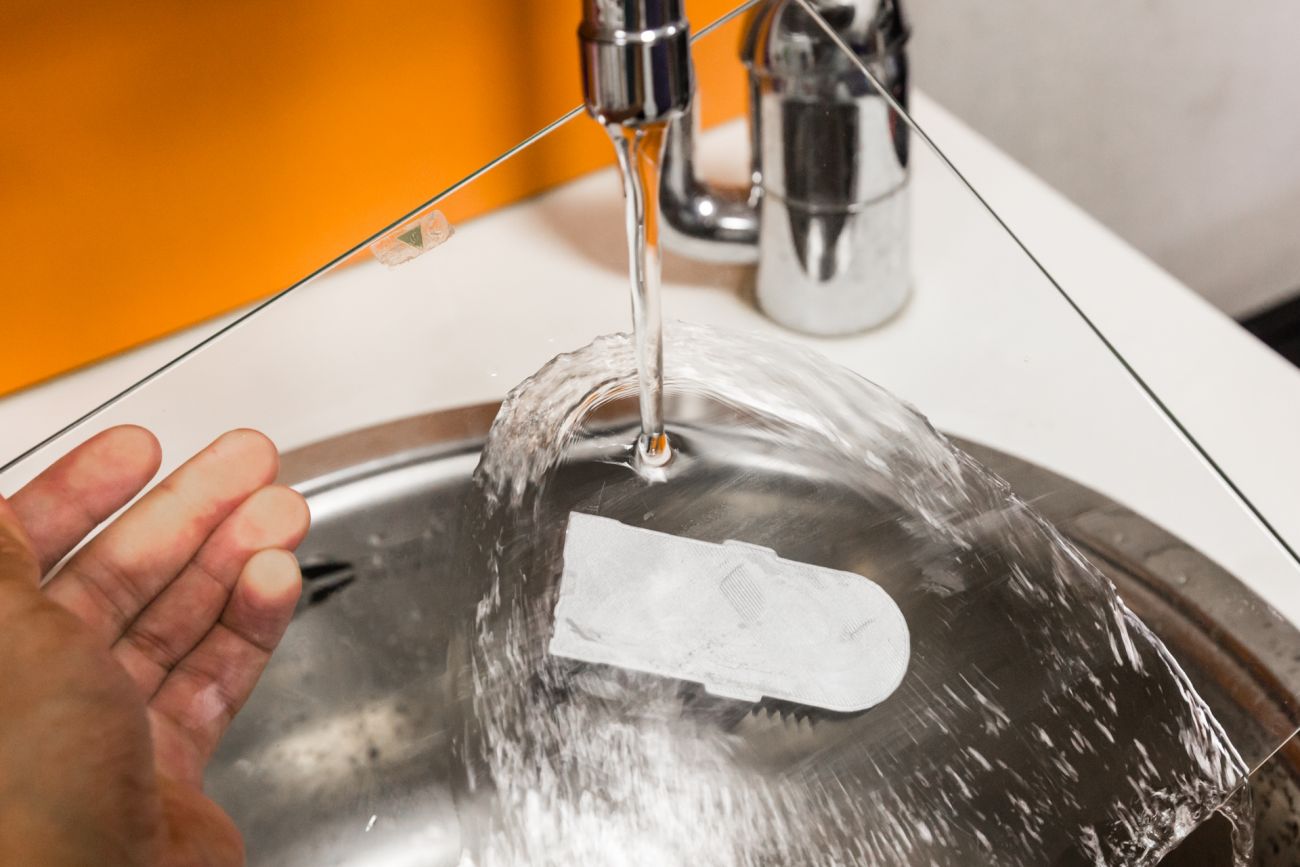
If you’re printing on a material such as glass, it’s always advisable to give it a good clean, especially if the use of glue is frequently applied. The grease from the fingerprints and the extreme build-up of glue can add to the non-stickiness of the print platform.
2. Add Texture

To increase the chances that the filament bonds you need to insert another material to add texture. The solution to this is to apply a thin layer of stick glue to the print platform which can be easily washed away with hot water. Another alternative for PLA is to add decorator tape. For filaments that require a heated platform of 40º and above, there are a variety of special tapes now available that are a little more heat resistant.
3. Level the Print Bed

Every printer has a different procedure for print platform leveling. Some like Lulzbots make use of reliable auto-leveling systems while others like Ultimaker have a guided approach through the adjustment process. Refer to your printer’s manual for how to level your print bed.
4. Adjust the Nozzle Height

If the nozzle is too high then the filament won’t stick to the platform, too low and the nozzle will start to scrape the print off. Find the Z-axis offset option in your printer’s settings and make small adjustments — into the positive to raise the nozzle away from the bed, and negative to lower it closer.
5. Use Brim And Raft
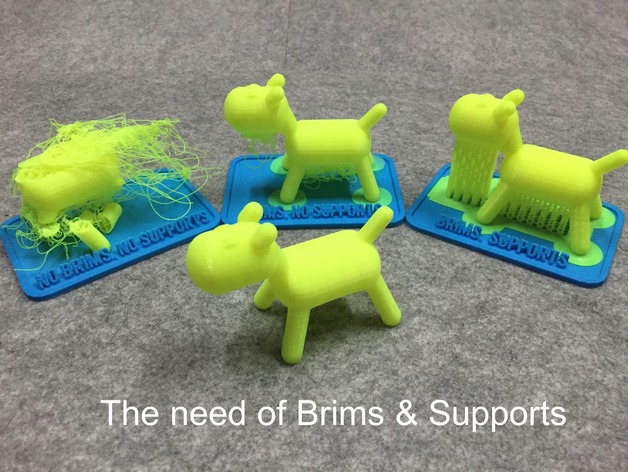
Some models will print well without a brim but the challenge arises with smaller items as a small footprint with the platform will require some type of build Plate Adhesion. These can be added to the slicer software- look for “Brim” and “Raft”.
The brim will add a single layer of a specific number of perimeter lines glowing from where your print makes contact with the print bed. It is considered the least wasteful of the two and a better option if you don’t mind taking a knife to your print to trim the brim away.
Raft adds just that to your print. Depending on the parameters you specify, you will get a shadow of your print’s footprint, printed in the thicker, better-adhering layer. Your print is then printed as usual on top of this. Rafts are more inclined to create a rough, unpleasant surface where they touch your print and utilize more material than a brim. The benefit of a raft though lies in being able to simply snap the part off.
6. Add Supports
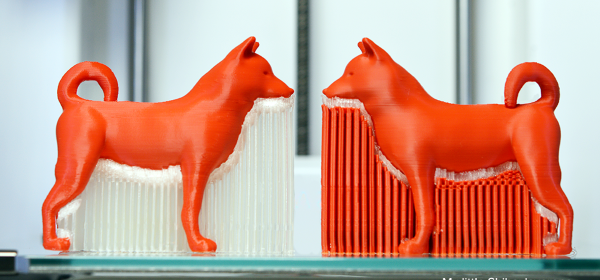
Apart from adding build plate adhesion, if your model has multifaceted overhangs or extremities make sure to add supports to hold the print together during the process.