A collection of post-processing guides make 3D printing Easier!!
Here are six new guides to post-processing for 3D printing, including how to sand, glue, and paint 3D printed items. This short article shows how to achieve a perfect surface finish, as well as how to make silicone molds from 3D prints and how to carry out vacuum forming.
Post-processing opens up a world of interesting possibilities beyond just the print, but requires you to think about the process a bit differently.
Here are the important bits:
Sanding 3D printed models can help to remove the appearance of layer lines, but it is important to carry out the practice carefully, starting with rougher paper and finishing with softer. It is also important not to sand in one place for too long as heat generated from friction could melt the PLA. It is advised that surfaces printed in the Z axis will have the smoothest surface finish, and if you plan to glue your model, take care not to remove too much material around seams or joining surfaces.
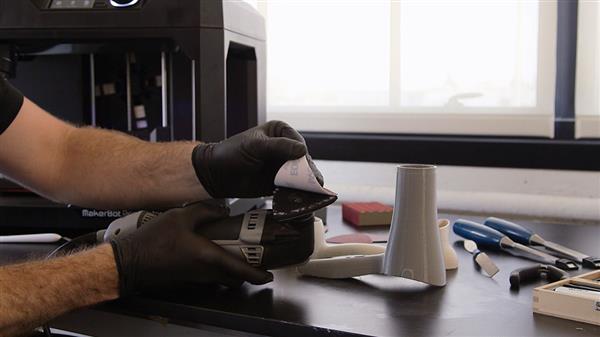

Sanding a 3D printed part
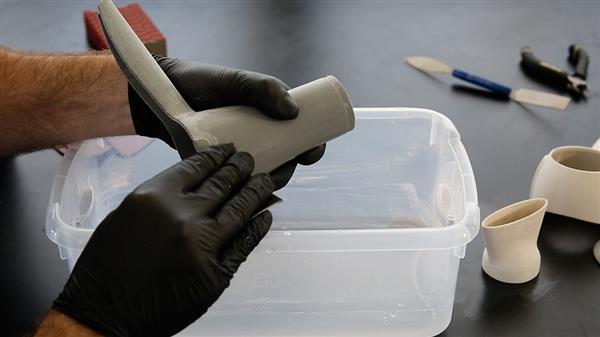
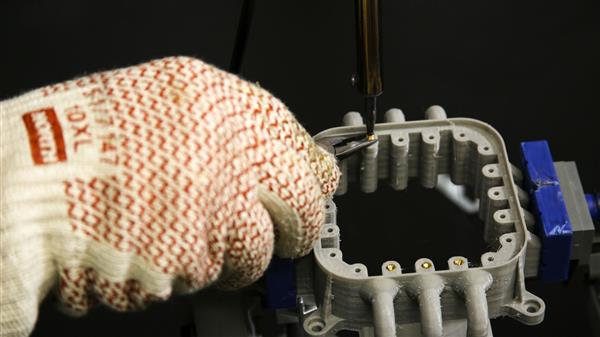
For when the gluing stage comes around, here is one hot tip: when creating joints or keys for a model, one should make sure to create joining features large enough for the 3D printer to create them cleanly. Generally, features should be larger than 4-5mm in diameter. Glued components should be secured together using rubber bands, and cyanoacrylate glue should be used to spot glue around the connecting areas. If seams are rough or have gaps, bondo or filler can be used to smooth them.

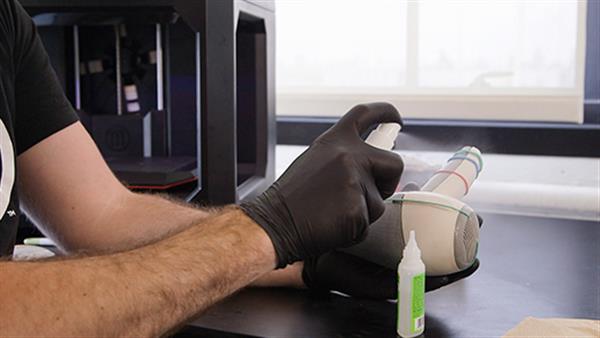
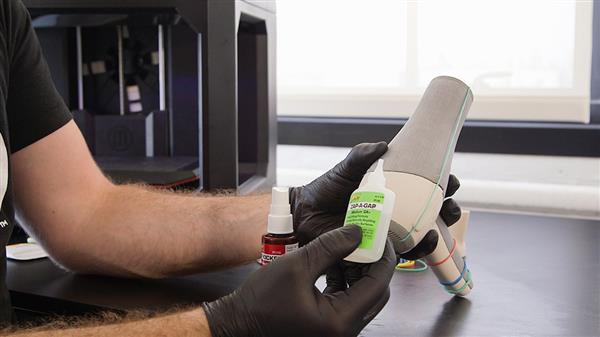
Gluing a 3D printed part
When a 3D printed part is sanded and glued together, painting is often the next step. For this important stage of post-processing, it is highly recommended hanging the prepared 3D print in an open, dust-free space with plenty of ventilation. This will allow you to paint all surfaces evenly without having to handle the model while paint is drying. Primer/filler should be used first, followed by another stage of sanding, after which paint should be sprayed at an arm’s length from the object. The painted object will be ready to polish after 1-2 days.
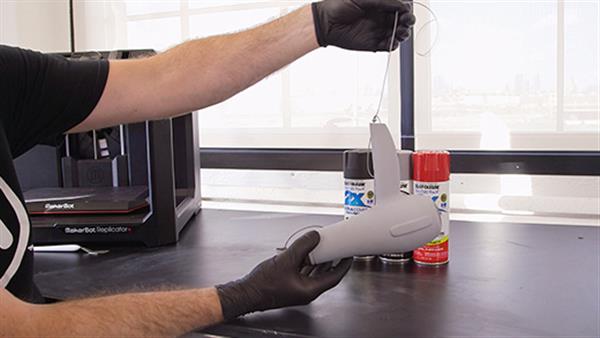
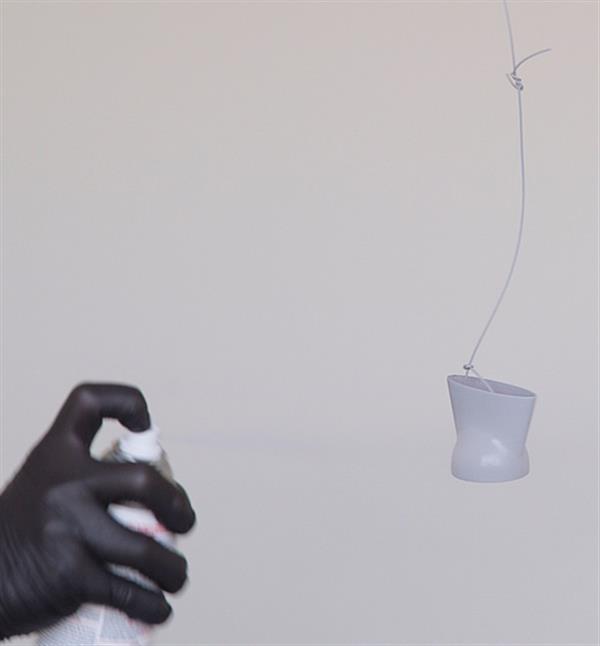
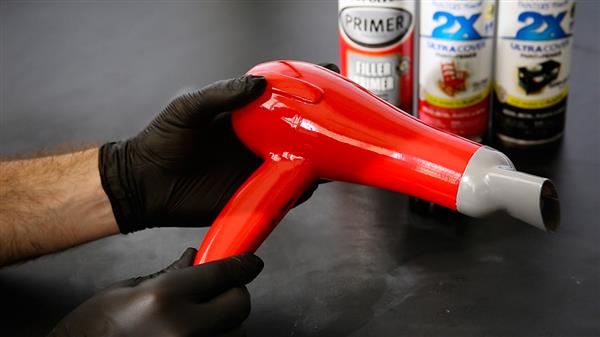
Painting a 3D printed part
To add longevity to 3D printed enclosures that need to accept screws, it is often useful to install threaded inserts. When doing so, holes in a model should be made slightly smaller than the inserts to be installed. This will account for any plastic that melts when installing the inserts. Additionally, increasing the number of shells will leave more plastic around inserts. When installing the inserts, it is useful to keep the 3D printed part secure in a vice, and incredibly important to only install the inserts gradually, since PLA can deform at moderate temperatures.
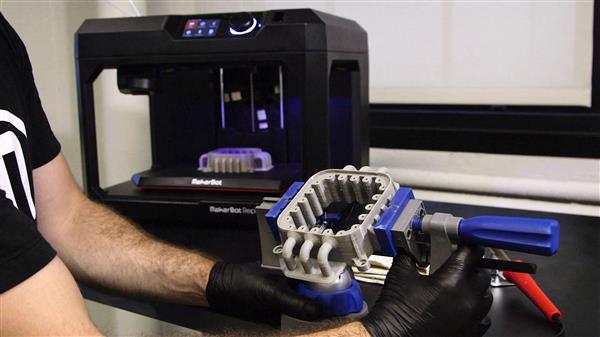
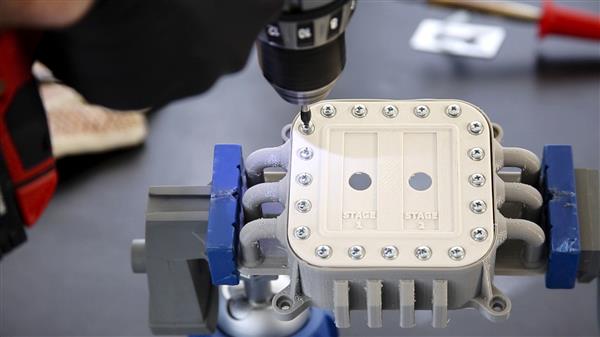
Installing threaded inserts into a 3D printed part
The final part of the post-processing guide concerns how to vacuum form using 3D printed molds. Vacuum forming is a manufacturing process in which a sheet of plastic is heated and pressed over a form to create a part, and is used to make plastic containers, amongst other things. When 3D printing vacuum forming molds, we suggest increasing shells and infill settings to create a strong mold that will withstand the pressures of vacuum forming. An industrial vacuum forming machine is needed to heat the plastic sheet, which can then be pressed over the 3D printed mold. According to MakerBot, it is worth producing two or three spare 3D printed molds up front in case the first mold becomes damaged.
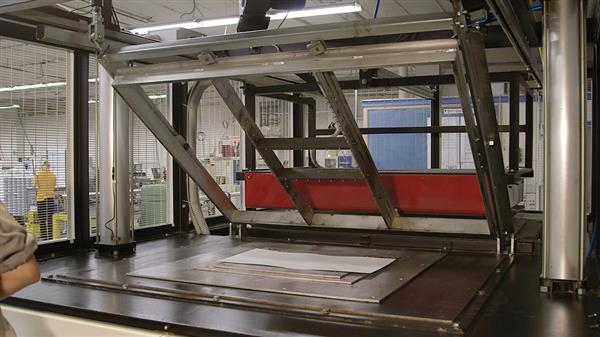
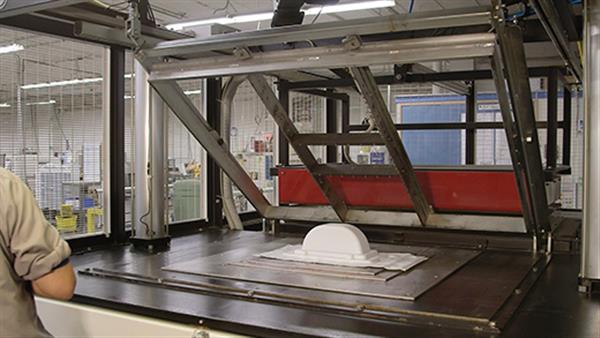
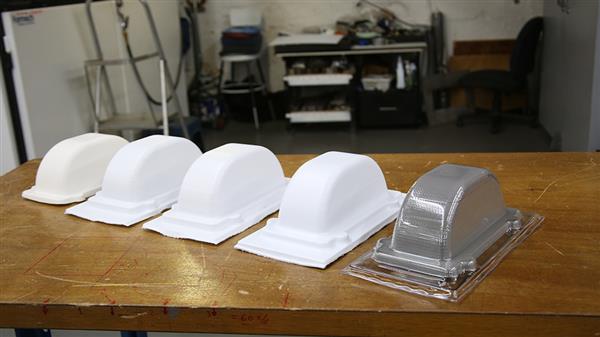
Vacuum forming with a 3D printed mold
With these beneficial tips for post-processing 3D printed items, we envision a thriving future for the development of 3D manufacturing and a vista of more and more 3D hobbyists joining us~~
via 3ders