DIY your own 3D Printer- part 1
Build my own 3D printer? yes, i am going to share with you a step- by-step instruction on how to build your own 3d printer.
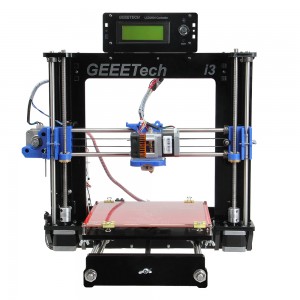
when it comes to DIY 3d printer, what comes into my mind is prusa I3 series or the delta rostock series, yes, these two types of 3d printer are the most famous and easy 3d printers for DIYers, especially starters in 3d printing. so today, we will take our prusa I3 pro B as an example.
of cause, you must have one 3d printer http://www.geeetech.com/acrylic-geeetech-i3-pro-b-3d-printer-kit-p-917.html
Preparation
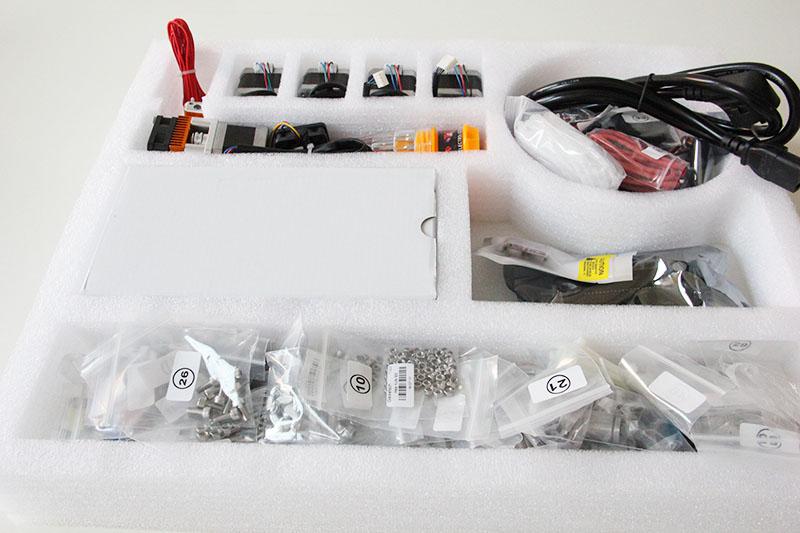
1. Unpack the kit and check if all parts are in the box and check the condition of each part, there might be some damage during shipping. To help you with this, there is BOM in the box and each bag was labeled with part number.
2. Contact our customer service immediately by email or through the website if you find any missing or damaged parts. And on the bottom of the BOM, there is a signature of reviewer, please take a picture of it and attach the picture in your mail.
3. Read through each chapter of these instructions to gain an over-all idea of what is involved and how long it might take, before starting on the work described.
4. Before you start, you can put all the part in order to save your time especially those screws and nuts. Do not mix them up.
5. Ensure you have the necessary skills to carry out the work, or enlist the help of someone who does.
6. Work on a big firm table or bench in a clean dry well-lit area.
7. This kit contains tiny parts; please keep them away from kids under 3.
8. Ask for help if you run into any problems – our contact details are on the website and we will always do our best to resolve any problems encountered.
1 Unfold the box and check the package
Unfold the package and take all the parts out to check the condition of the items. As you can see, all the parts are packed very carefully.
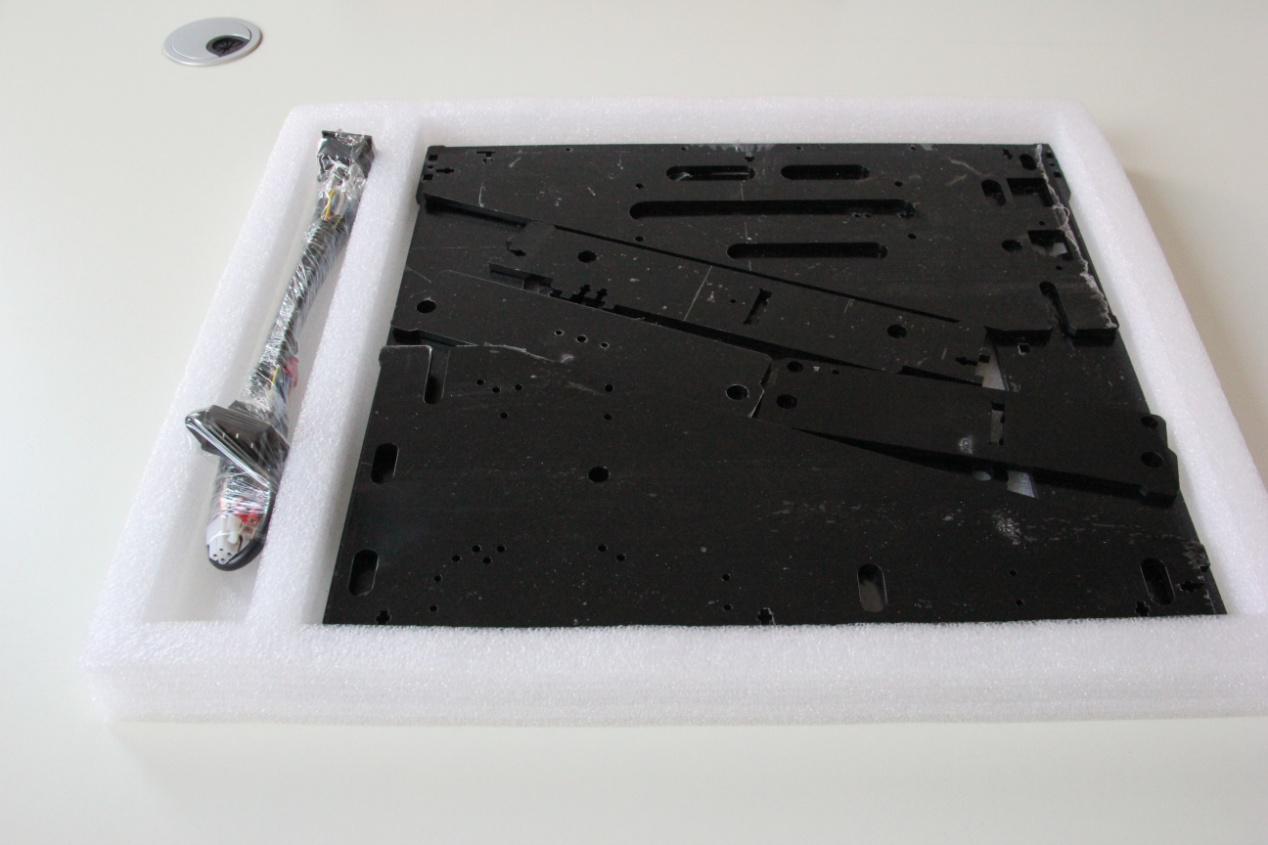
All the acrylic plate has been etched with part ID and the plate is covered with a sheet of kraft paper, you need to tear them off.

Tips:
1. Before assembly, you are advised to put all the parts, especially the screws and nuts in order, which will save you a lot of time looking for the required parts.
2 Assemble Y axis
2.1 Assemble the rods of a Y axis
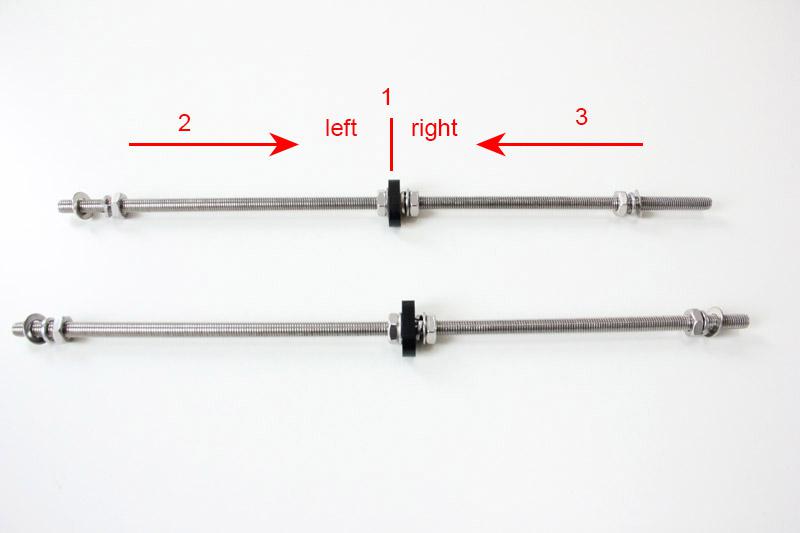
Step1. Assemble the 2 threaded rods.
|
Required number |
Required parts |
|
2 |
M10 threaded rod |
|
2 |
Y plate connecting plate |
|
6 |
M8 spring washer |
|
8 |
M10 washer |
|
8 |
M10 nut |
Thread the nuts and washers into the two M10 threaded rods separately. The order should be:
1) Thread the acrylic fender (Y plate connecting plate) in the middle.
2) Thread the M10 washer > M8 spring washer >M10 nut > M10 nut > M10 washer on the left
3) Thread theM10 washer < M8 spring washer < M10 nut < M10 nut< M8 spring washer < M10 washer on the right
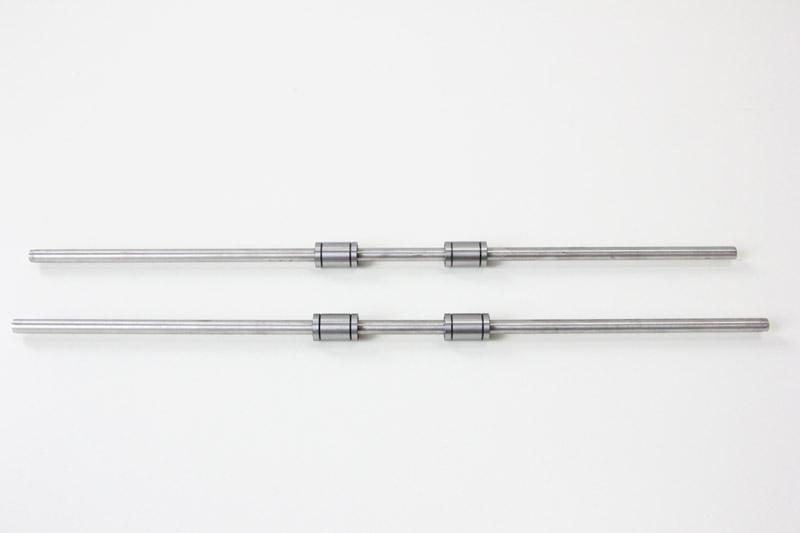
Step2. Assemble the 2 smooth rods
|
Required number |
Required parts |
|
2 |
M8 smooth rod |
|
4 |
LM8UU Linear bearings |
Slide 2 bearings on each smooth rod. Before you slide the bearings please make sure they are clean.
1.2. Attach the front and rear Acrylic support plates of the rods.
|
Required number |
Required parts |
|
2 |
Acrylic plate( front) |
|
2 |
Acrylic plate( rear) |
|
4 |
M10 washer |
|
4 |
M10 nut |
Step1. Slide the rods into the acrylic plate; adjust the length so that the smooth rods fit snugly between the front and rear piece.
Step2. Screw up the rods and plate with M10 nut and M10 washer.
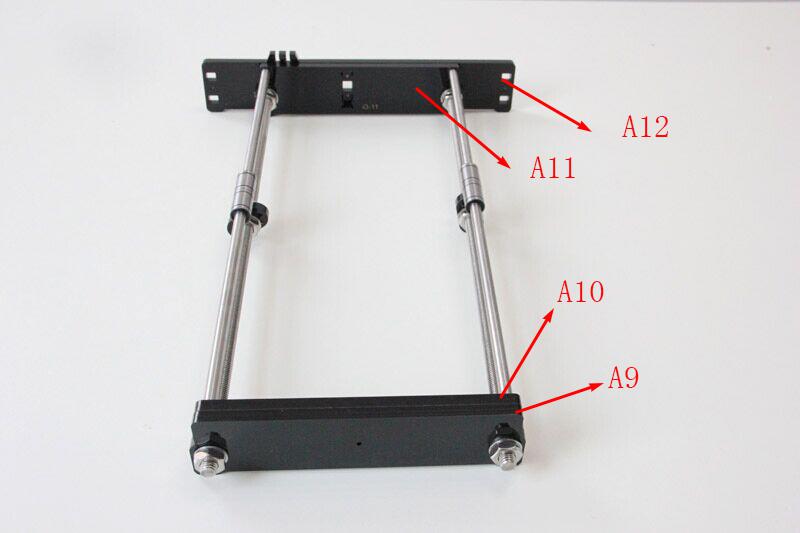
* Tips:
the Y-axis must be a rectangle, that is the rods on both side should be parallel, so is the front and back plate. Otherwise it will cause obstruction for the belt later. You can use a Digital Caliper to measure.
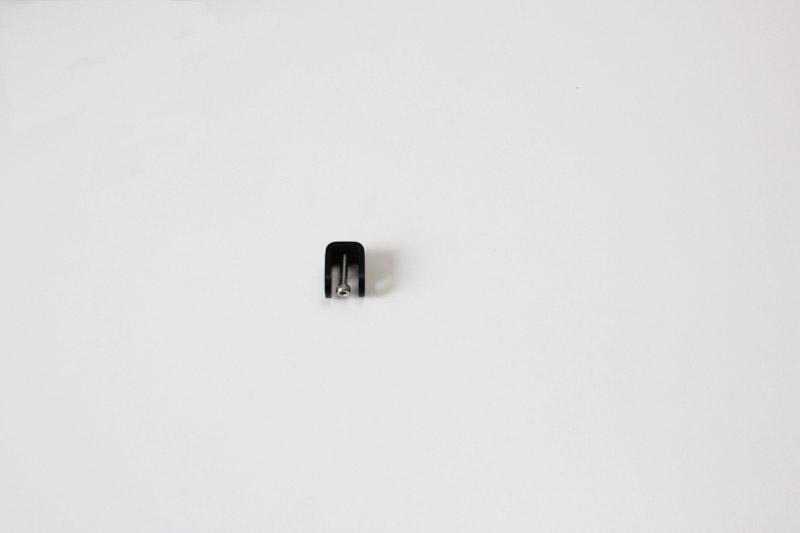
2.2 Assemble the Y idler
|
Required number |
Required parts |
|
2 |
624ZZ Ball bearing |
|
1 |
bearing holder |
|
1 |
M3 x 20 screw |
|
1 |
M3 wing nut |
|
1 |
M4 x25 screw |
|
1 |
M4 lock nut |
Step1. Thread the M3 x 20 screw through the bearing holder.
Step2. Put the M4 x25 screw through the holes with the two 624ZZ bearings in between. Lock the other end with a M4 lock nut.
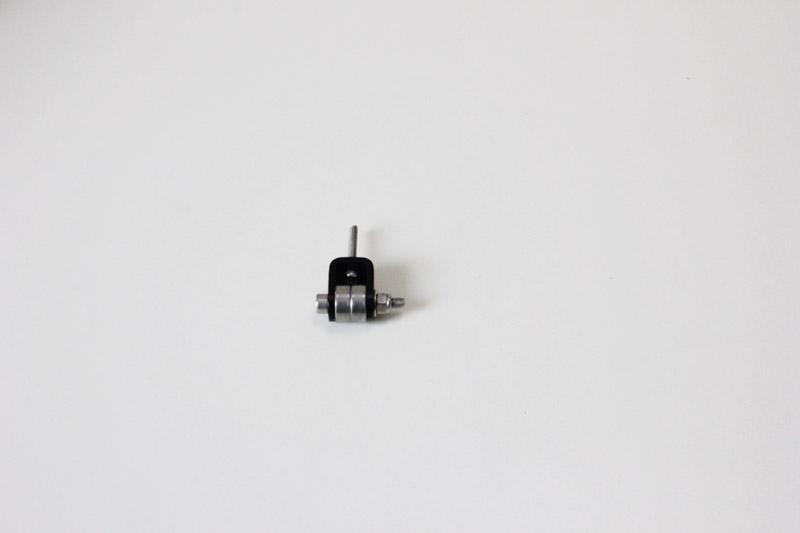
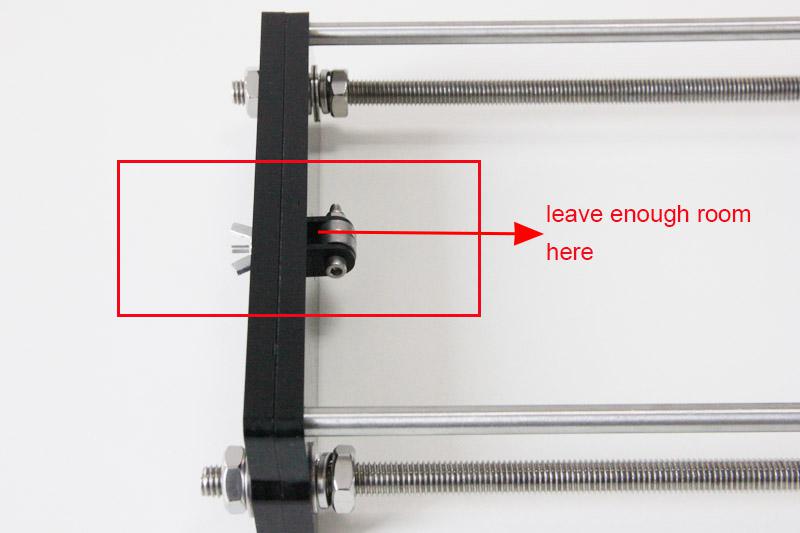
Step3. Mount the assembled bearing holder onto the front support plates. And screw it with a wing nut.
*Please leave enough room for the belt between the ball bearing and the screw.

2.3 Mount the Y motor
|
Required number |
Required parts |
|
1 |
Y motor fix plate |
|
1 |
Stepper motor |
|
1 |
pulley |
|
3 |
M3 x 12 screw |
|
2 |
M3 x 16 screw |
|
2 |
M3 square nut |
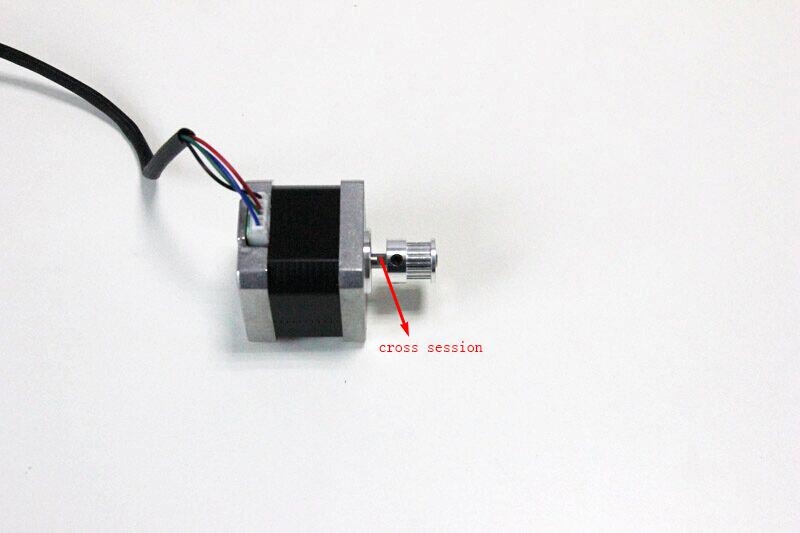
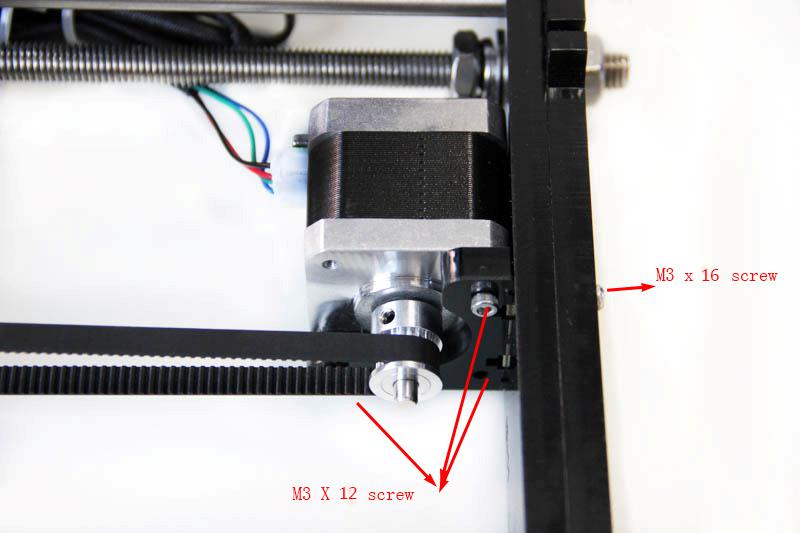
Step1. Mount the pulley on the motor shaft, one of the screws should be screwed on the cross section of the shaft. Do not screw too tight to turn smoothly.
Step2. Insert the motor block into the slot; you may need to use a little strength to do this. But be careful in case the Acrylic broke down. Then screw the motor on the block plate with 3 M3 x 12 screws and fix the block plate with 2 M3 x 16 screws and M3 square nut.
2.4 Build the printing platform
|
Required number |
Required parts |
|
1 |
Y platform support |
|
4 |
Y bearing block |
|
1 |
Y belt mount |
|
4 |
Zip tie |
|
2 |
M3 x 10 screw |
|
8 |
M3 x 20 screw |
|
8 |
M3 nut |
Step1. Mount the belt mount on the bottom side of the platform with 2 M3 x 10 screws.
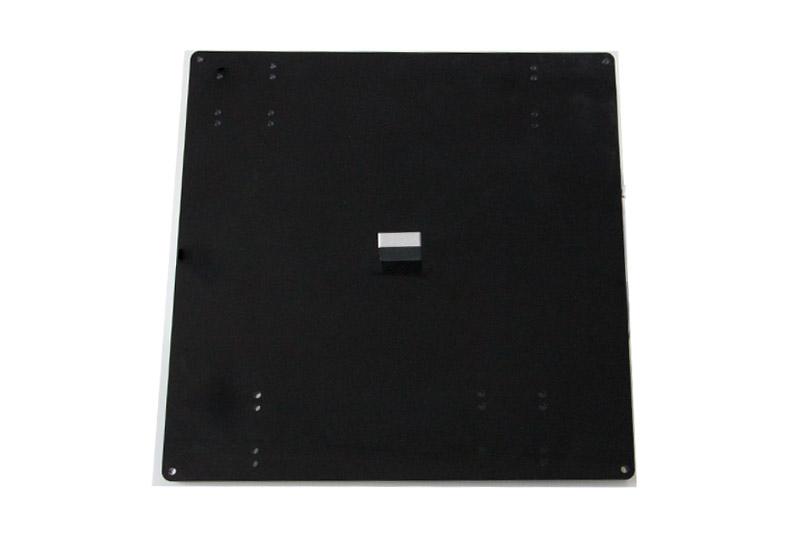
Step2. Mount the 4 bearing blocks on the platform with M3 x 20 screws on the same side with the belt-mount. Screw with M3 nuts.
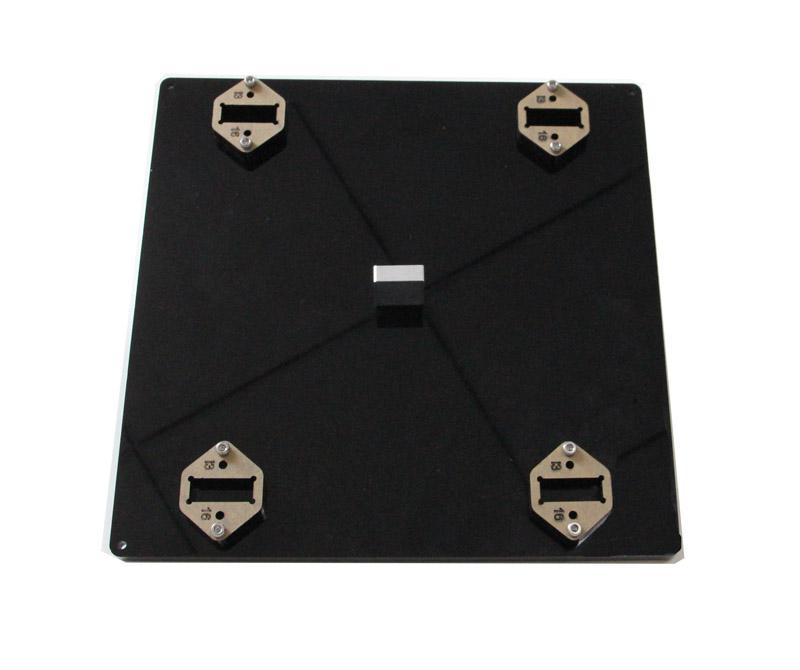
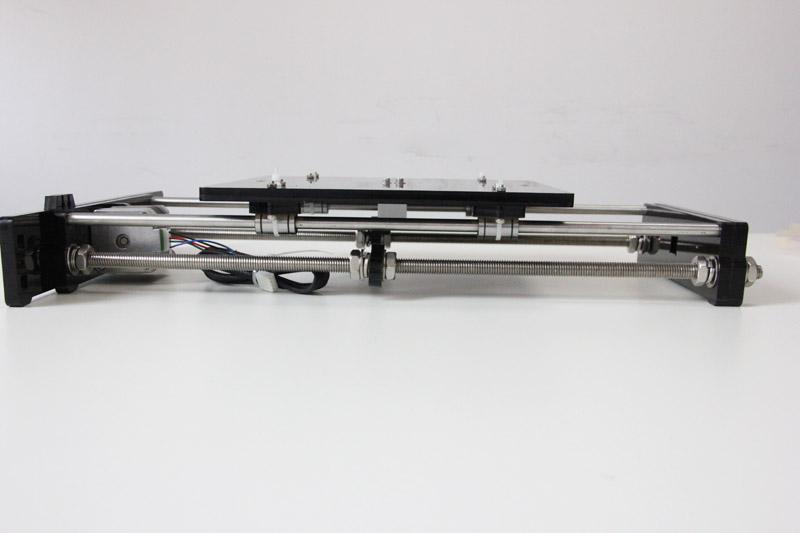
Step3. Get the build platform plate zip-tied to the 4 linear bearings of Y- Axis.
*The belt-mount and the fenders are under the platform.

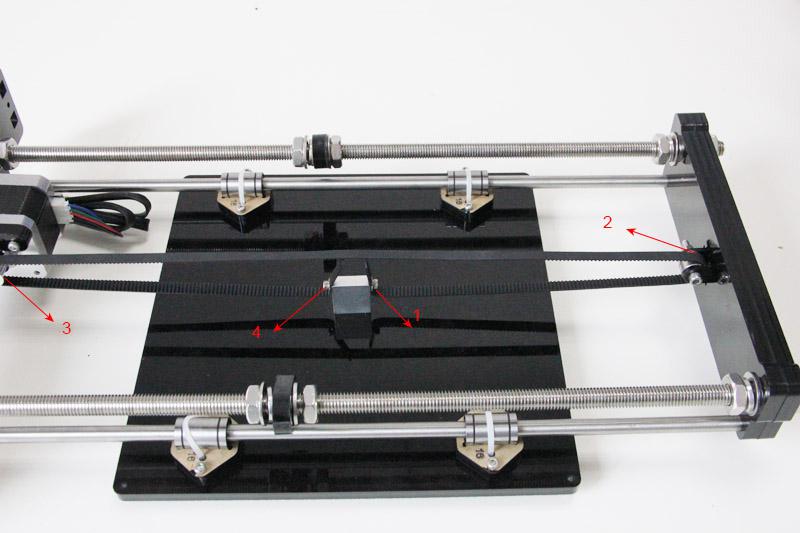
2.5 Mount the Y –axis belt.
|
Required number |
Required parts |
|
1 |
Timing belt |
|
2 |
M3 x 10 screw |
|
2 |
M3 washer |
Step1. Drill a hole on one end of the belt(the hole can be as the diameter of the M3 screw, leave enough margin )
Step2. Fix the belt on one side of the belt -mount with a M3 x 10 screw and washer.
Step3. Thread the belt around the pulley on the motor and the Y idler.
Step4. Drill a hole on the other end of the belt and fix it on the belt -mount with a M3 x 10 screw and M3 washer.
*Tips:
1. Before you drill your second hole, make sure to pull belt tightly to make sure to find proper placement of hole for a tight belt, if it is too loose, it will hinder the move of the print platform.
2. Loosen the Y idler wing nut when tightening belt onto the Y belt mount [No. 67] in order to make securing the belt to the block easier. Be sure to tighten wing nut fully once done.
So far, we have finished the Yaxis part, that’s all for today, tomorrow, we will continue with the building the X axis of the Prusa i3. Stay tuned!
for more detailed introduction of Geeetech prusa I3, please refer to geeetech online store.